
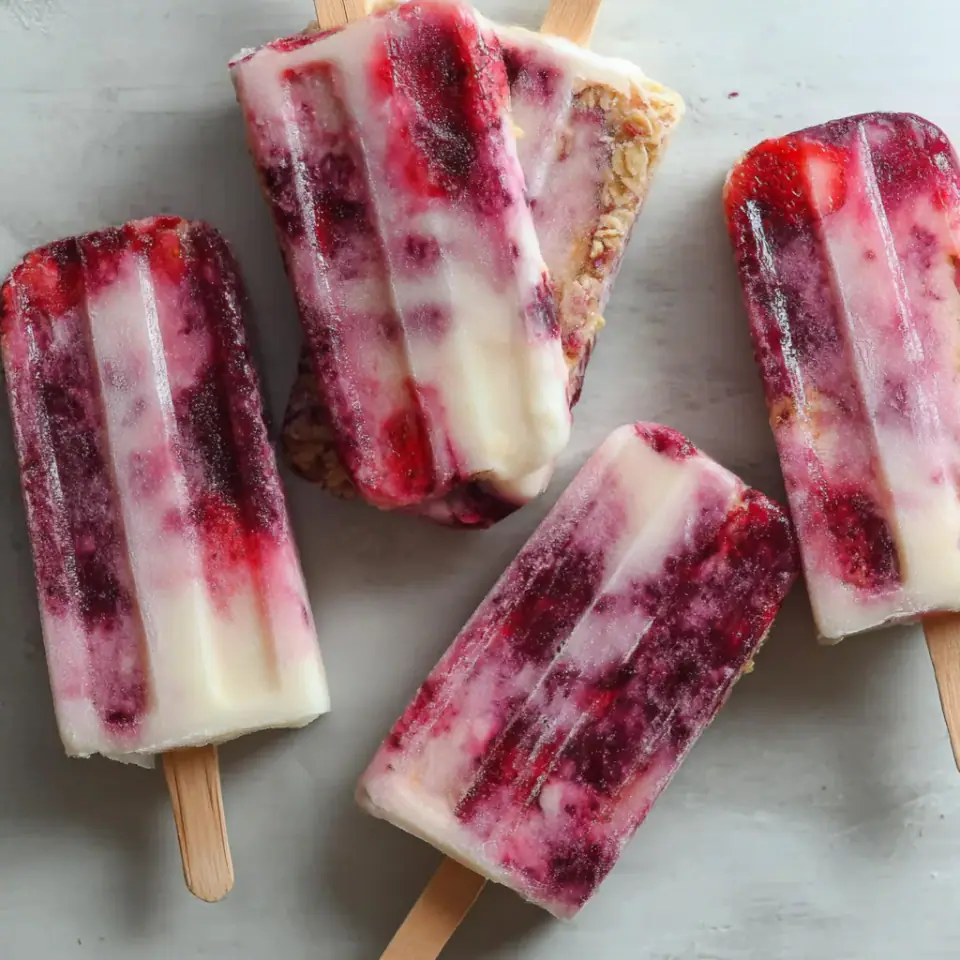
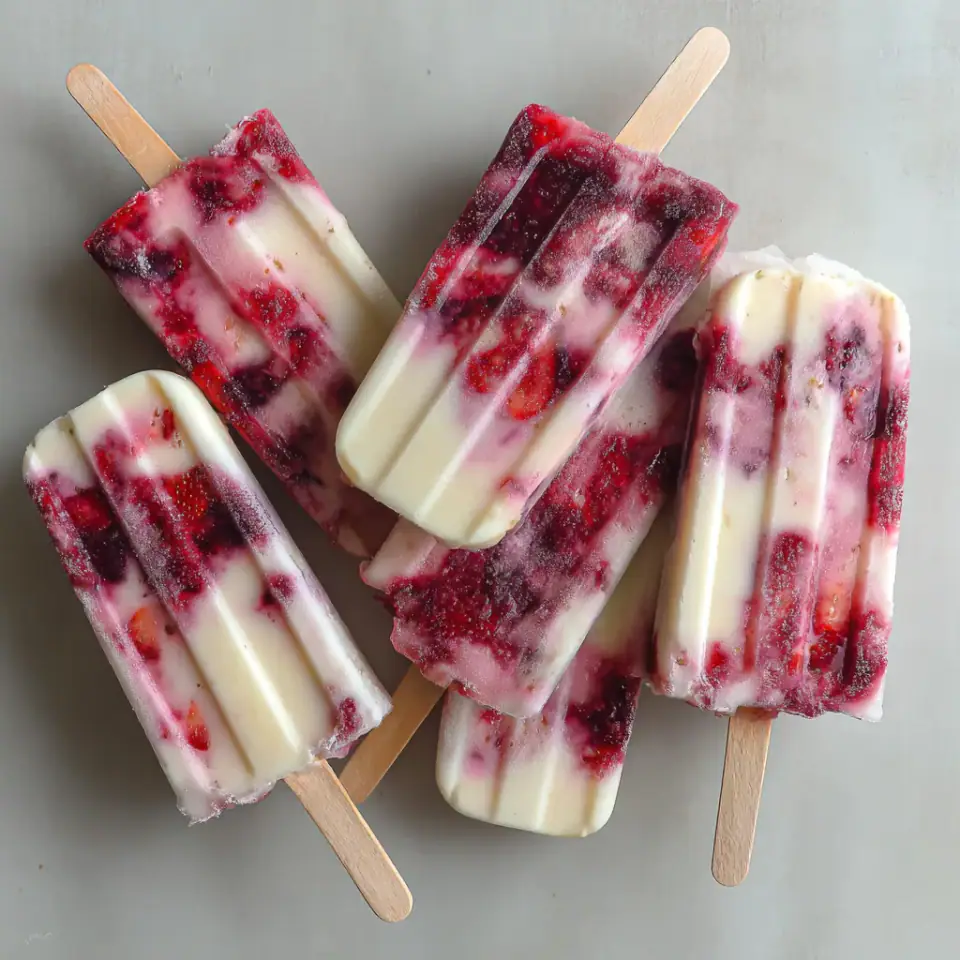
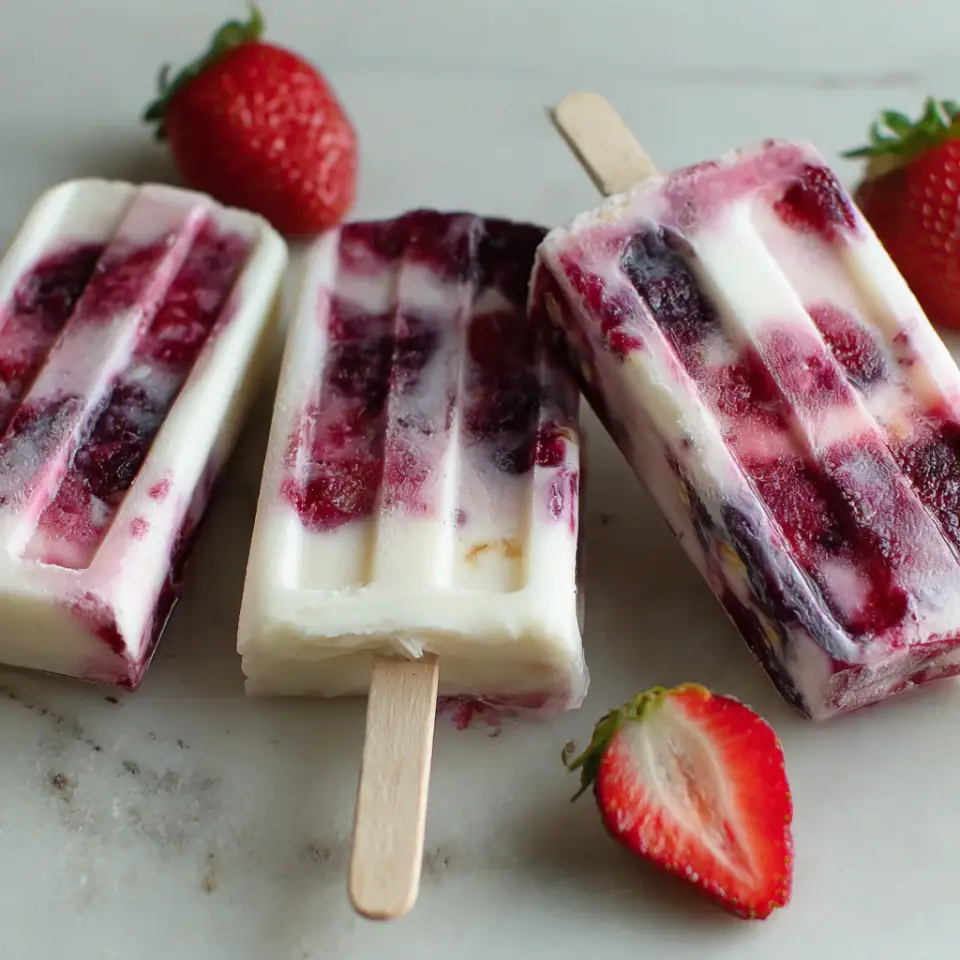
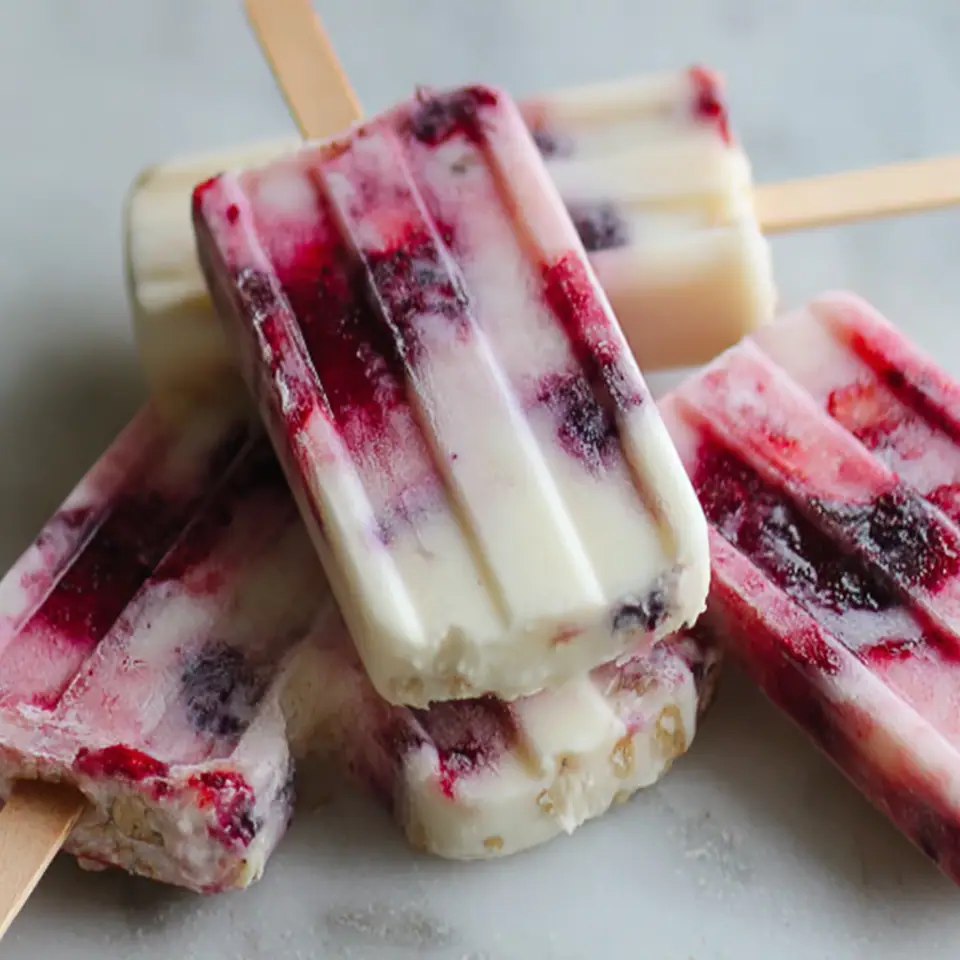
Awaken your taste buds with these vibrant Yogurt Breakfast Popsicles, a delightful and nutritious way to start your day. Layers of creamy Greek yogurt, luscious homemade strawberry jam, and crunchy granola create a symphony of textures and flavors. These convenient, make-ahead treats offer a refreshing twist on traditional breakfast, perfect for busy mornings or a healthy snack.
Why You’ll Love This Yogurt Breakfast Popsicles
- A wholesome and delicious way to start your day, packed with protein and fruit.
- Perfect for meal prep, allowing for quick, grab-and-go breakfasts or snacks throughout the week.
- Customizable with your favorite fruits, granolas, and sweeteners.
- Offers a refreshing and cool treat, especially on warm mornings.
- Simple to make with minimal cooking involved, ideal for all skill levels.
Tips for the Best Yogurt Breakfast Popsicles
- Ensure your homemade strawberry jam is fully cooled before layering, as warm jam can melt the yogurt and create a muddy appearance.
- Adjust the milk quantity for the yogurt mixture until it reaches a consistency that is pourable but still thick enough to hold its layers.
- Tap the popsicle molds gently on the counter after filling to eliminate air bubbles, which can lead to ice crystals or gaps in the final product.
- For the best texture and easy unmolding, freeze the popsicles for at least 6 hours, or overnight, until they are completely solid.
- When unmolding, a quick rinse under hot water is key; too long, and the popsicle might melt; too short, and it will be stuck.
How to Take It Further
Once you have made it the classic way, these small upgrades make it even better.
- Elevate the strawberry jam by adding a tiny pinch of freshly ground black pepper or a splash of balsamic vinegar during cooking; these enhance the fruit's natural sweetness and complexity without being overtly noticeable.
- For an extra smooth yogurt layer, use an immersion blender to combine the yogurt, milk, and honey. You can also add a teaspoon of vanilla extract or a pinch of cinnamon for added depth.
- To prevent the granola from getting too soggy, ensure it's mixed with a bit of yogurt just before layering. For extra crunch, you can toast your granola lightly before use.
Storage, Make-Ahead and Variations
- Storage: Store popsicles in their molds in the freezer. Once completely frozen, you can unmold them and transfer them to an airtight freezer bag or container for longer storage (up to 2-3 weeks).
- Variations: Experiment with other fruits like blueberries, raspberries, or peaches. You can also swap out granola for chopped nuts, seeds, or shredded coconut. For a richer popsicle, use full-fat Greek yogurt or add a spoonful of cream cheese to the yogurt mixture.
Frequently Asked Questions
Can I make these popsicles dairy-free?
Yes, absolutely! You can substitute the Greek yogurt with a plant-based alternative like coconut yogurt or almond yogurt, and use a non-dairy milk. Ensure your granola is also dairy-free if needed.
How long do these breakfast popsicles last in the freezer?
When stored properly in an airtight container or freezer bag, these popsicles will maintain their best quality for up to 2-3 weeks. Beyond that, they are still safe to eat but might start to develop ice crystals.
Can I use frozen fruit for the jam?
Yes, frozen strawberries work wonderfully for the jam. There's no need to thaw them beforehand; just add them directly to the saucepan with the sugar or honey and proceed with the cooking instructions.
Yogurt Breakfast Popsicles
Awaken your taste buds with these vibrant Yogurt Breakfast Popsicles, a delightful and nutritious way to start your day. Layers of creamy Greek yogurt, luscious homemade strawberry jam, and crunchy granola create a symphony of textures…
By James Parker · Recipes Dad
plus 10 minutes macerating
Ingredients
Instructions
Combine the 450 grams (3 cups) of chopped strawberries with 50 grams (1/4 cup) of granulated sugar or 60 milliliters (1/4 cup) of honey in a small saucepan. Stir gently to ensure the berries are coated. Allow the mixture to macerate on the countertop for at least 10 minutes; this process draws out the strawberries' natural juices, creating a delicious syrup.
Place the saucepan over medium-high heat and bring the strawberry mixture to a rapid simmer. Continue to cook, stirring frequently, for 8 to 10 minutes, until the strawberries soften, release their liquid, and reduce into a thick, jammy consistency. This cooking concentrates their flavor. Remove the pan from the heat and let the strawberry jam cool completely to room temperature. You should yield approximately 240 milliliters (1 cup) of this rich, jammy fruit. The cooled strawberry jam can be refrigerated in an airtight container for up to one week.
When you are ready to assemble the popsicles, whisk together the 240 grams (1 cup) of Greek yogurt, 60 milliliters (1/4 cup) of milk, and 30 milliliters (2 tablespoons) of honey in a medium bowl until smooth. The goal is a thick yet pourable consistency, similar to regular yogurt. If the mixture is too thick, gradually add a little more milk, one tablespoon at a time, until the desired texture is achieved. Taste the yogurt mixture and add more honey if you prefer a sweeter popsicle.
In a separate small bowl, scoop out approximately 60 milliliters (1/4 cup) of the prepared yogurt mixture and stir it thoroughly into the 75 grams (3/4 cup) of granola. This step helps to coat the granola, preventing it from sinking to the bottom of the molds and ensuring it freezes evenly within the popsicles.
Arrange 6 popsicle molds, each with a 120 milliliter (1/2 cup) capacity, on a flat, stable work surface. Begin by pouring a generous spoonful of the plain yogurt mixture into the bottom of each mold. Next, add a small scoop of the granola-yogurt mixture, followed by a spoonful or two of the cooled strawberry jam. Continue layering the plain yogurt, granola-yogurt, and strawberry jam, ensuring each layer is distinct, until the molds are filled to just below the rim.
Gently tap the filled popsicle molds against the counter a few times, or use a thin popsicle stick to carefully work out any trapped air bubbles between the layers. This helps create a dense, smooth popsicle texture and prevents icy pockets.
Carefully insert a popsicle stick into the center of each filled mold. Transfer the molds to the freezer and freeze until the popsicles are completely solid, which typically takes a minimum of 6 hours, or preferably overnight, for best results.
To unmold the frozen popsicles, briefly run the individual molds under hot tap water for a few seconds. This slight warming will loosen the popsicle from the mold, allowing you to gently ease it out without breaking. Serve immediately and enjoy!
Equipment
- Small saucepan
- Whisk
- Mixing bowls (medium and small)
- Measuring cups and spoons
- Popsicle molds (6-cavity, 120ml capacity each)
- Popsicle sticks
- Cutting board and knife (for strawberries)
Allergy information
Contains dairy (Greek yogurt, milk) and gluten (granola). For a gluten-free version, ensure you use certified gluten-free granola. For a dairy-free option, substitute with plant-based yogurt and milk.
Keywords: Yogurt popsicles, breakfast popsicles, healthy frozen treats, Greek yogurt recipes, strawberry granola, make-ahead breakfast, summer breakfast ideas, easy popsicles, fruit popsicles, nutritious snacks
Made this recipe? Leave a note below and tell us how it went — or save it to Pinterest for later.

James Parker
James Parker is the dad and home cook behind Recipes Dad. He writes practical, family-friendly recipes with clear steps, everyday ingredients and honest tips for busy weeknights.
More about James
Reader notes
Be the first to share how this recipe turned out, or ask a question — we read every note.