
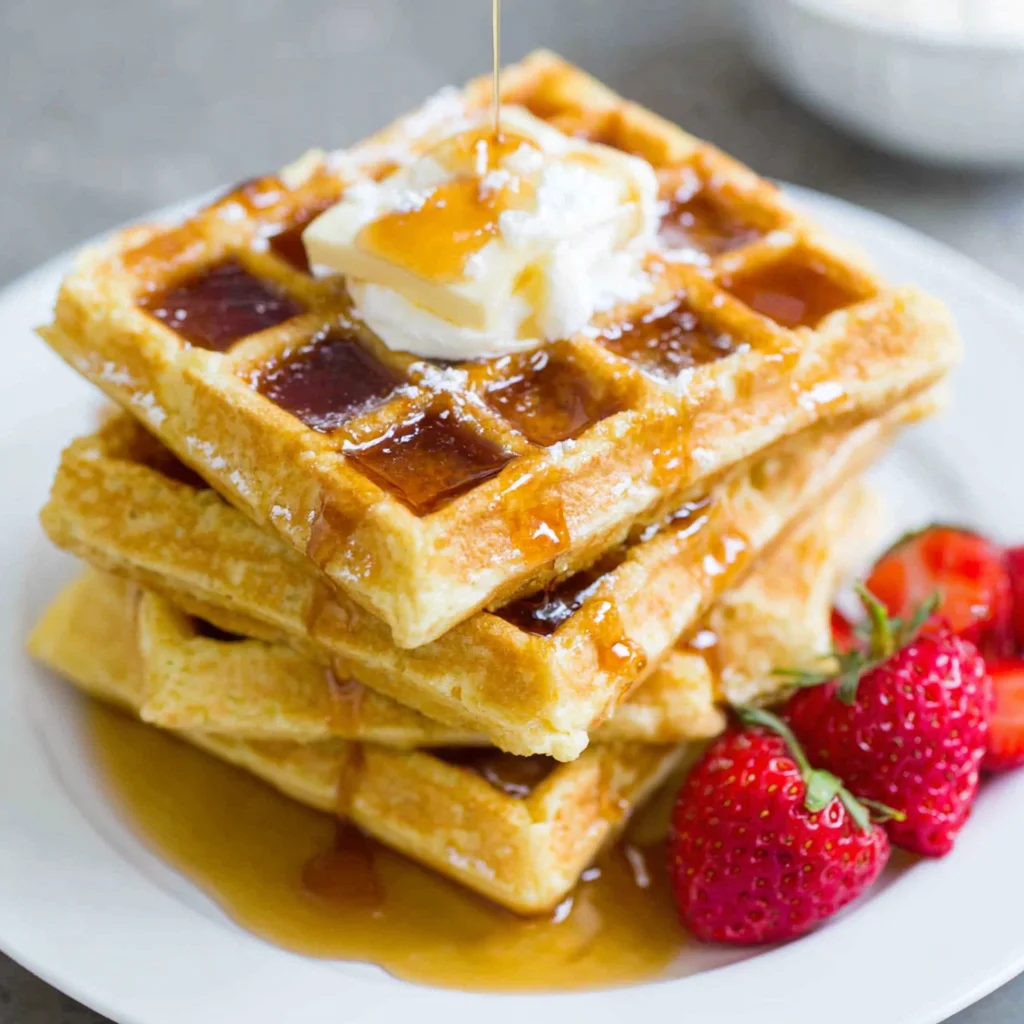
Easy Crispy Waffles
Unlock the secret to perfectly crisp waffles with this incredibly simple recipe. Featuring a thoughtful combination of leavening agents and a crucial resting period, this dish promises a golden exterior and a tender interior every time. It’s the ideal choice for a delightful breakfast or a decadent brunch.
Prep Time
15 minutes
Cook Time
20-30 minutes
Total Time
40-50 minutes (including rest time)
Servings
4-6 servings
Keywords
Why This Recipe Delivers
- Delivers an unparalleled crispness on the outside and a fluffy interior.
- Simple ingredients and straightforward steps make it perfect for any home cook.
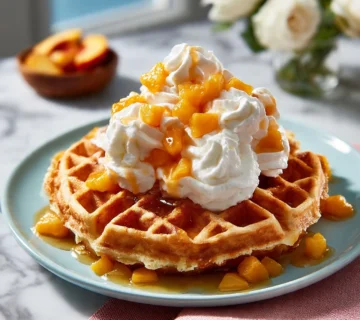
- Customizable with your favorite toppings for endless variations.
- Ideal for weekend breakfasts or a special brunch gathering.
- The added cornstarch ensures an extra-crispy texture that lasts.
Ingredients
- 130g (1 cup) all-purpose flour
- 30g (¼ cup) cornstarch
- ½ teaspoon fine sea salt
- ½ teaspoon baking powder
- ¼ teaspoon baking soda
- 1 tablespoon granulated sugar
- 235ml (1 cup) whole milk or buttermilk
- 80ml (⅓ cup) vegetable oil
- 1 teaspoon vanilla extract
- 1 large egg
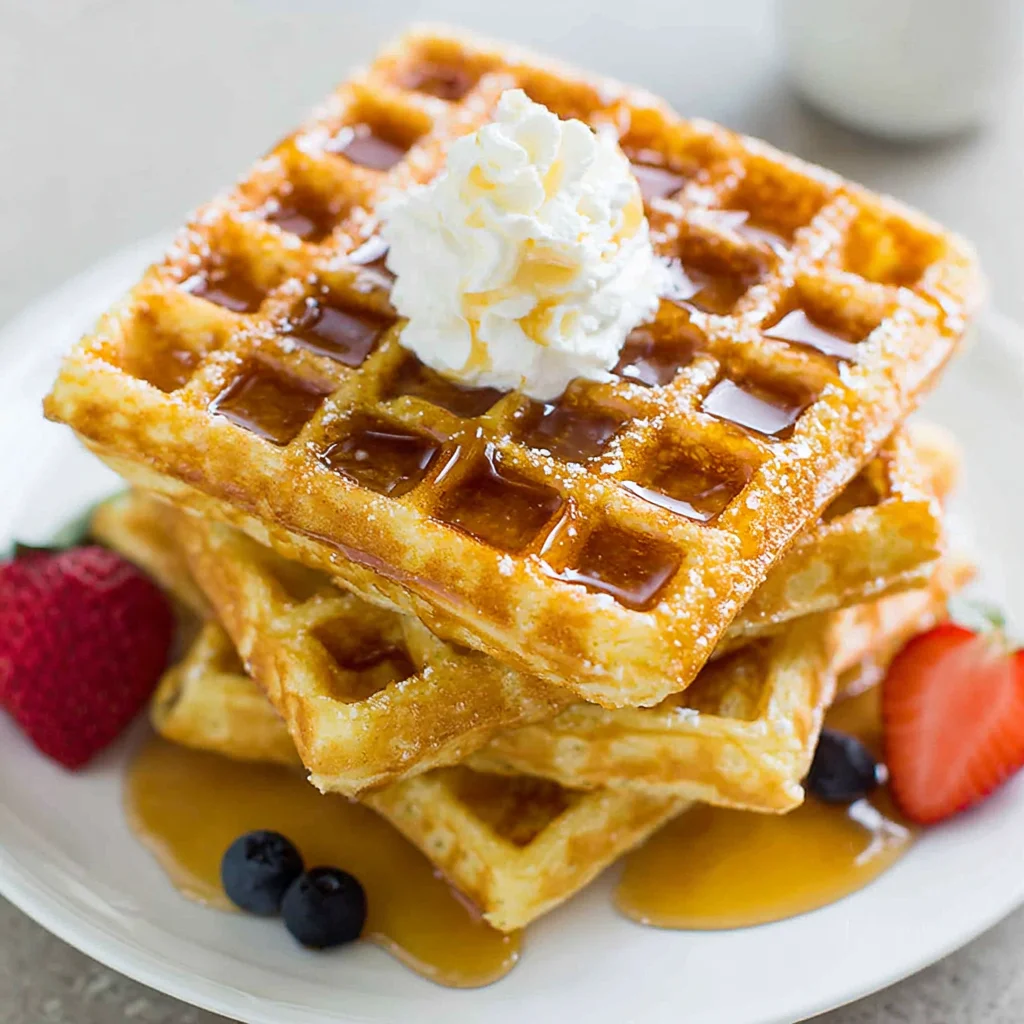
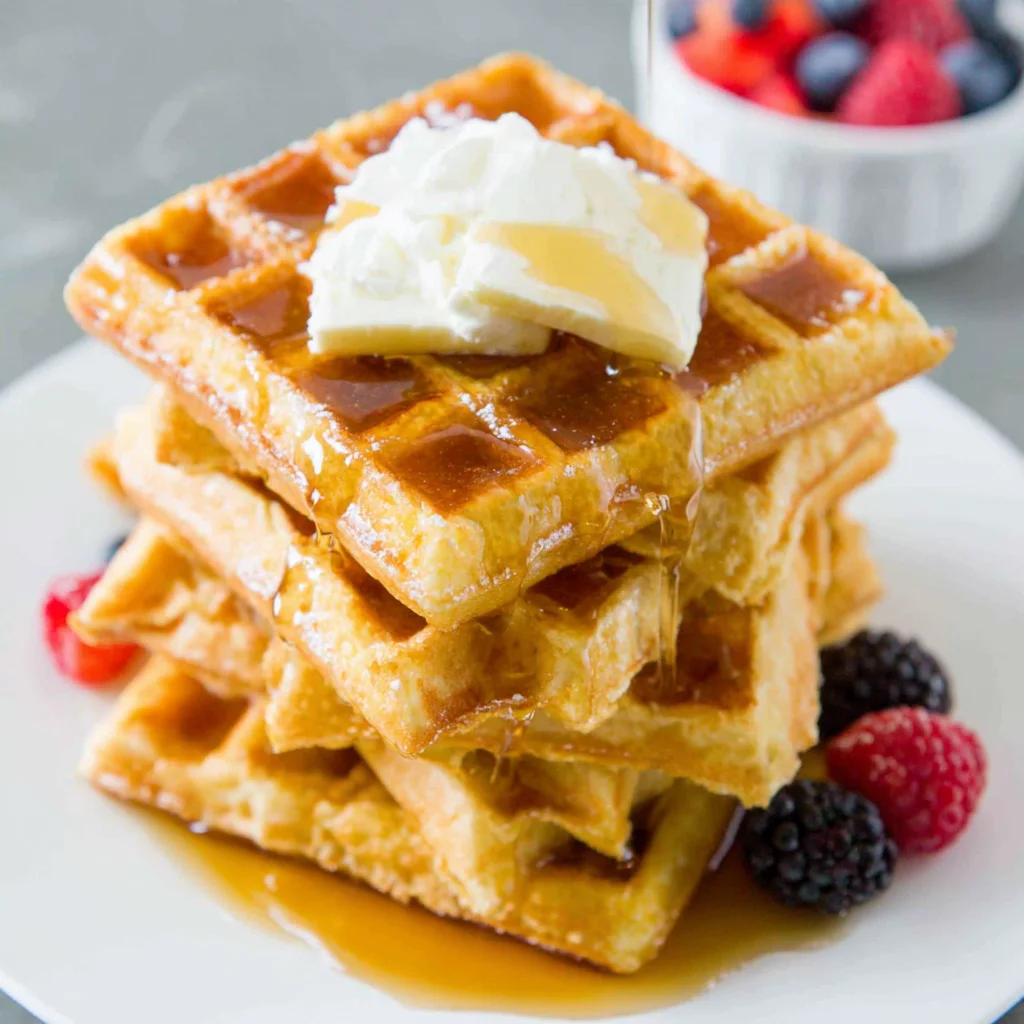
- Butter, maple syrup, whipped cream, and/or berries, for serving
Instructions
- Make the batter by combining the dry ingredients. In a large mixing bowl, thoroughly whisk together the all-purpose flour, cornstarch, fine sea salt, baking powder, baking soda, and granulated sugar. Whisking ensures an even distribution of the leavening agents, which is essential for a consistent rise and texture.
- Prepare the wet ingredients. In a separate, medium-sized bowl, whisk the whole milk or buttermilk, vegetable oil, large egg, and vanilla extract until well combined. The buttermilk, if used, will react with the baking soda to create extra lift and a tangy flavor.
- Combine the wet and dry mixtures. Pour the wet ingredient mixture into the bowl with the dry ingredients. Gently whisk until just combined. It is crucial not to overmix the batter; small lumps are perfectly acceptable and even desirable, as overmixing can develop gluten excessively, leading to tough waffles.
- Let the batter rest. Cover the bowl and set the batter aside for 10 to 20 minutes at room temperature. This resting period allows the flour to fully hydrate, resulting in a more tender crumb, and gives the leavening agents time to begin their work, contributing to a lighter, crispier waffle.
- Preheat your waffle iron. While the batter rests, heat your waffle iron to its highest setting. A very hot iron is key to achieving that desirable golden-brown and crispy exterior. If your iron has adjustable settings, begin at the highest and adjust if needed.
- Cook the waffles. Lightly brush the preheated waffle iron grids with melted butter or a little vegetable oil. Pour enough batter to generously fill the lower grid, being careful not to overfill. Close the lid and cook until the waffles are deeply golden brown and audibly crisp. The cooking time will vary depending on your waffle iron, but typically takes 3-5 minutes. If your waffles are browning too quickly, consider slightly lowering the heat setting for subsequent batches.
- Serve immediately or keep warm. Carefully remove the cooked waffles from the iron. Serve them immediately with your preferred toppings like butter, maple syrup, whipped cream, or fresh berries. If preparing a larger batch, keep cooked waffles warm and crispy by placing them in a single layer on a wire rack set over a baking sheet in a preheated oven at 93°C (200°F). Avoid stacking them outside the oven, as the steam will quickly cause them to become soft and lose their crispness.
Tools You’ll Need
- Large mixing bowl
- Medium mixing bowl
- Whisk
- Waffle iron
- Ladle or measuring cup for batter
- Pastry brush (optional, for oiling iron)
- Wire cooling rack
- Baking sheet (for keeping warm)
Essential Success Tips
- Do not overmix the batter; a few lumps are fine and contribute to a tender waffle.
- Ensure your waffle iron is fully preheated to its hottest setting before adding batter for the best crispness.
- Resist the urge to open the waffle iron too early; wait until steam largely subsides and the indicator light (if any) signals readiness.
- For maximum crispness, avoid stacking cooked waffles unless they are being kept warm in a low oven on a wire rack.
- If using whole milk instead of buttermilk, you can add ½ teaspoon of lemon juice or white vinegar to the milk and let it sit for 5 minutes to create a quick buttermilk substitute, enhancing tenderness and flavor.
Professional Cooking Secrets
- The cornstarch is your secret weapon for superior crispness; it interferes with gluten development and absorbs moisture, leading to a lighter, crunchier texture.
- A proper batter rest isn't just for gluten relaxation; it allows the leavening agents (baking powder and baking soda) to fully activate, giving your waffles a perfect rise and airy structure.
- For an even richer flavor, substitute some of the vegetable oil with melted butter, or use browned butter (beurre noisette) for a nutty depth, ensuring it's cooled slightly before mixing into the wet ingredients.
Notes
- Leftover waffles can be stored in an airtight container in the refrigerator for up to 3 days. To reheat, toast them in a toaster or toaster oven until crispy again.
- Waffles can also be frozen for longer storage. Place cooled waffles in a single layer on a baking sheet to freeze, then transfer to a freezer-safe bag. Reheat from frozen in a toaster or oven.
- For a savory twist, omit the sugar and add a pinch of garlic powder and dried herbs to the batter. Serve with fried chicken or a poached egg.
Frequently Asked Questions
Why did my waffles turn out soft instead of crispy?
Waffles often turn soft if the waffle iron wasn't hot enough, or if they were stacked immediately after cooking. The steam gets trapped, making them soggy. Always preheat your iron thoroughly and keep cooked waffles on a wire rack in a warm oven until serving.
Can I make this batter ahead of time?
While the batter benefits from a short rest, it's best to cook waffles soon after mixing. If you must prepare it in advance, you can mix the dry and wet ingredients separately and combine them just before cooking. The leavening agents are most active when fresh.
What's the difference between using whole milk and buttermilk?
Buttermilk reacts with the baking soda to create a more tender waffle with a slight tangy flavor and extra lift. Whole milk will still yield delicious results, especially with the baking powder, but buttermilk generally provides a superior texture and depth of flavor.
Nutrition Facts (Per Serving)
Calories: Approximately 280-320 per serving (without toppings), Protein: 8g, Fat: 15g, Carbs: 30g, Fiber: 1g
Allergy Information
Contains dairy, eggs, and gluten. For a dairy-free version, use a plant-based milk (such as almond or soy milk) and ensure it's unflavored and unsweetened. For a gluten-free option, use a high-quality gluten-free all-purpose flour blend, preferably one containing xanthan gum for structure.


No comment