
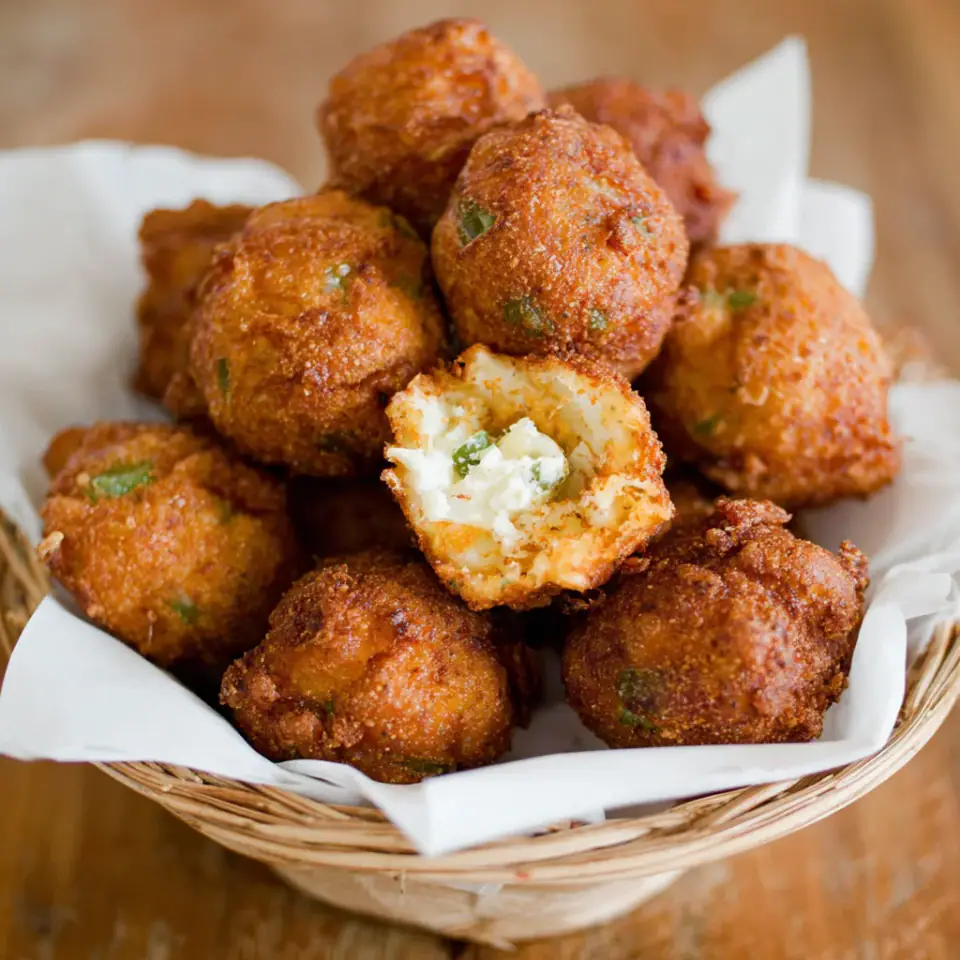
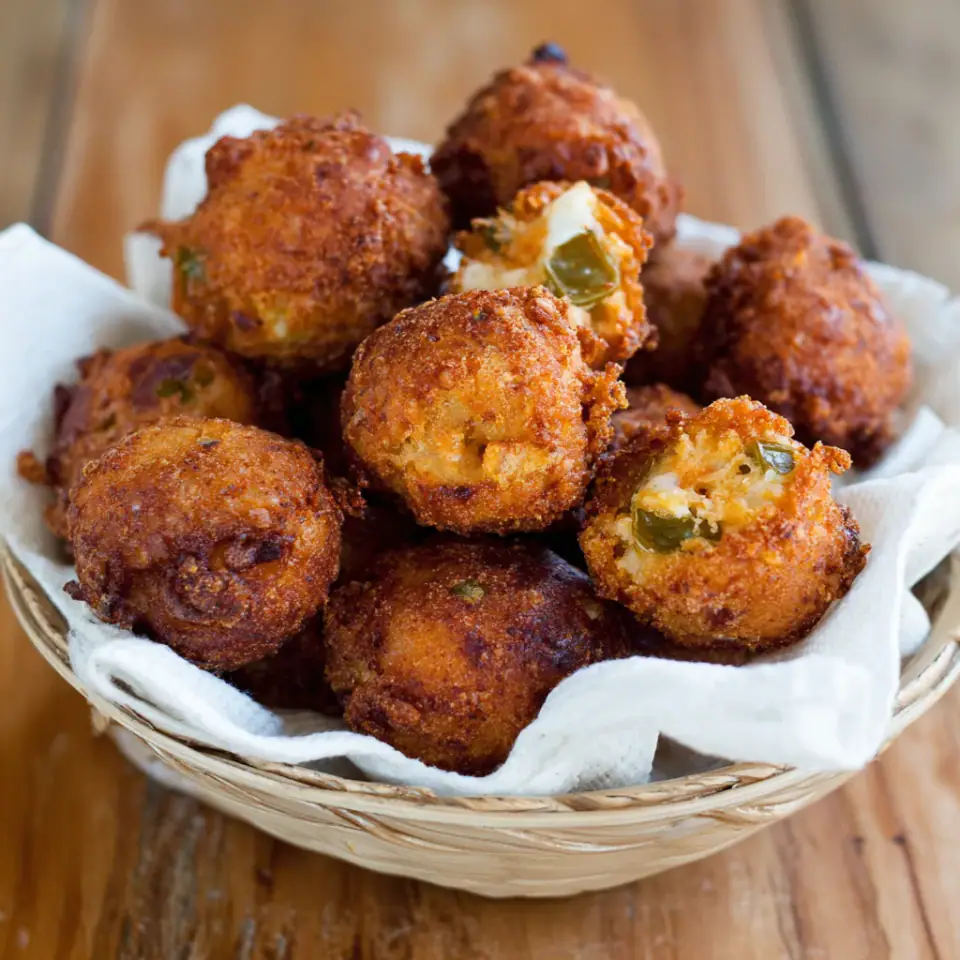
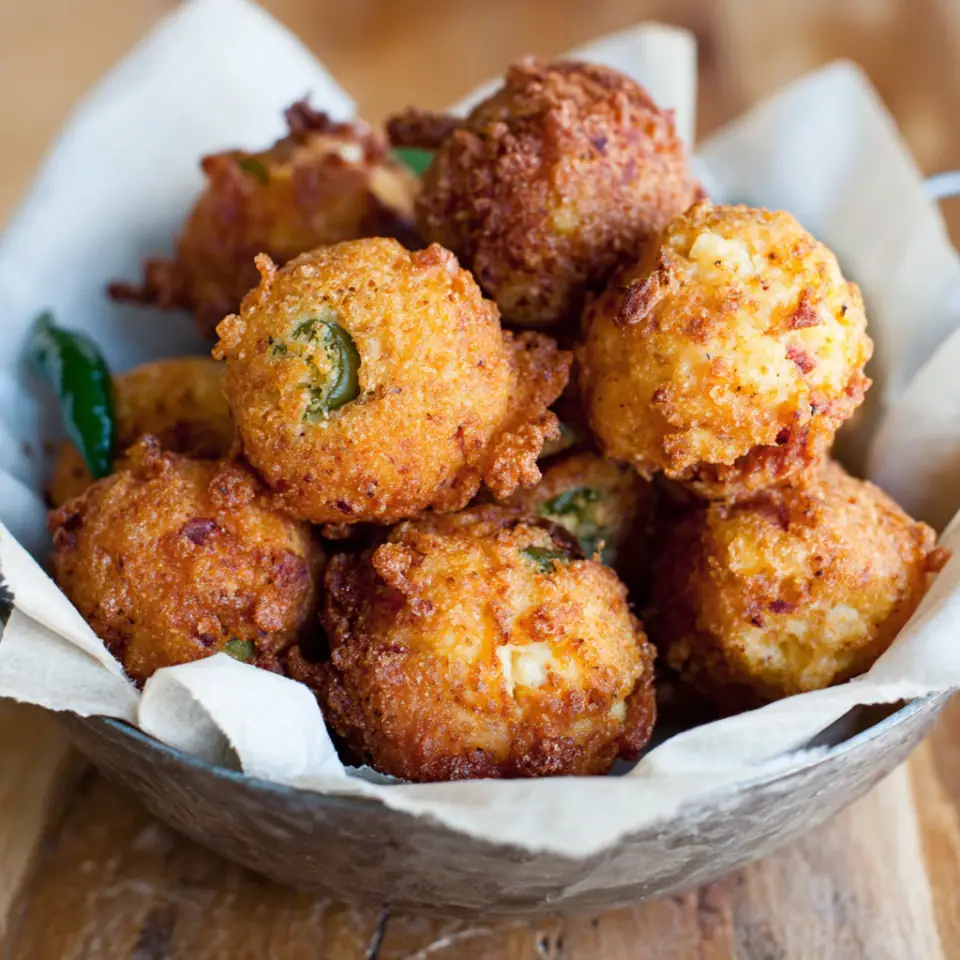
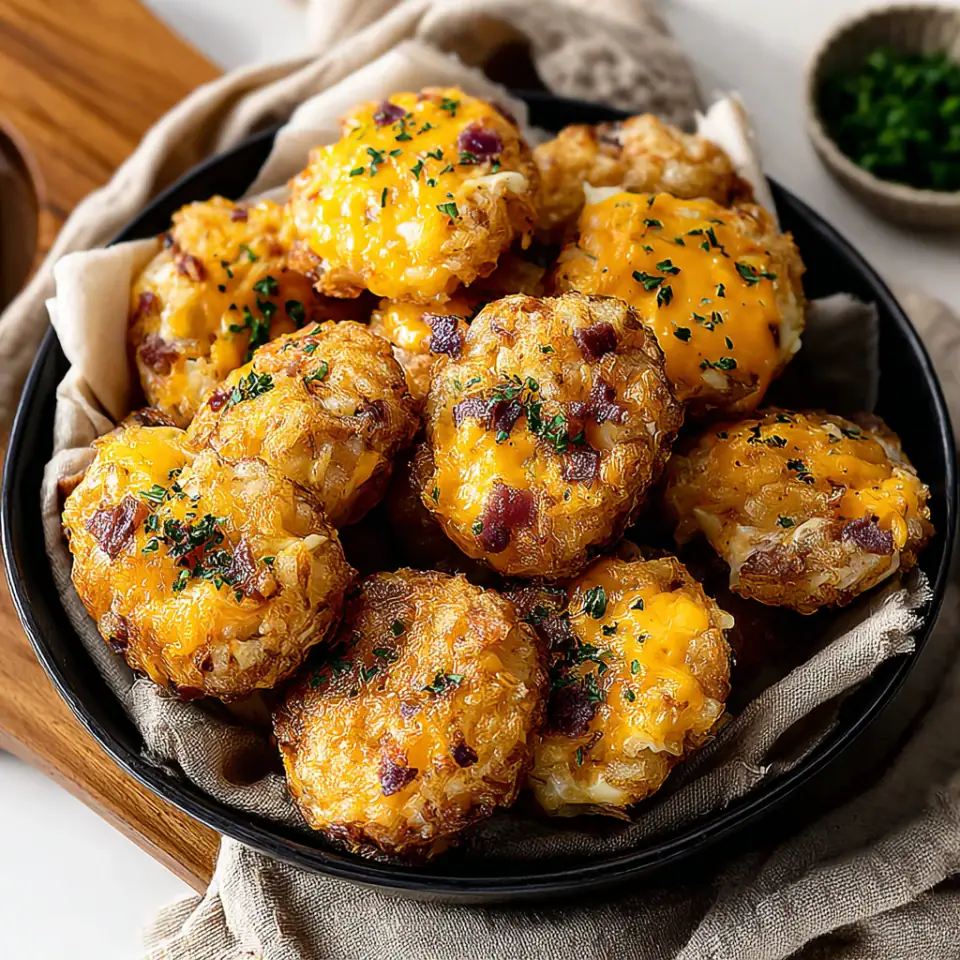
Indulge in the fiery, cheesy delight of these homemade Texas Roadhouse Rattlesnake Bites. Featuring a zesty blend of pepper jack cheese and diced jalapeños, each bite is perfectly breaded and deep-fried to a golden crisp. These irresistible appetizers are guaranteed to bring a kick to your next gathering or make for a sensational snack.
Why You’ll Love This Texas Roadhouse Rattlesnake Bites
- Explosive Flavor: A perfect balance of creamy, spicy, and savory.
- Crispy Perfection: Each bite boasts a satisfyingly crunchy exterior.
- Crowd-Pleaser: An irresistible appetizer that vanishes quickly at any gathering.
- Customizable Heat: Easily adjust the spice level by adding more or fewer jalapeños.
- Restaurant-Quality at Home: Recreate a beloved restaurant favorite in your own kitchen.
Tips for the Best Texas Roadhouse Rattlesnake Bites
- Freeze Longer for Firmer Bites: If time allows, freezing the cheese balls for up to an hour will make them even firmer, reducing the chance of them melting prematurely in the hot oil.
- Maintain Oil Temperature: Consistently monitor the oil temperature with a thermometer. If it drops too low, the bites will absorb too much oil and become greasy; if too high, they'll burn outside before cooking inside.
- Double Breading for Extra Crisp: For an extra thick and crispy coating, you can double-bread the cheese balls by repeating the egg wash and breadcrumb steps.
- Don't Overcrowd the Pot: Fry in small batches to ensure the oil temperature remains stable and the bites have enough space to cook evenly and get crispy.
- Season the Breading Generously: Don't skimp on the spices in the breadcrumb mixture; this is where a lot of the flavor and kick comes from.
How to Take It Further
Once you have made it the classic way, these small upgrades make it even better.
- To achieve a truly restaurant-style texture, incorporate a small amount of finely shredded cheddar cheese (about 50g) into your pepper jack mixture. This adds another layer of creaminess and depth of flavor without overpowering the spice.
- For maximum flavor infusion and a subtle heat that lingers, lightly toast your breadcrumbs in a dry pan for a few minutes before mixing with spices. This adds a nutty, more complex base to your coating.
- Consider a two-stage frying method: first, fry at 160°C (325°F) for 2 minutes to cook through and melt the cheese gently, then increase the heat to 190°C (375°F) for 1 minute to achieve a supremely crispy, golden crust.
Storage, Make-Ahead and Variations
- Storage: Leftover rattlesnake bites can be stored in an airtight container in the refrigerator for up to 3 days. Reheat in an air fryer or oven at 180°C (350°F) until warmed through and crispy.
- Variations: Experiment with adding a pinch of smoked paprika or a tiny amount of finely minced chipotle pepper for an extra layer of smoky flavor. For a milder version, use Monterey Jack cheese instead of pepper jack.
- Dipping Sauces: These bites pair wonderfully with a cool ranch dressing, a spicy sriracha aioli, or a tangy honey mustard.
Frequently Asked Questions
Can I bake these instead of frying?
While frying yields the best crispy texture, you can bake them. Place the breaded, frozen bites on a parchment-lined baking sheet and bake at 200°C (400°F) for 12-15 minutes, flipping halfway, until golden brown. They might not be as crispy as fried, but still delicious.
How do I make these less spicy?
To reduce the heat, ensure all seeds and membranes are completely removed from the jalapeños, as these contain most of the capsaicin. You can also use fewer jalapeños or substitute some with milder green chilies.
Can I prepare the cheese balls in advance?
Absolutely! The cheese balls can be shaped and frozen for up to 2-3 weeks. Store them in an airtight container or freezer bag. When ready to fry, bread them directly from the freezer and proceed with the frying instructions, adding an extra minute or two to the cook time.
Texas Roadhouse Rattlesnake Bites
Indulge in the fiery, cheesy delight of these homemade Texas Roadhouse Rattlesnake Bites. Featuring a zesty blend of pepper jack cheese and diced jalapeños, each bite is perfectly breaded and deep-fried to a golden crisp. These…
By James Parker · Recipes Dad
Ingredients
Instructions
In a spacious mixing bowl, combine the shredded pepper jack cheese and the finely diced jalapeños. Use your hands or a sturdy spoon to thoroughly mix the ingredients until the jalapeños are evenly distributed throughout the cheese. This ensures a consistent flavor in every bite.
Take small portions of the cheese mixture and roll them into uniform balls, approximately 4 centimeters (1 ½ inches) in diameter. Place these cheese balls onto a baking sheet lined with parchment paper. Transfer the sheet to the freezer and chill for a minimum of 30 minutes, or up to 60 minutes. This critical step helps the cheese balls maintain their shape and prevents them from melting too quickly during frying.
While the cheese balls are chilling, prepare your breading station. Set up three separate shallow bowls or dishes. In the first, place the all-purpose flour. In the second, whisk together the large egg and whole milk until well combined. In the third bowl, combine the breadcrumbs, cayenne pepper, smoked paprika, and garlic powder, mixing thoroughly to ensure the spices are evenly distributed.
Heat the neutral oil in a deep, heavy-bottomed pot or a deep fryer to 175°C (350°F). Use a kitchen thermometer to monitor the oil temperature accurately. Maintaining the correct temperature is crucial for achieving a crispy exterior without overcooking or burning the cheese.
Once the cheese balls are firm from freezing, begin the breading process. Working with one cheese ball at a time, first roll it in the flour, ensuring it is fully coated. Gently shake off any excess flour. Next, dip the floured cheese ball into the egg and milk mixture, allowing any excess to drip off. Finally, roll it generously in the seasoned breadcrumbs, pressing lightly to ensure a thick, even coating. Repeat this process for all cheese balls.
Carefully lower a few breaded cheese bites into the hot oil, ensuring not to overcrowd the pot. Frying in small batches is essential to maintain the oil's temperature and achieve even browning. Fry for approximately 3-4 minutes, turning occasionally, until they are golden brown and crispy on all sides.
Using a slotted spoon or spider, carefully remove the fried rattlesnake bites from the oil. Transfer them to a plate lined with several layers of paper towels to drain any excess oil. This helps them stay crispy and less greasy. Allow them to cool slightly before serving to prevent burning from the hot cheese inside. Serve immediately with your favorite dipping sauce, such as ranch or a zesty aioli.
Equipment
- Large mixing bowl
- Baking sheet
- Parchment paper
- 3 shallow bowls or dishes for breading
- Whisk
- Deep, heavy-bottomed pot or deep fryer
- Kitchen thermometer (for oil)
- Slotted spoon or spider
- Paper towels
Nutrition per serving
- Calories
- 280 kcal
- Carbohydrates
- 10 g
- Protein
- 12 g
- Fat
- 20 g
Estimated per serving; values vary with brands and portion size. See our nutrition disclaimer.
Allergy information
Contains dairy, eggs, and gluten. For a gluten-free version, use gluten-free all-purpose flour and gluten-free breadcrumbs.
Keywords: Texas Roadhouse, Rattlesnake Bites, cheese bites, fried cheese, jalapeño cheese, spicy appetizer, party food, game day snack, homemade recipe, crispy cheese
Made this recipe? Leave a note below and tell us how it went — or save it to Pinterest for later.

James Parker
James Parker is the dad and home cook behind Recipes Dad. He writes practical, family-friendly recipes with clear steps, everyday ingredients and honest tips for busy weeknights.
More about James
Reader notes
Be the first to share how this recipe turned out, or ask a question — we read every note.