
Unlock the secret to consistently tender and flavorful grilled chicken with this straightforward recipe. Whether you choose boneless breasts or succulent thighs, our simple brining method guarantees a juicy result every time. Infused with a classic blend of herbs and spices, this dish is perfect for a quick weeknight dinner, a healthy meal prep staple, or your next backyard barbecue gathering.
Why You’ll Love This Easy Grilled Chicken Recipe
- Guaranteed Juicy: The simple brine ensures your chicken stays incredibly moist and tender.
- Flavor-Packed: A robust spice blend delivers delicious taste in every bite.
- Quick & Convenient: Ready in under 30 minutes of active cooking, perfect for busy schedules.
- Versatile Meal: Excellent on its own, in salads, sandwiches, or alongside your favorite sides.
- Healthy & Lean: A lean protein option that fits a variety of dietary needs.
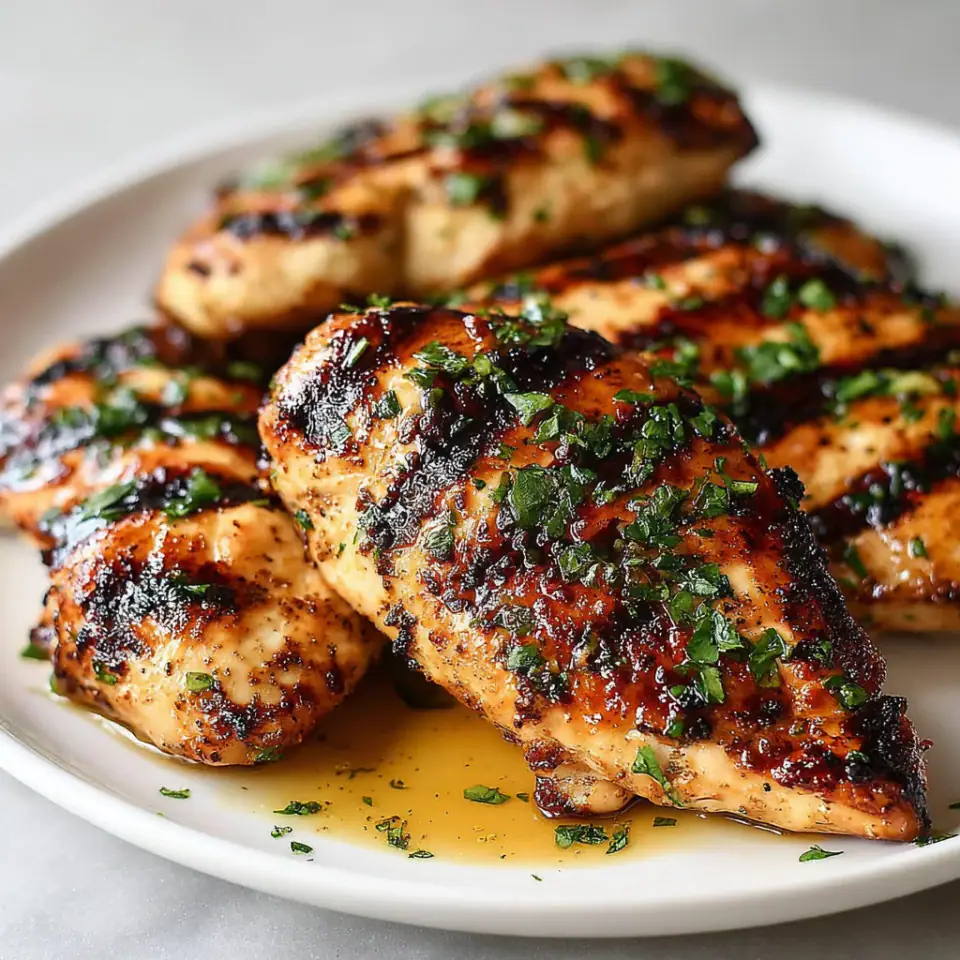
Tips for the Best Easy Grilled Chicken Recipe
- Do Not Skip the Brine: This step is non-negotiable for juicy chicken, especially with leaner chicken breasts. It seasons the meat from the inside out and helps retain moisture.
- Pat Dry, Really Dry: Excess moisture on the chicken surface prevents proper browning and grill marks. Use plenty of paper towels until the chicken is completely dry after brining.
- Preheat and Oil Your Grill: A hot, clean, and oiled grill is essential for preventing sticking and achieving those coveted, beautiful grill marks.
- Don't Overcrowd the Grill: Give each piece of chicken enough space for even cooking and proper air circulation. Overcrowding lowers the grill temperature and leads to steaming instead of grilling.
- Trust Your Thermometer: Visual cues can be misleading. An instant-read thermometer is your best friend for ensuring chicken is perfectly cooked to 74°C (165°F) without being dry.
How to Take It Further
Once you have made it the classic way, these small upgrades make it even better.
- Infuse Your Brine: For an extra layer of flavor, consider adding citrus slices (lemon, orange), fresh herb sprigs (rosemary, thyme), or even a few peppercorns to your brine solution.
- Compound Butter Finish: Just after removing the chicken from the grill, rub a small pat of herb-garlic compound butter over each piece. The melting butter will add incredible richness and a glossy finish as the chicken rests.
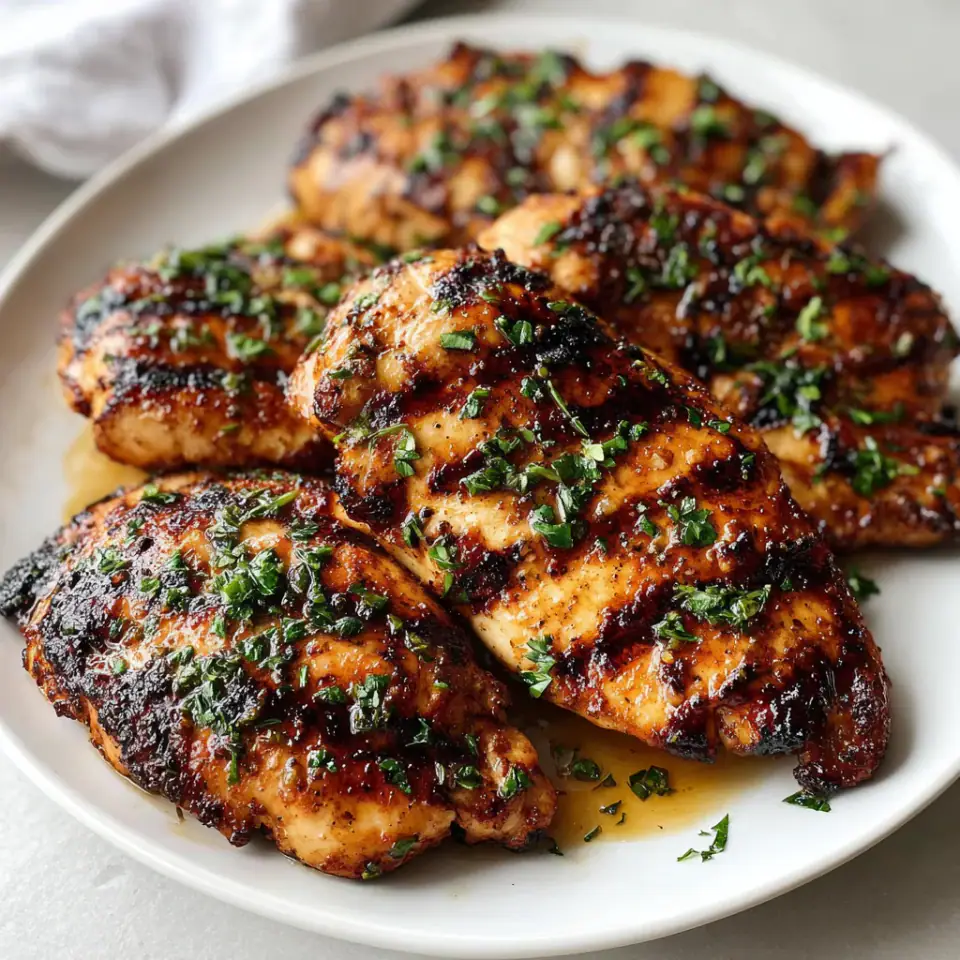
- The Art of the Sear: For a restaurant-quality char, consider searing the chicken first on high heat for 2-3 minutes per side for deep grill marks, then moving it to a cooler part of the grill or lowering the heat to finish cooking through slowly.
Storage, Make-Ahead and Variations
- Storage: Leftover grilled chicken can be stored in an airtight container in the refrigerator for up to 3-4 days. It's delicious cold in salads or reheated gently.
- Flavor Variations: Experiment with different spice blends! Try a lemon-herb mix, a smoky chipotle rub, or an Asian-inspired blend with ginger and five-spice powder.
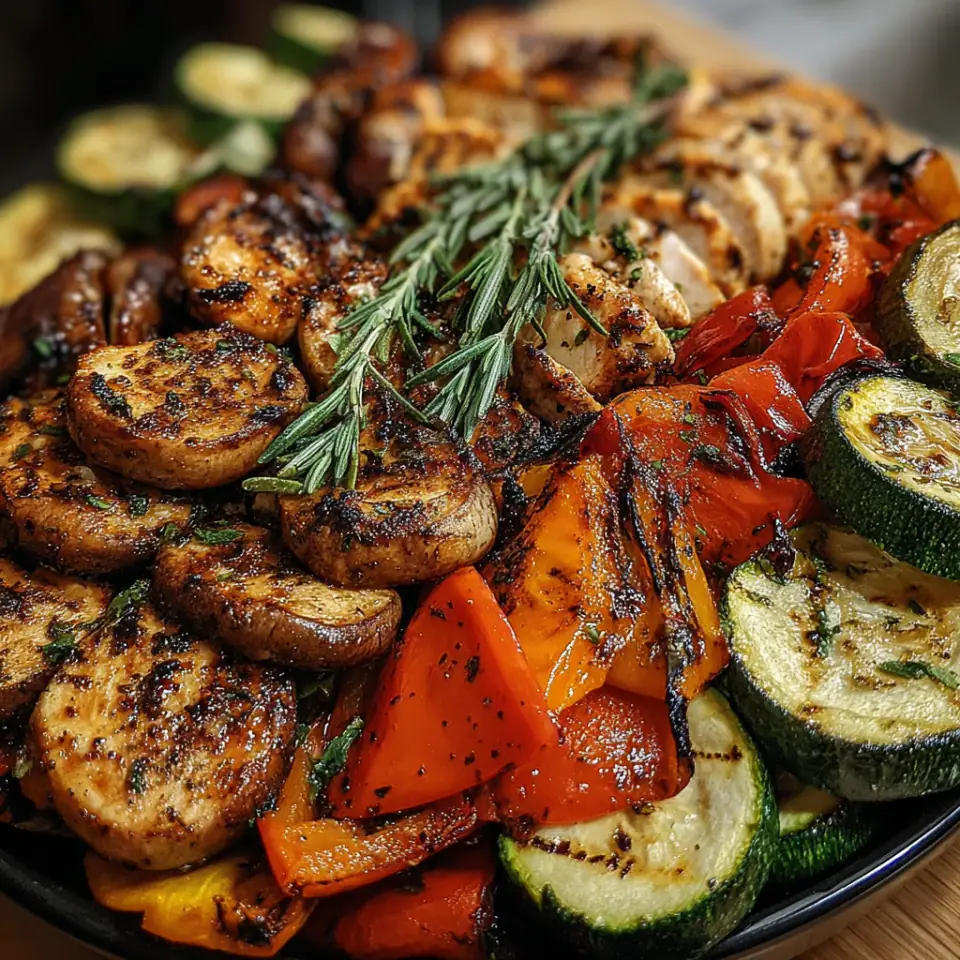
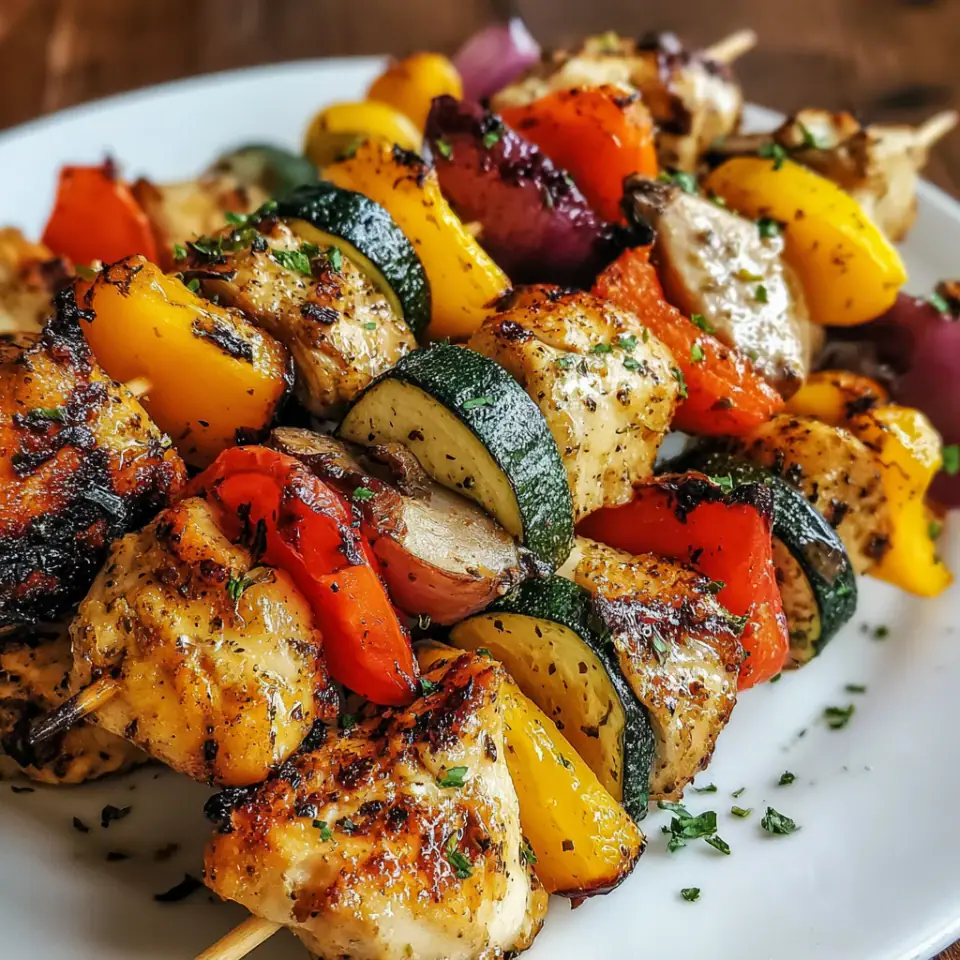
- Serving Suggestions: This chicken is incredibly versatile. Serve it with grilled vegetables, a fresh garden salad, roasted potatoes, rice, or even tucked into tortillas for tacos.
Frequently Asked Questions
Is brining absolutely necessary for grilled chicken?
While technically you can grill chicken without brining, it is highly recommended, especially for boneless, skinless chicken breasts. Brining ensures the chicken remains incredibly juicy, tender, and seasoned throughout, preventing it from drying out on the grill's high heat. If short on time, even a 30-minute brine makes a noticeable difference.
How can I tell if my chicken is cooked without a meat thermometer?
While a meat thermometer is the most reliable method, you can make an educated guess by cutting into the thickest part of a piece of chicken. The juices should run clear, and the meat should be opaque white throughout, with no pink remaining. However, relying on this method can sometimes lead to overcooked or undercooked chicken, so an instant-read thermometer (aiming for 74°C / 165°F) is always the safest bet.
Can I use frozen chicken for this recipe?
Yes, but you must completely thaw the chicken before brining and grilling. Attempting to brine or grill partially frozen chicken will result in uneven cooking and potentially unsafe internal temperatures. Thaw chicken overnight in the refrigerator or using the cold water method before proceeding with the recipe.
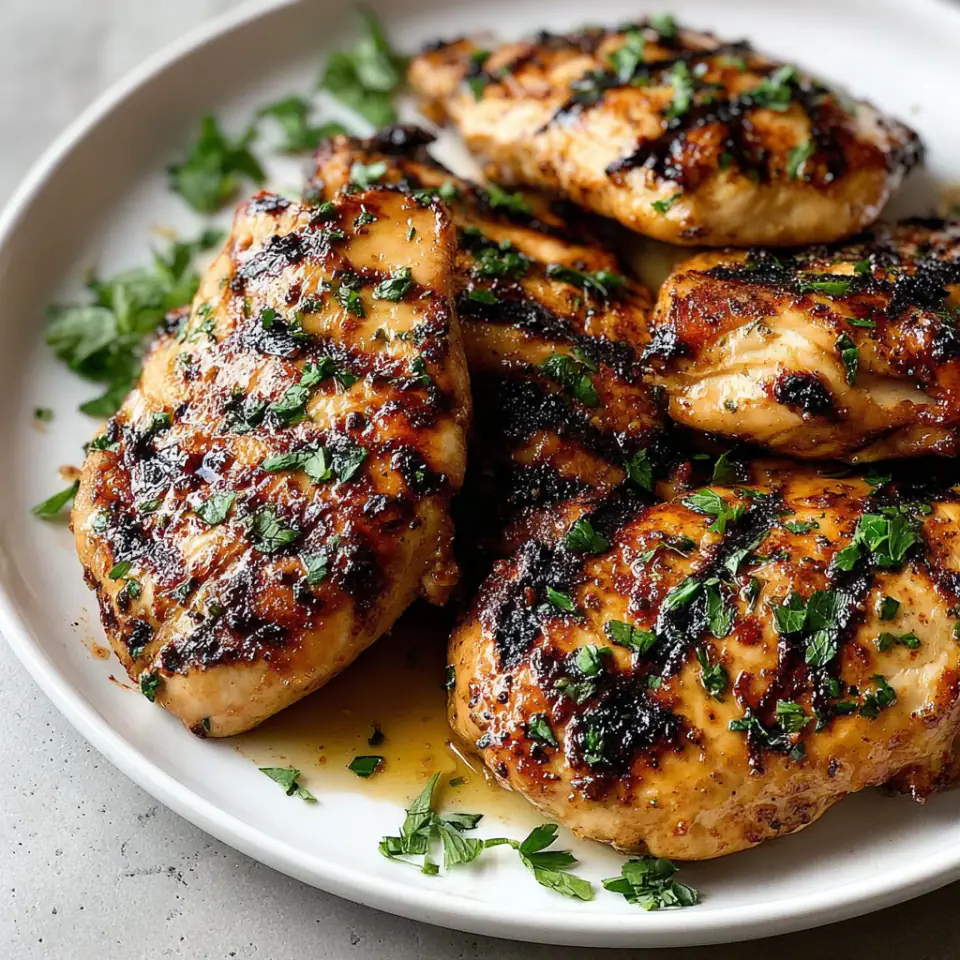
Easy Grilled Chicken Recipe
Unlock the secret to consistently tender and flavorful grilled chicken with this straightforward recipe. Whether you choose boneless breasts or succulent thighs, our simple brining method guarantees a juicy result every time. Infused with…
By James Parker · Recipes Dad
plus 30 minutes to 2 hours for brining
Ingredients
For the Simple Brine
Instructions
- Brine the Chicken
In a large bowl or container, combine the warm water, kosher salt, and brown sugar. Whisk until both the salt and sugar are completely dissolved. Add the smashed garlic cloves, then carefully submerge the chicken pieces into the brine, ensuring they are fully covered. Let the chicken brine at room temperature for 30 minutes or refrigerate for up to 2 hours. This crucial step is the key to incredibly juicy and seasoned-through grilled chicken, preventing it from drying out on the high heat of the grill.
- Prep and Season
Once brining is complete, remove the chicken from the brine solution and pat each piece thoroughly dry with paper towels. Achieving a very dry surface is essential for getting those beautiful, crisp grill marks and ensuring the seasoning adheres well. In a small bowl, combine the olive oil, salt, black pepper, garlic powder, paprika, dried oregano, and cayenne pepper (if using). Rub this spice mixture generously all over each piece of chicken, making sure both sides are evenly coated for maximum flavor.
- Heat Your Grill
Preheat your outdoor grill to medium-high heat, aiming for a temperature of approximately 190-205°C (375-400°F). While the grill heats, take the time to clean the grates thoroughly with a wire brush, then lightly oil them using a folded paper towel dipped in a little oil (held with tongs). This critical step prevents the chicken from sticking, ensuring easy flipping and pristine grill marks rather than a frustrating mess.
- Grill to Perfection
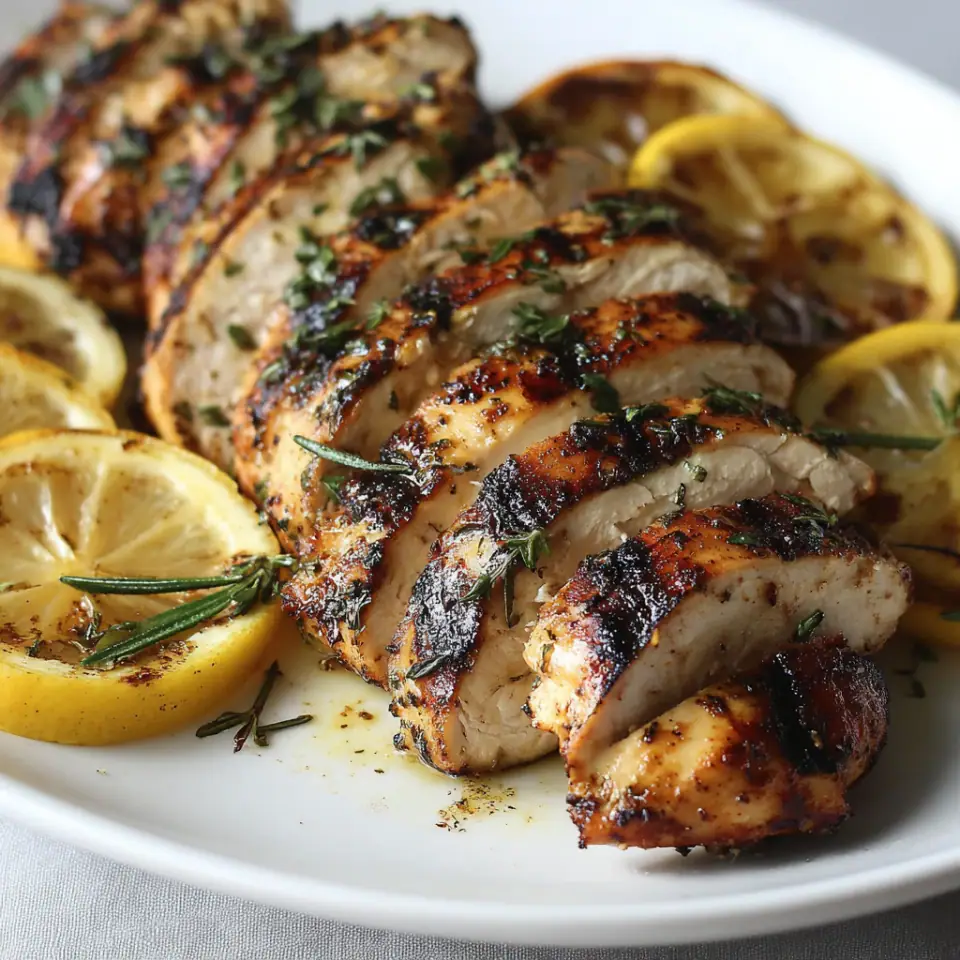
Carefully place the seasoned chicken pieces directly onto the hottest part of the preheated grill. Cook for 6-7 minutes without moving or flipping them. Resist the urge to peek or move the chicken, as this allows a beautiful crust and distinct grill marks to form. Once you see attractive grill marks and the edges appear cooked, flip the chicken. Continue to cook for another 5-6 minutes on the second side, or until the internal temperature reaches 74°C (165°F) when measured with an instant-read meat thermometer inserted into the thickest part of the chicken. Remove from the grill and let rest.
- Rest Before Serving
Transfer the grilled chicken to a cutting board or platter. Tent it loosely with foil and let it rest for 5-10 minutes before slicing or serving. This resting period allows the juices to redistribute throughout the meat, ensuring every bite is as tender and succulent as possible.
Equipment
- Outdoor grill (charcoal or gas)
- Large mixing bowl or food-safe container for brining
- Whisk
- Paper towels
- Small bowl for spice mix
- Basting brush (optional, for oiling grates)
- Tongs
- Instant-read meat thermometer
- Cutting board
Nutrition per serving
- Calories
- 280 kcal
- Carbohydrates
- 3–5 g
- Protein
- 35–40 g
- Fat
- 12–16 g
Estimated per serving; values vary with brands and portion size. See our nutrition disclaimer.
Allergy information
This recipe is naturally gluten-free and dairy-free. Always check the labels of your spice blends to ensure they do not contain hidden allergens. If you have a severe garlic allergy, omit the garlic powder and fresh garlic from the brine.
Keywords: easy grilled chicken, juicy chicken breast, grilled chicken recipe, healthy chicken dinner, quick weeknight meal, summer grilling, chicken thighs, flavorful chicken, brined chicken
Made this recipe? Leave a note below and tell us how it went — or save it to Pinterest for later.

James Parker
James Parker is the dad and home cook behind Recipes Dad. He writes practical, family-friendly recipes with clear steps, everyday ingredients and honest tips for busy weeknights.
More about James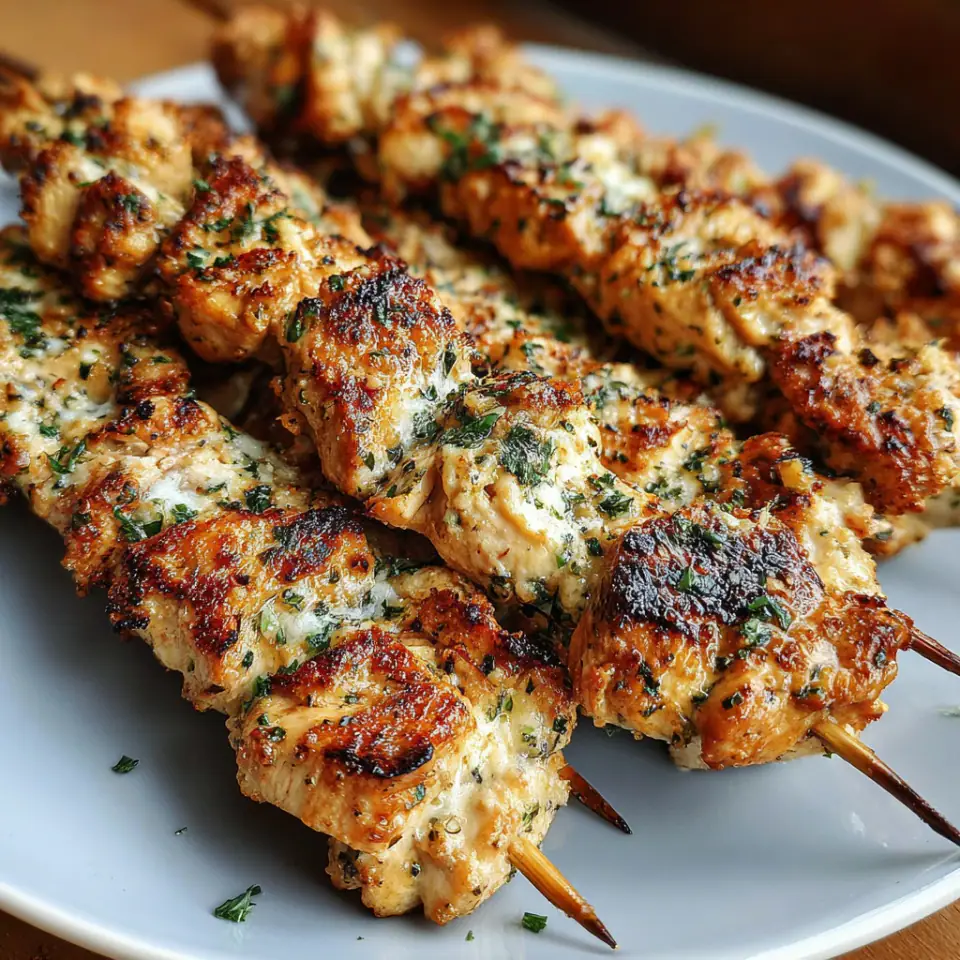
Reader notes
Be the first to share how this recipe turned out, or ask a question — we read every note.