
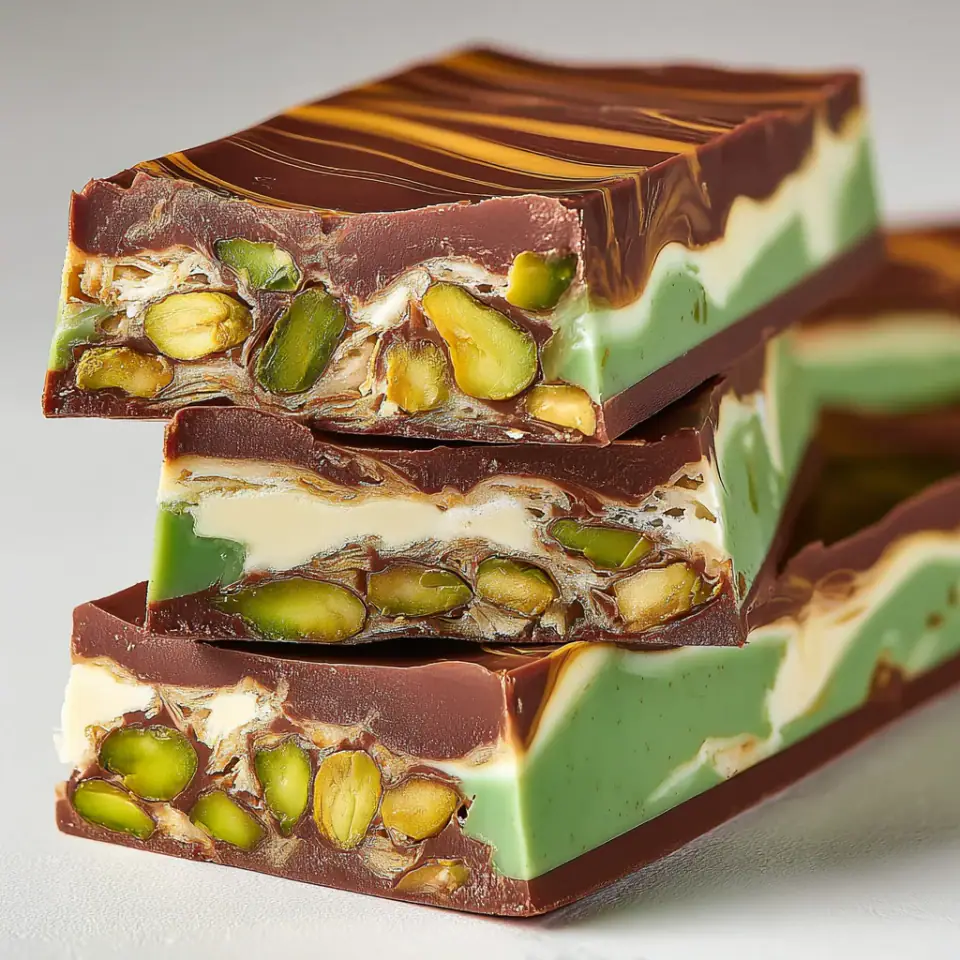
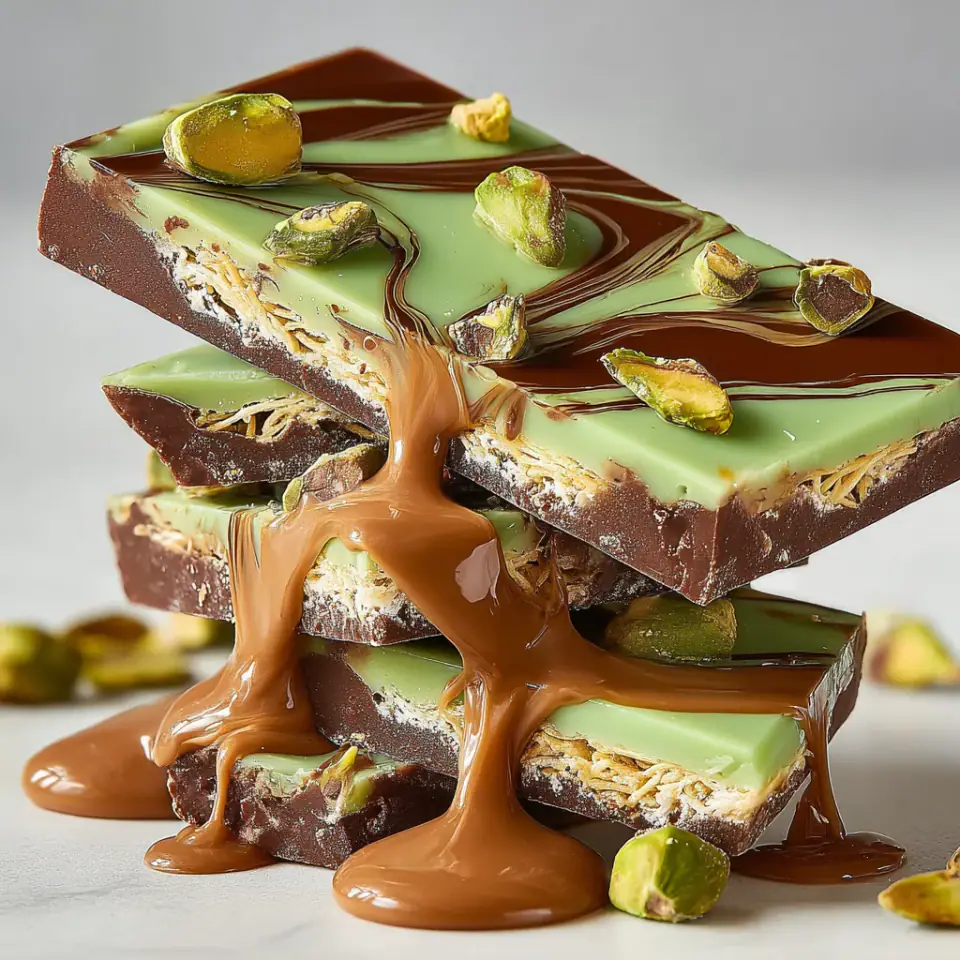
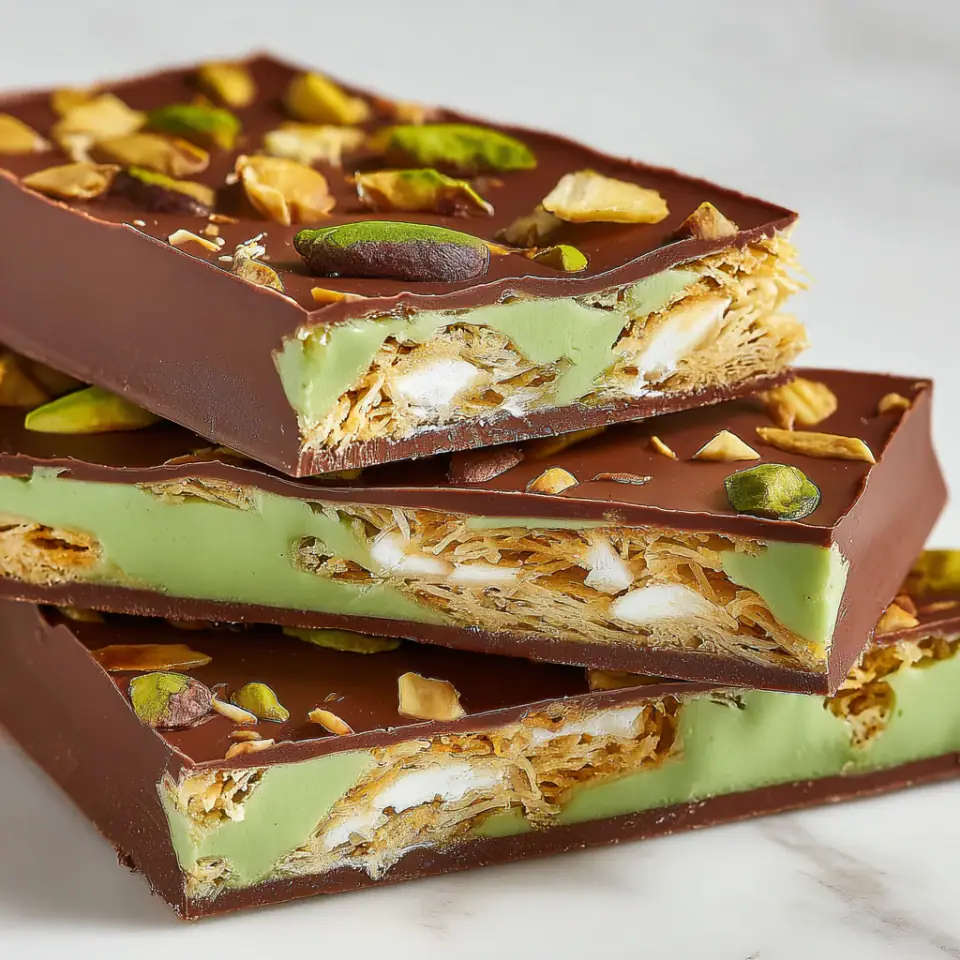
Indulge in the opulence of these homemade Dubai Chocolate Bars, a dessert that redefines luxury with its exquisite layers. Featuring perfectly tempered milk chocolate enrobing a creamy pistachio filling and a delightful crunch of golden kataifi, this confection offers an unparalleled textural and flavor experience. It's an elegant treat perfect for special occasions or when you simply crave something extraordinary.
Why You’ll Love This Dubai Chocolate Bars
- Offers a truly luxurious and gourmet chocolate experience right at home.
- Features multiple exciting textures, from crisp kataifi to creamy pistachio, enveloped in smooth chocolate.
- Impressive to serve, making it perfect for gifts or special events.
- A unique flavor profile that stands out from typical chocolate bars.
- Engaging and rewarding process for those who enjoy culinary projects.
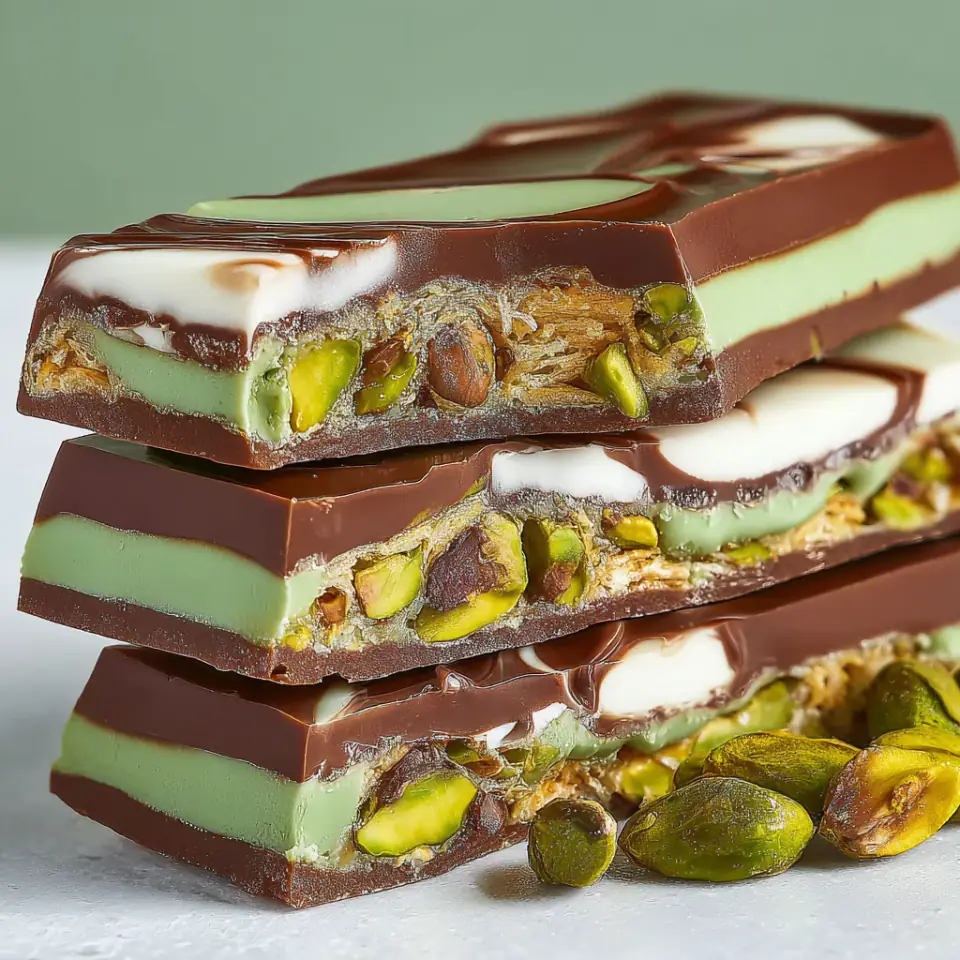
Tips for the Best Dubai Chocolate Bars
- Always use high-quality chocolate for tempering; it melts smoother and sets better, providing a superior taste and texture.
- Precision in tempering is key: follow the temperature guidelines carefully to achieve that perfect shiny finish and satisfying snap. If your chocolate appears dull or streaky after setting, it likely wasn't tempered correctly.
- Ensure all filling layers, especially the kataifi, are completely cool before assembling to prevent melting the chocolate shell and maintaining crispness.
- Do not rush the chilling process; allow ample time for the chocolate to set fully in the refrigerator. Attempting to unmold too early can result in breakage.
- When adding the melted white chocolate to the pistachio cream, ensure it is not too hot, as this could cause the mixture to seize. A gently warmed, fluid consistency is ideal.
How to Take It Further
Once you have made it the classic way, these small upgrades make it even better.
- For an extra layer of complexity in your pistachio cream, lightly toast the finely ground pistachios before incorporating them. This deepens their nutty flavor significantly.
- When tempering, if your chocolate cools too quickly or becomes too thick while working, you can gently re-warm it over the double boiler for just a few seconds, stirring constantly, to bring it back into temper without overheating. Aim to keep it within the working temperature range of 29-31°C (84-88°F).
- To achieve perfectly uniform bars, ensure your molds are impeccably clean and dry. Any moisture or residue can affect the final appearance and release of the chocolate.
Storage, Make-Ahead and Variations
- Storage: Store Dubai Chocolate Bars in an airtight container at room temperature (ideally 18-20°C / 64-68°F) for up to 2 weeks. Avoid refrigeration if possible, as it can cause condensation and dull the chocolate's shine.
- Variations: Experiment with different nuts for the filling, such as almonds or hazelnuts, or add a thin layer of date paste for a more traditional Middle Eastern twist. Dark chocolate can also be used for a more intense flavor profile.
Frequently Asked Questions
Why is tempering chocolate so important for this recipe?
Tempering chocolate is crucial because it aligns the cocoa butter crystals, resulting in a stable, shiny, and 'snappy' chocolate that melts smoothly in your mouth. Untempered chocolate can be dull, streaky, and prone to blooming (white streaks).
Can I make the pistachio cream ahead of time?
Yes, the pistachio cream can be made 1-2 days in advance and stored in an airtight container in the refrigerator. Bring it to room temperature and give it a quick whip before using to restore its smooth, spreadable consistency.
What if I don't have kataifi pastry?
While kataifi provides a unique texture, you can substitute it with other crunchy elements like finely crushed toasted phyllo dough, puffed rice cereal, or even finely crushed shortbread cookies mixed with a little butter for a different, but still delicious, crunch.
Dubai Chocolate Bars
Indulge in the opulence of these homemade Dubai Chocolate Bars, a dessert that redefines luxury with its exquisite layers. Featuring perfectly tempered milk chocolate enrobing a creamy pistachio filling and a delightful crunch of golden…
By James Parker · Recipes Dad
Ingredients
Instructions
Prepare the kataifi crunch by first preheating your oven to 160°C (325°F) or warming a large pan over medium heat. In a bowl, gently separate the kataifi strands, then toss them with the melted unsalted butter or ghee, a pinch of salt, and vanilla extract until evenly coated. Spread the kataifi in a single layer on a baking sheet or in the pan.
Toast the kataifi until it turns a beautiful golden brown and becomes perfectly crisp. This typically takes 10-15 minutes in the oven, stirring halfway, or about 8-10 minutes in a pan, stirring continuously. Once golden, immediately remove it from the heat and spread it out on a tray to cool completely. Ensuring it is fully cooled is crucial for maintaining its crisp texture within the chocolate bars.
- Prepare the luxurious pistachio cream filling
In a medium bowl, combine the unsalted pistachio butter (or finely ground pistachios if using, ensuring they are very finely milled for a smooth texture), tahini, and powdered sugar. Mix thoroughly until all ingredients are well incorporated and the mixture is smooth.
If using, add the melted white chocolate to the pistachio mixture. This step is optional but highly recommended as the white chocolate acts as a stabilizer, providing a glossier finish and firmer texture to the cream. Whip the mixture vigorously for a few minutes, either by hand or with an electric mixer, until it becomes glossy, smooth, and easily spreadable or pipeable. Set aside at room temperature.
- Begin the chocolate tempering process
Finely chop the entire amount of high-quality milk chocolate. Place approximately two-thirds (around 330 grams) of the chopped chocolate into a heatproof bowl set over a saucepan of simmering water (a double boiler), ensuring the bowl does not touch the water. Gently melt the chocolate, stirring frequently, until it reaches a temperature of 45-50°C (113-122°F).
- Remove the bowl from the heat
Gradually add the remaining one-third (about 170 grams) of the chopped, unmelted chocolate to the melted chocolate. Stir continuously with a spatula, allowing the unmelted chocolate to slowly melt and cool down the mixture. Continue stirring until all the chocolate is melted, smooth, and the temperature drops to 29-31°C (84-88°F). This 'seeding' method ensures the chocolate is perfectly tempered, resulting in a shiny, snap-ready finish.
Line your chosen chocolate bar mold (silicone or polycarbonate) with a thin, even layer of the tempered milk chocolate. Use a small offset spatula or the back of a spoon to ensure the bottom and sides are fully coated. Gently tap the mold on the counter to release any air bubbles, then scrape off any excess chocolate from the top edges. Allow this shell to set partially at room temperature for a few minutes or briefly in the refrigerator for 1-2 minutes until firm to the touch.
Once the chocolate shell is firm, add a generous layer of the completely cooled, crispy kataifi crunch into each mold cavity. Gently press it down lightly to ensure it adheres to the chocolate shell.
Carefully pipe or spoon the prepared pistachio cream over the kataifi layer. Ensure an even distribution, leaving a small space at the top of the mold for the final chocolate layer. You can use a piping bag with a round tip for precision or a small spoon for a more rustic approach.
Add another layer of the crunchy kataifi over the pistachio cream. This provides an additional textural element and helps create a stable base for the final chocolate cap.
Cap each chocolate bar with the remaining tempered milk chocolate. Pour or spoon the chocolate over the kataifi, ensuring it completely covers the filling and reaches all edges of the mold. Gently tap the mold again on the counter to level the chocolate and eliminate any remaining air bubbles.
Chill the filled chocolate bars in the refrigerator for at least 30-60 minutes, or until they are completely set and firm. Once fully set, carefully unmold the bars. They should release easily if the chocolate was tempered correctly. Store in an airtight container at room temperature or in a cool, dry place.
- Thirteenth Step
Enjoy your luxurious homemade Dubai Chocolate Bars! They are best consumed within 1-2 weeks for optimal freshness and texture.
Equipment
- Chocolate bar molds (silicone or polycarbonate)
- Double boiler setup (heatproof bowl over saucepan)
- Digital kitchen thermometer
- Offset spatula
- Piping bag and round tip (optional)
- Mixing bowls
- Spatulas
- Baking sheet or large frying pan
- Sharp knife and cutting board (for chopping chocolate)
Nutrition per serving
- Calories
- 280–320 per bar kcal
- Carbohydrates
- 20–25 g
- Protein
- 5 g
- Fat
- 22–25 g
Estimated per serving; values vary with brands and portion size. See our nutrition disclaimer.
Allergy information
Contains dairy (milk chocolate, butter), tree nuts (pistachios), and sesame (tahini). For a dairy-free version, use dairy-free chocolate and butter substitutes. Ensure all ingredients are gluten-free if catering to gluten sensitivities, as some chocolate or kataifi brands may contain traces of gluten.
Keywords: Dubai chocolate, homemade chocolate, luxurious dessert, pistachio chocolate bar, kataifi dessert, tempered chocolate, gourmet chocolate, elegant dessert, special occasion treat, high-end confection
Made this recipe? Leave a note below and tell us how it went — or save it to Pinterest for later.

James Parker
James Parker is the dad and home cook behind Recipes Dad. He writes practical, family-friendly recipes with clear steps, everyday ingredients and honest tips for busy weeknights.
More about James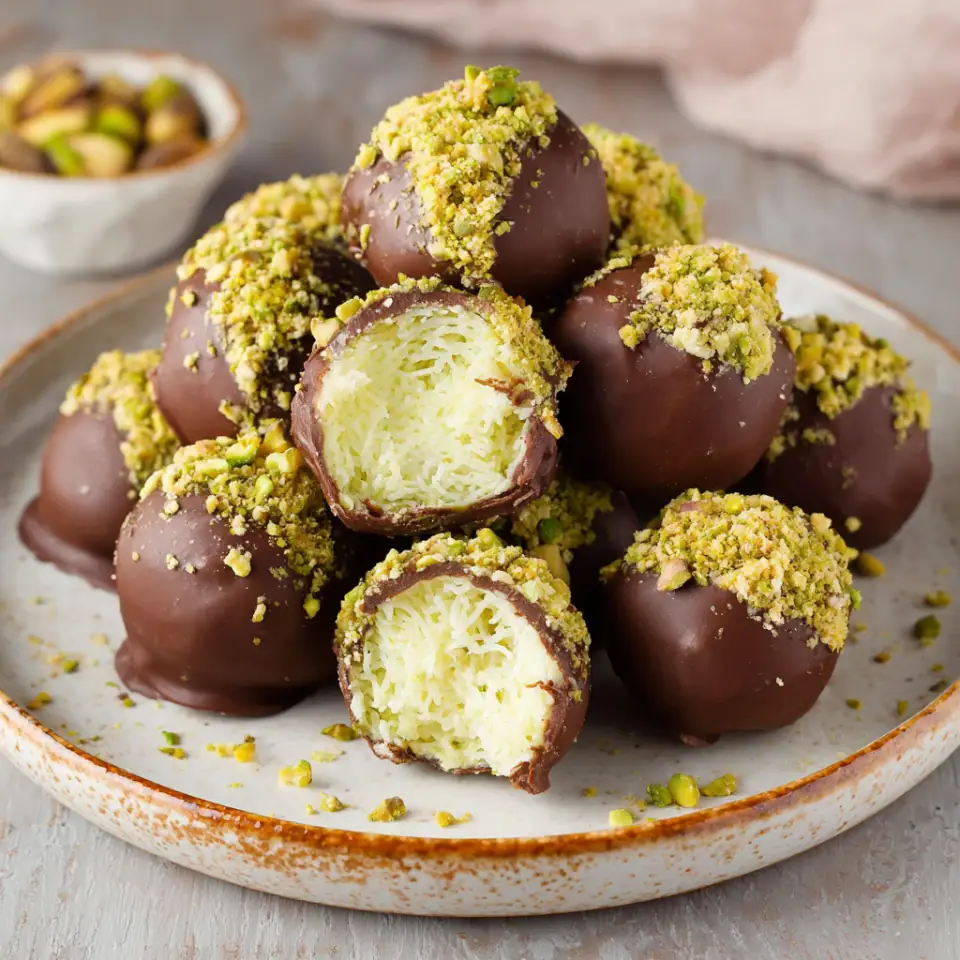

Reader notes
Be the first to share how this recipe turned out, or ask a question — we read every note.