
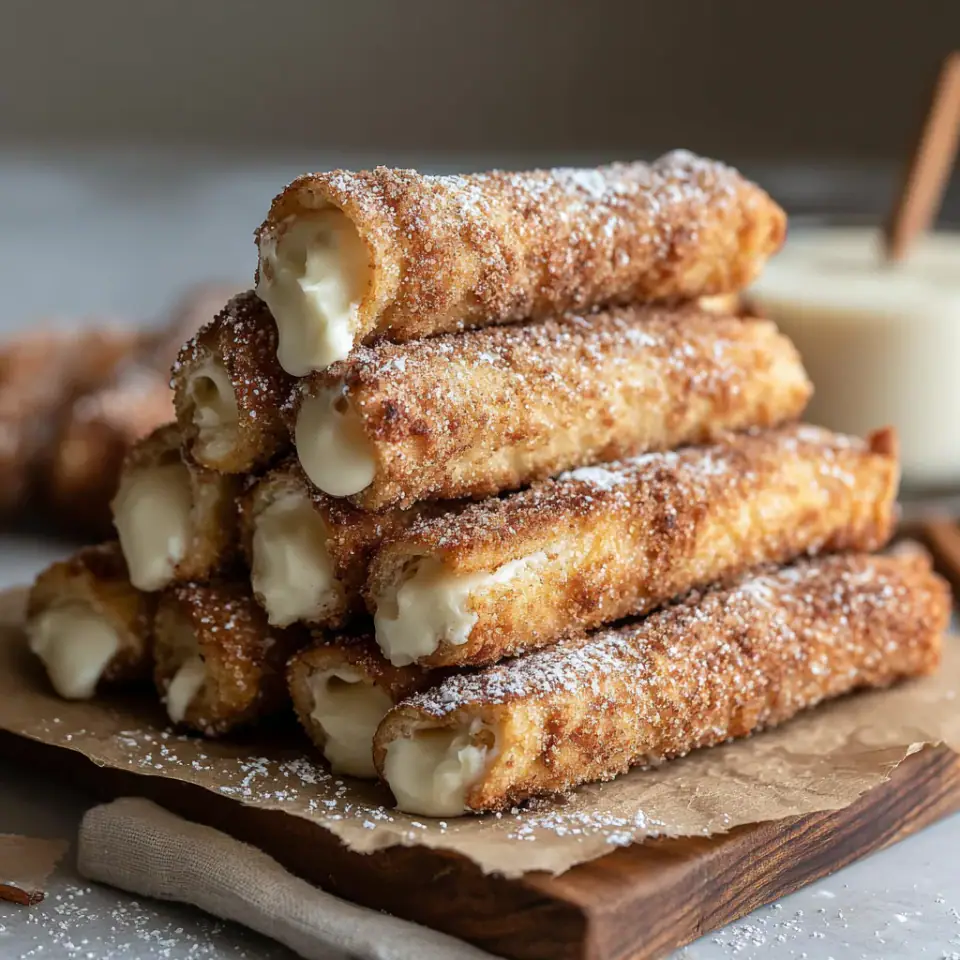
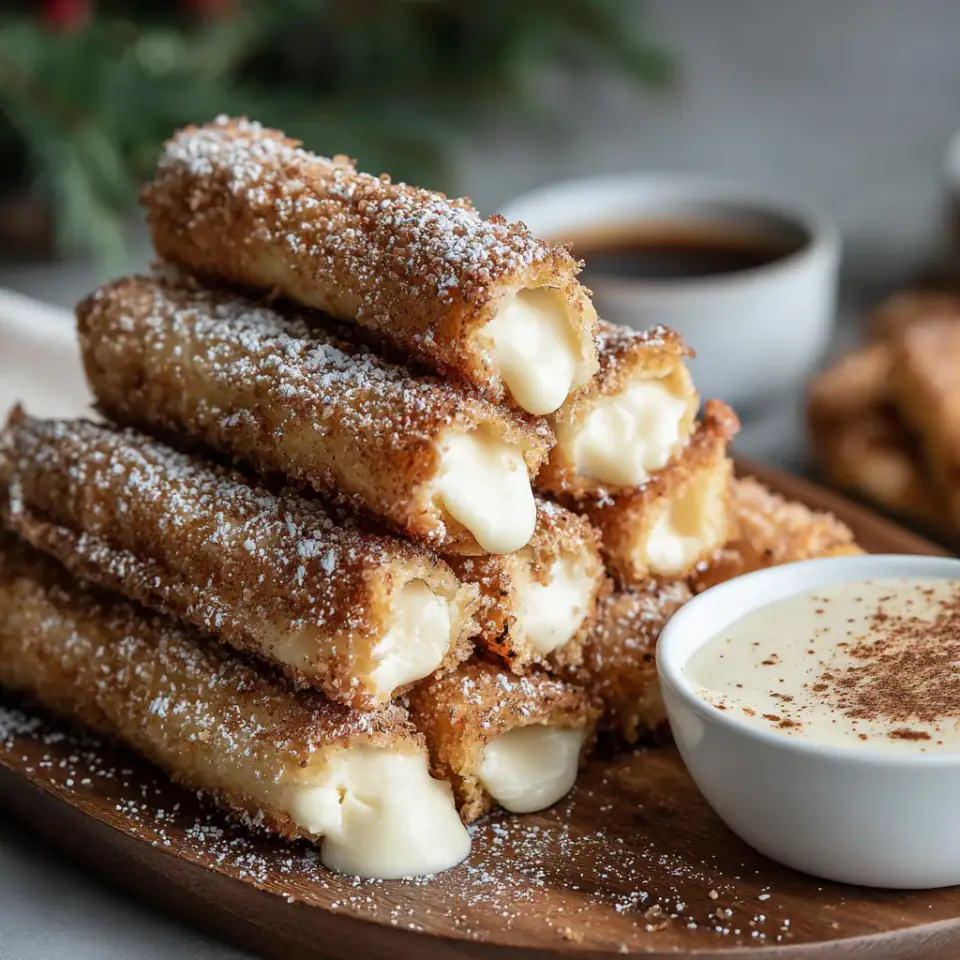
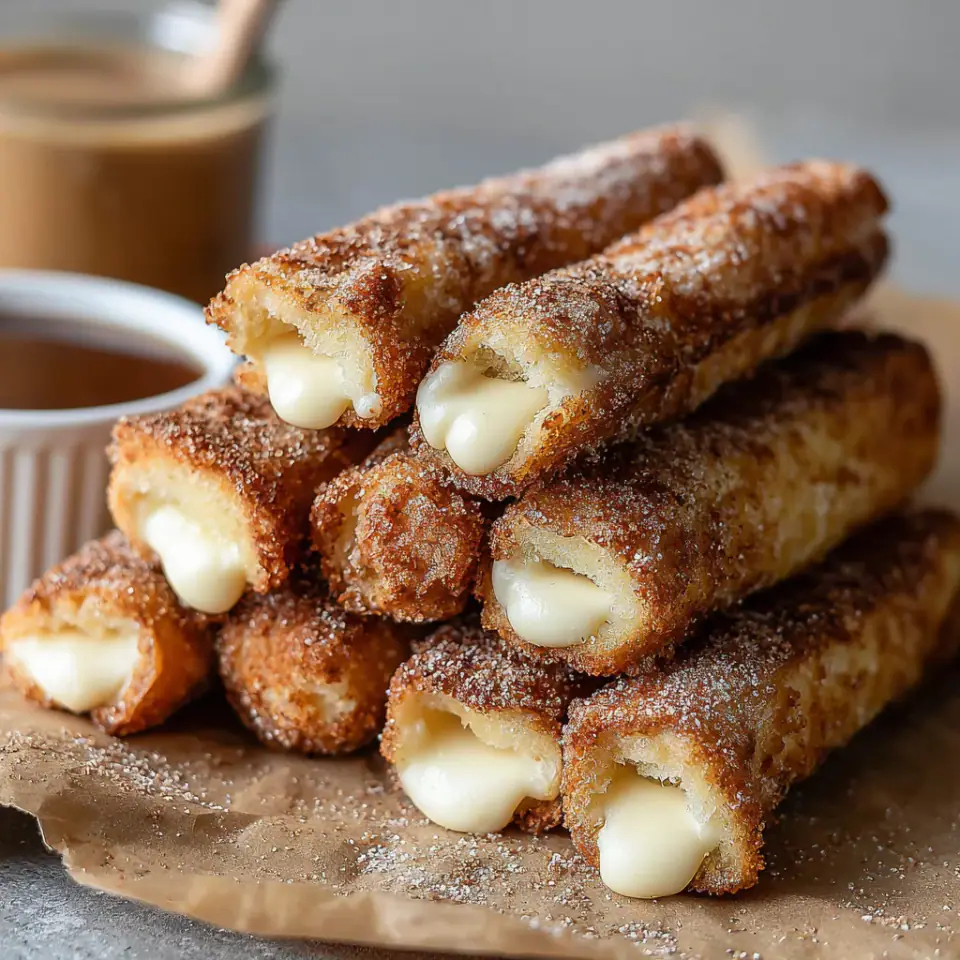
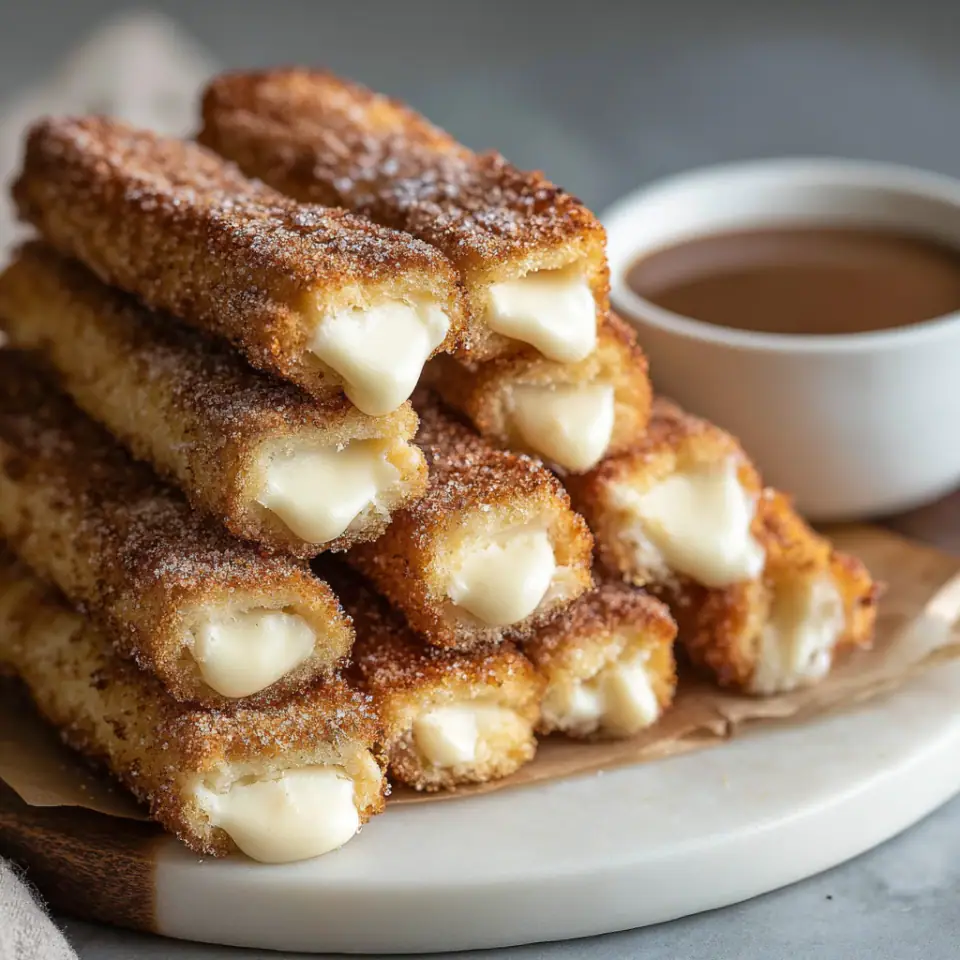
Indulge in these utterly irresistible Crack Sticks, a delightful treat featuring soft, flattened bread generously spread with a sweet cream cheese filling, then rolled, buttered, and coated in a captivating cinnamon-sugar blend. Baked to golden perfection, these sticks offer a crispy exterior giving way to a warm, gooey center, making them an instant favorite for any time of day.
Why You’ll Love This Crack Sticks
- Irresistibly sweet and tangy, with a perfect balance of flavors.
- Features a delightful contrast of crispy exterior and warm, gooey cream cheese filling.
- Super easy to make with common pantry staples, requiring minimal culinary skill.
- A versatile treat perfect for breakfast, brunch, an afternoon snack, or a simple dessert.
- Kid-friendly and guaranteed to be a hit with family and friends.
Tips for the Best Crack Sticks
- Ensure your cream cheese is truly softened to room temperature for a lump-free, silky smooth filling.
- Flatten the bread slices as thinly as possible; this creates a better roll and a crispier final product.
- Roll the bread sticks as tightly as you can to prevent the filling from oozing out during baking.
- Do not overcrowd your baking sheet. Give each stick space to brown evenly on all sides.
- Bake until deeply golden brown for the best texture and flavor development in the cinnamon-sugar coating.
How to Take It Further
Once you have made it the classic way, these small upgrades make it even better.
- For an extra layer of flavor, add a tiny pinch of fine sea salt to your cinnamon-sugar mixture. It surprisingly enhances the sweetness and complexity.
- Experiment with adding a very small amount of orange zest or vanilla extract to the cream cheese filling for a subtle aromatic twist.
- To achieve an even crispier exterior, briefly toast the flattened bread slices in a dry pan for 30 seconds per side before adding the filling and rolling.
Storage, Make-Ahead and Variations
- Storage: Leftover Crack Sticks can be stored in an airtight container at room temperature for up to 2 days, or in the refrigerator for up to 4 days. Reheat gently in a microwave or oven for best texture.
- Variations: Consider adding a thin layer of finely chopped nuts, mini chocolate chips, or a fruit preserve (like raspberry or apricot) over the cream cheese before rolling for different flavor profiles.
- Serving Suggestion: These are wonderful served with a side of warm maple syrup, a dollop of whipped cream, or a dusting of extra powdered sugar.
Frequently Asked Questions
Can I prepare Crack Sticks ahead of time?
Yes, you can prepare the rolls and coat them with butter and cinnamon sugar, then arrange them on the baking sheet. Cover loosely and refrigerate for up to 12 hours. Bake directly from the refrigerator, adding a few extra minutes to the baking time if needed.
What kind of bread works best for this recipe?
Standard white sandwich bread is ideal because it's soft, easy to flatten, and takes on the flavors well. Avoid very crusty or dense breads, as they will be difficult to roll thinly.
Can I make these gluten-free?
Absolutely! Simply substitute the white sandwich bread with your favorite gluten-free white bread. Ensure it's a brand that holds up well to rolling and baking for the best results.
Crack Sticks
Indulge in these utterly irresistible Crack Sticks, a delightful treat featuring soft, flattened bread generously spread with a sweet cream cheese filling, then rolled, buttered, and coated in a captivating cinnamon-sugar blend. Baked to…
By James Parker · Recipes Dad
Ingredients
Instructions
- Prepare the Bread
On a clean, lightly floured surface or a large cutting board, take each slice of white sandwich bread and flatten it using a rolling pin. Apply firm, even pressure to ensure each slice becomes uniformly thin, almost like a crepe. This step is crucial for creating a tight, cohesive roll and a satisfyingly crisp texture once baked.
- Make the Cream Cheese Filling
In a medium mixing bowl, combine the thoroughly softened cream cheese with the powdered sugar. Using an electric mixer on medium speed, or a sturdy whisk, beat the ingredients together until the mixture is completely smooth, light, and airy, with no lumps whatsoever. Ensure the cream cheese is at room temperature to prevent a lumpy filling.
- Prepare the Cinnamon-Sugar Coating
In a separate shallow bowl, combine the granulated sugar and ground cinnamon. Whisk these two ingredients together thoroughly until the cinnamon is evenly distributed throughout the sugar. Set this mixture aside, as it will be used for coating the rolls.
- Assemble the Rolls
Lay one flattened bread slice on your work surface. Spread approximately 15 milliliters (1 tablespoon) of the cream cheese filling evenly over the entire surface of the bread, leaving a small, clean border along one of the shorter edges. Starting from the opposite short edge (the one with the filling spread all the way), carefully and tightly roll up the bread slice into a neat cylinder, similar to a jelly roll. Repeat this process for all remaining bread slices and filling.
- Dip and Coat the Rolls
Have your melted butter and cinnamon-sugar mixture ready. Take one rolled bread stick and gently dip it into the melted butter, ensuring it is fully coated on all sides. Allow any excess butter to drip off briefly. Immediately transfer the buttered roll into the shallow bowl with the cinnamon-sugar mixture and roll it around until it is thoroughly and evenly coated. Place the coated roll on an ungreased baking sheet.
- Arrange for Baking
Continue the dipping and coating process for all the remaining rolls, placing each finished 'Crack Stick' onto the ungreased baking sheet. Ensure there is a small amount of space between each roll to allow for proper air circulation and even browning during baking. Do not overcrowd the baking sheet; use a second sheet if necessary.
- Bake to Golden Perfection
Preheat your oven to 175°C (350°F). Once preheated, carefully transfer the baking sheet(s) into the oven. Bake for approximately 20 minutes, or until the Crack Sticks are beautifully golden brown all over and the cinnamon-sugar coating has caramelized slightly, creating a wonderfully crisp texture. The internal cream cheese filling will be warm and gooey.
- Serve and Enjoy
Once baked, remove the Crack Sticks from the oven. Allow them to cool on the baking sheet for a few minutes before transferring them to a serving platter. They are absolutely delightful served warm, when the filling is still soft and the coating is crisp, but they are also delicious at room temperature. Serve immediately or store for later.
Equipment
- Rolling pin
- Medium mixing bowls (2)
- Electric mixer (optional, a whisk will work)
- Shallow dish for coating
- Measuring cups and spoons
- Baking sheet(s)
- Parchment paper (optional, for easy cleanup)
Nutrition per serving
- Calories
- 210 kcal
- Carbohydrates
- 20–25 g
- Protein
- 3 g
- Fat
- 14–16 g
- Saturated Fat
- 8–10 g
- Sugar
- 15–20 g
- Sodium
- 100–120 mg
- Cholesterol
- 35–45 mg
Estimated per serving; values vary with brands and portion size. See our nutrition disclaimer.
Allergy information
Contains dairy (cream cheese, butter) and gluten (bread). For a gluten-free version, use gluten-free white bread. May contain soy depending on bread ingredients. Always check individual ingredient labels for specific allergen information.
Keywords: Crack Sticks recipe, cinnamon cream cheese rolls, sweet bread snacks, easy dessert, breakfast pastry, baked treats, kid-friendly dessert, quick sweet rolls, sugar cinnamon bread, comforting snacks
Made this recipe? Leave a note below and tell us how it went — or save it to Pinterest for later.

James Parker
James Parker is the dad and home cook behind Recipes Dad. He writes practical, family-friendly recipes with clear steps, everyday ingredients and honest tips for busy weeknights.
More about James



Reader notes
Be the first to share how this recipe turned out, or ask a question — we read every note.