
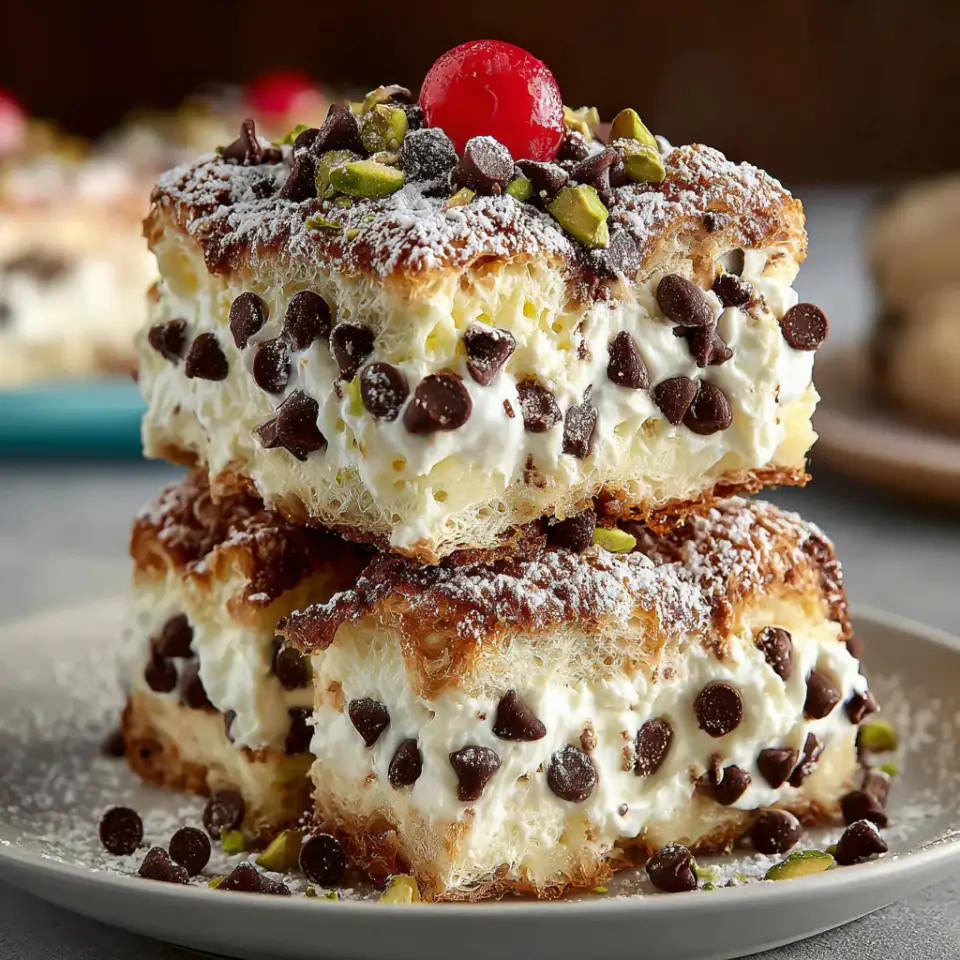
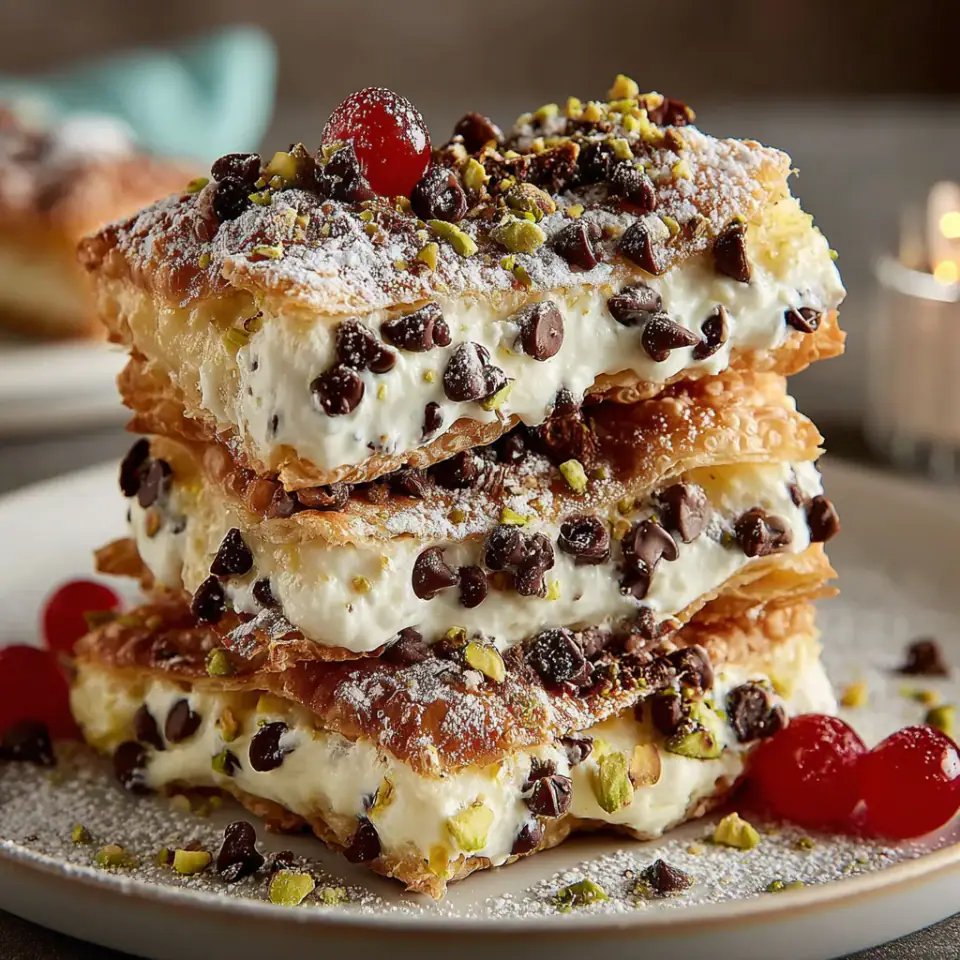
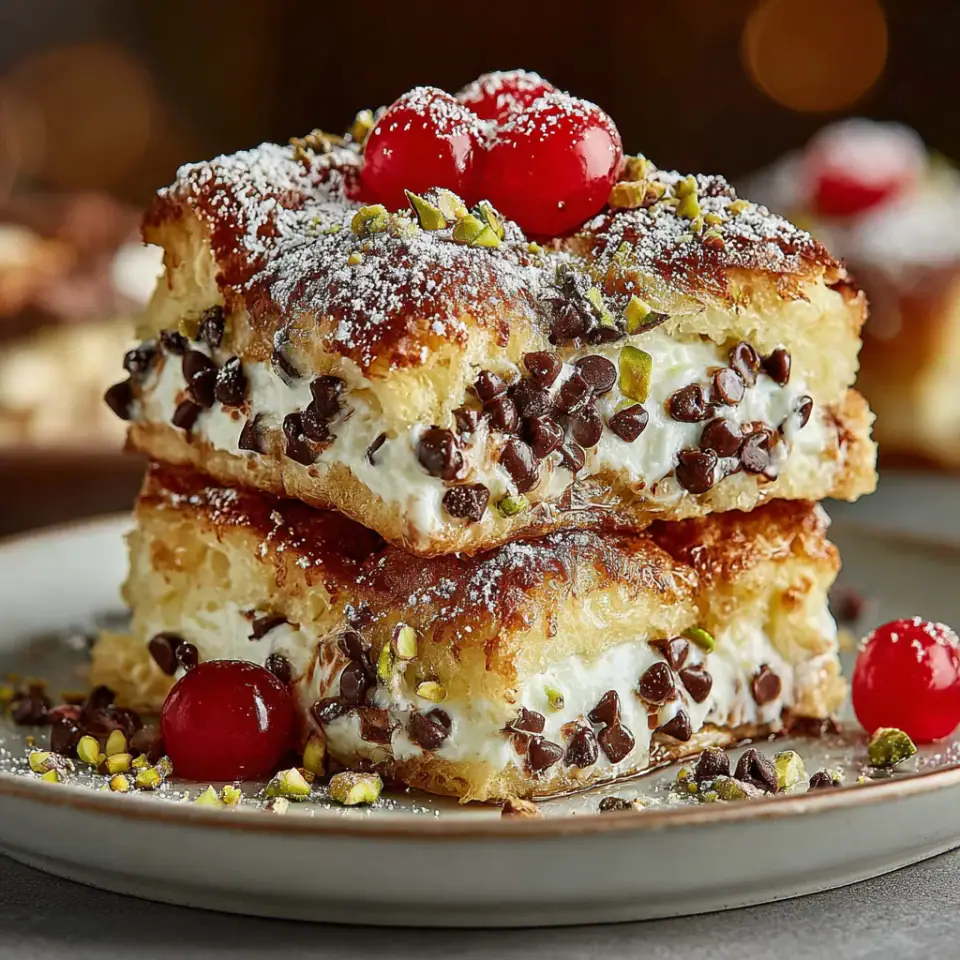
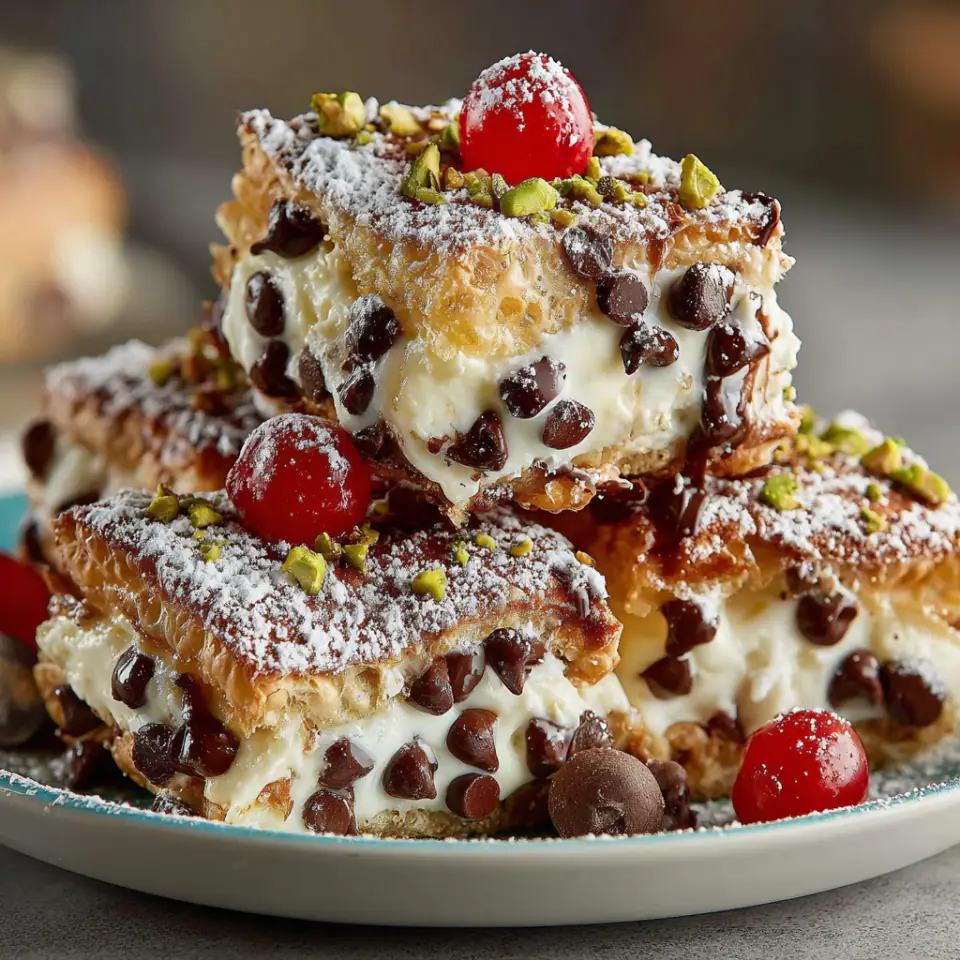
Indulge in the iconic flavors of a traditional Italian cannoli, reimagined into an effortlessly elegant square. This delightful dessert features a creamy, sweetened ricotta filling, studded with mini chocolate chips and a hint of cinnamon, all nestled between two flaky, golden pastry crusts. It offers all the beloved taste and texture of a classic cannoli without the fuss of frying individual shells, making it perfect for entertaining or a comforting weeknight treat.
Why You’ll Love This Classic Cannoli Squares
- Captures the authentic flavor of traditional cannoli in an easy-to-serve format.
- Requires no deep-frying, simplifying the preparation process considerably.
- Perfect for gatherings, offering a convenient way to share an Italian classic.
- Customizable with various garnishes like pistachios, cherries, or extra chocolate.
- A comforting and rich dessert that comes together with minimal effort.
Tips for the Best Classic Cannoli Squares
- Use full-fat ricotta for the richest, creamiest filling. If using low-fat, ensure it's well-drained to prevent a watery consistency.
- Sift your powdered sugar to avoid lumps in the ricotta filling, ensuring a perfectly smooth texture.
- Do not overbake the squares; look for a golden-brown crust. Overbaking can make the pastry tough and dry.
- Allow ample cooling time before slicing. This allows the filling to fully set, ensuring clean, beautiful squares.
- For an extra layer of flavor, lightly toast your chopped pistachios before sprinkling them on as a garnish.
How to Take It Further
Once you have made it the classic way, these small upgrades make it even better.
- To achieve an even creamier, ultra-smooth filling, pass the ricotta cheese through a fine-mesh sieve or process it briefly in a food processor before mixing in the other ingredients.
- For a deeper flavor profile, consider adding a pinch of freshly grated orange zest to the ricotta filling. It brightens the sweetness and complements the cinnamon beautifully.
- Chill your pre-made pie crusts for about 10-15 minutes before handling. This makes them less sticky and easier to press into the dish and layer evenly.
Storage, Make-Ahead and Variations
- Storage: Leftover cannoli squares can be stored in an airtight container in the refrigerator for up to 3-4 days. The crust may soften slightly over time.
- Variations: Experiment with different chocolate types (milk, white) or add candied orange peel to the filling for a more traditional twist. A drizzle of melted dark chocolate or a dusting of cocoa powder can also be added for extra decadence.
Frequently Asked Questions
Can I make the cannoli filling ahead of time?
Yes, you can prepare the ricotta filling up to 24 hours in advance. Store it in an airtight container in the refrigerator. Stir it gently before spreading it onto the crust.
What kind of pie crust works best for this recipe?
A good quality pre-made all-butter pie crust will yield the best flaky texture and rich flavor. However, standard vegetable shortening-based pie crusts also work well for convenience.
How do I prevent the crust from becoming soggy?
Ensure your ricotta is well-drained to remove excess moisture. Additionally, baking at the correct temperature for the specified time helps create a crisp crust. Cooling completely before cutting is also crucial for preventing sogginess in the filling area.
Classic Cannoli Squares
Indulge in the iconic flavors of a traditional Italian cannoli, reimagined into an effortlessly elegant square. This delightful dessert features a creamy, sweetened ricotta filling, studded with mini chocolate chips and a hint of…
By James Parker · Recipes Dad
Ingredients
Optional Garnishes
Instructions
- Prepare the Cannoli Filling
In a medium-sized mixing bowl, combine the ricotta cheese, sifted powdered sugar, vanilla extract, and ground cinnamon. Stir thoroughly with a spatula or whisk until all ingredients are well incorporated and the mixture is smooth and lump-free. Gently fold in the mini chocolate chips, distributing them evenly throughout the creamy filling.
- Preheat the Oven
Adjust an oven rack to the middle position and preheat your oven to 190°C (375°F). Prepare a 23x23 centimeter (9x9 inch) baking dish by lightly greasing it or lining it with parchment paper for easier removal.
- Prepare the Bottom Crust
Carefully unroll one sheet of the pre-made pie crust. Gently press the pie crust into the prepared 23x23 centimeter (9x9 inch) baking dish, ensuring it covers the bottom and extends slightly up the sides. Trim any excessive overhang if necessary, or simply fold it inward to create a slightly thicker edge.
- Add the Filling
Evenly spread the prepared cannoli ricotta filling over the bottom pie crust in the baking dish. Use a spatula to create a smooth, consistent layer from edge to edge.
- Prepare and Add the Top Crust
Unroll the second pie crust. Carefully place it over the ricotta filling, aligning it with the bottom crust. Trim any excess dough. To seal, gently crimp or press the edges of the top and bottom crusts together. In a small bowl, whisk the egg to create an egg wash, then brush it evenly over the entire surface of the top crust. Finally, sprinkle the granulated sugar over the egg-washed crust, which will create a beautiful golden sheen and a subtle sweetness.
- Bake
Place the baking dish in the preheated oven. Bake for 30 to 35 minutes, or until the top crust is beautifully golden brown and the filling is set. The baking time may vary slightly depending on your oven.
- Cool and Serve
Once baked, remove the cannoli squares from the oven and place them on a wire rack to cool completely. This step is crucial; allow them to cool for at least 30 minutes, or even longer, before attempting to slice into squares. Cooling allows the filling to firm up, making clean cuts possible. Once cooled, cut into individual squares and garnish with chopped pistachios, maraschino cherries, or additional chocolate chips before serving.
Equipment
- Large mixing bowl
- Whisk or spatula
- 23x23 centimeter (9x9 inch) baking dish
- Measuring cups and spoons
- Parchment paper (optional)
- Pastry brush (for egg wash)
- Wire cooling rack
Nutrition per serving
- Calories
- 380–420 per square kcal
- Carbohydrates
- 35 g
- Protein
- 12 g
- Fat
- 22 g
Estimated per serving; values vary with brands and portion size. See our nutrition disclaimer.
Allergy information
Contains dairy, eggs, and gluten. For a gluten-free version, use certified gluten-free pie crusts. Always check ingredient labels for hidden allergens.
Keywords: cannoli squares, classic cannoli, ricotta dessert, Italian dessert, easy cannoli, no-fry cannoli, baked dessert, dessert bars, chocolate chip ricotta, sweet ricotta
Made this recipe? Leave a note below and tell us how it went — or save it to Pinterest for later.

James Parker
James Parker is the dad and home cook behind Recipes Dad. He writes practical, family-friendly recipes with clear steps, everyday ingredients and honest tips for busy weeknights.
More about James
Reader notes
Be the first to share how this recipe turned out, or ask a question — we read every note.