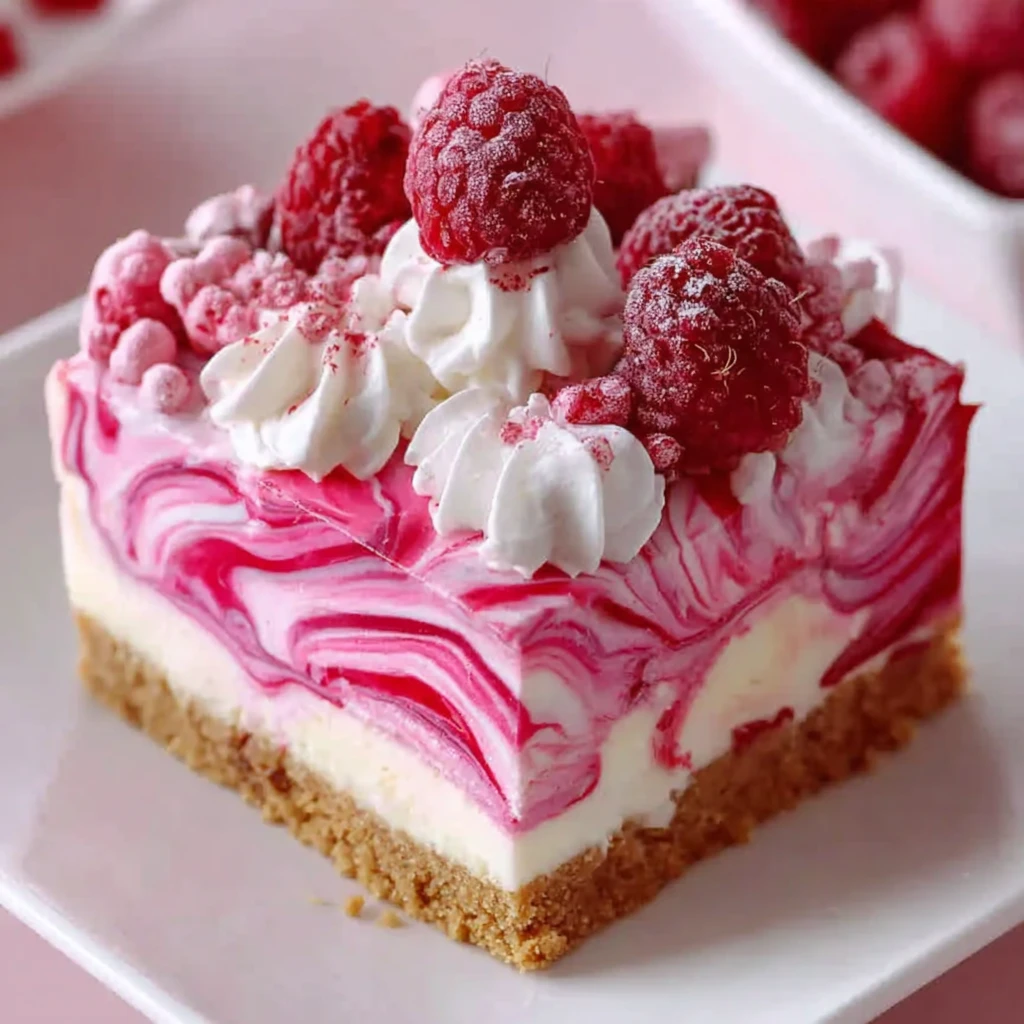
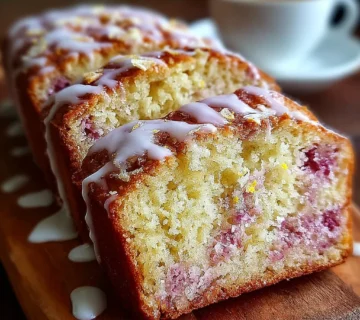
Raspberry Swirl Cheesecake: Easy, No-Gelatin Recipe
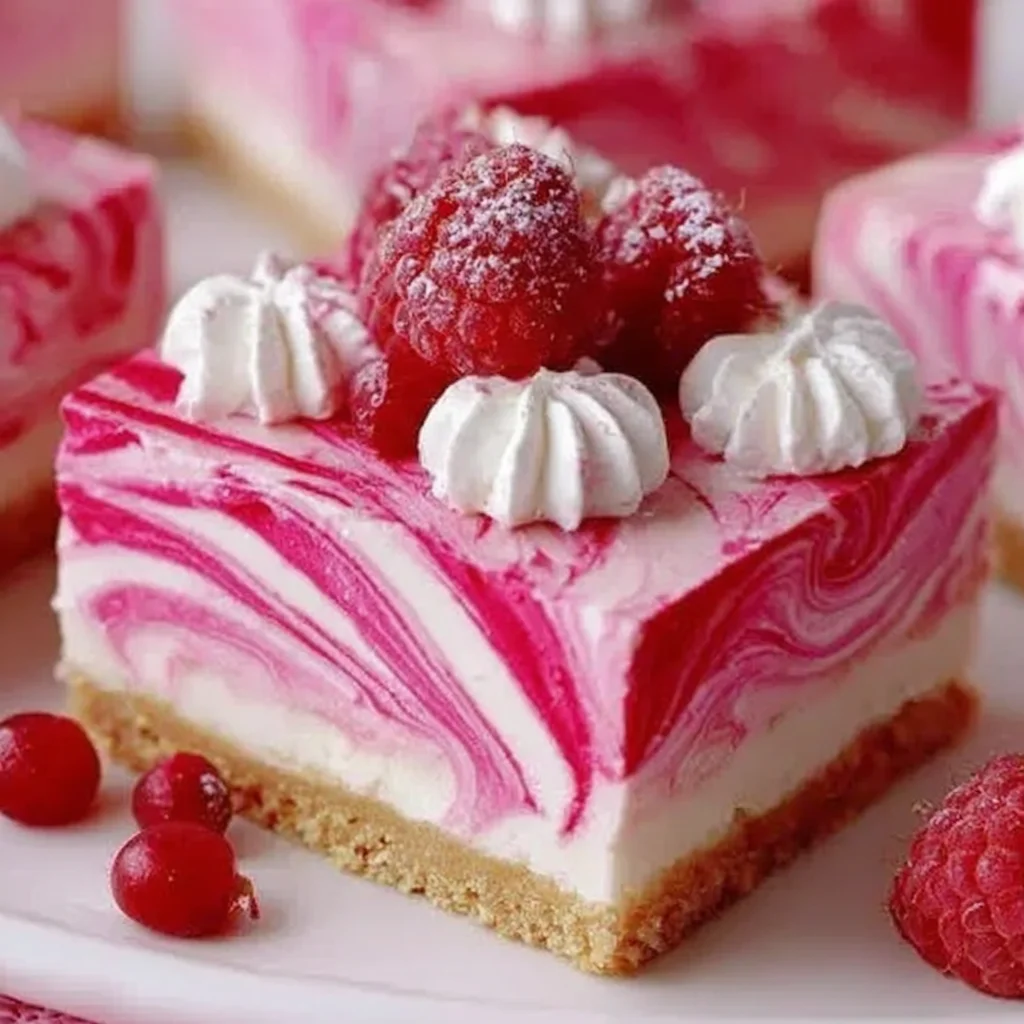
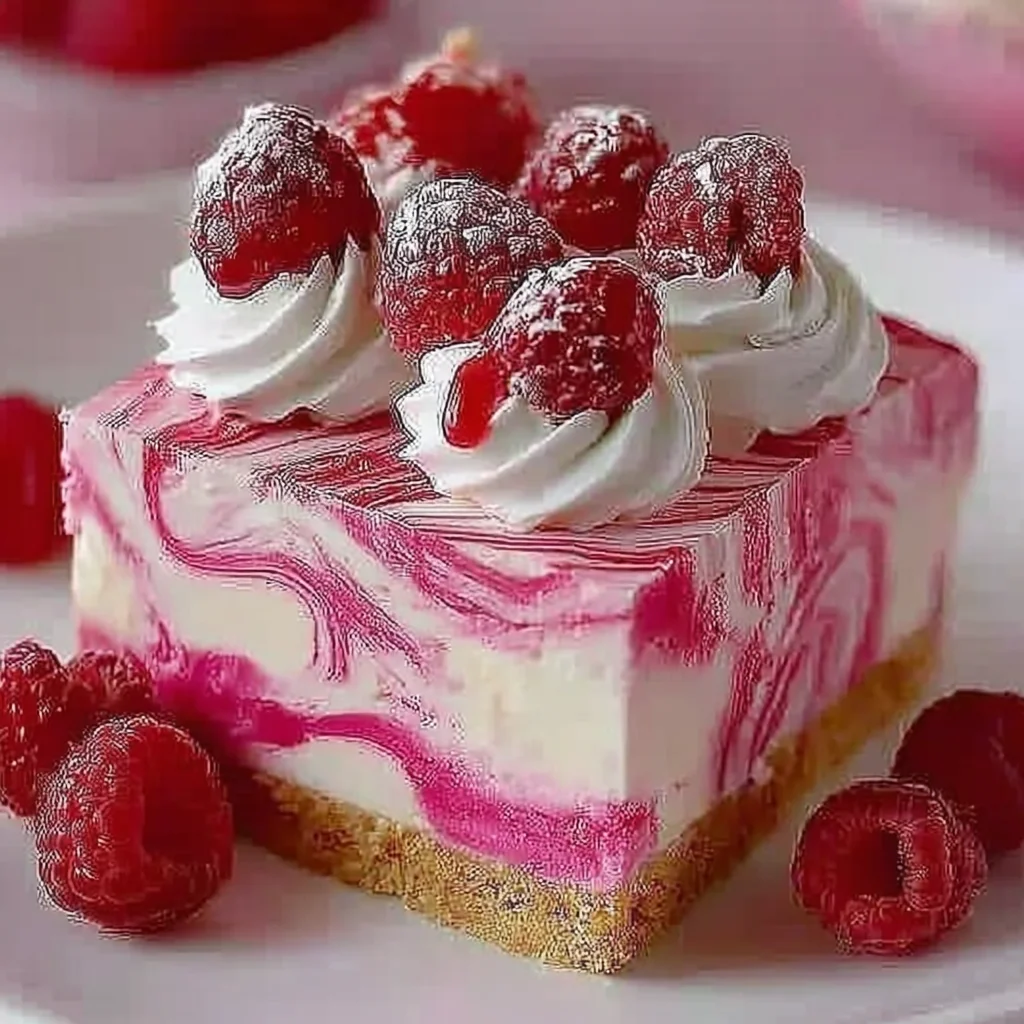
Indulge in the creamy, dreamy delight of this Raspberry Swirl Cheesecake, a surprisingly easy dessert that doesn't require gelatin. Its velvety texture and vibrant raspberry ribbons create a visually stunning and incredibly delicious treat. Perfect for any occasion, from casual family dinners to elegant gatherings.
Prep Time
25 minutes
Cook Time
35-40 minutes
Total Time
Approximately 4 hours (including 3 hours chill time) or overnight for best results
Servings
12-15 servings
Keywords

Why This Recipe Delivers
- Achieves a luscious, creamy texture without the need for gelatin, simplifying the process.
- The vibrant raspberry swirl adds a beautiful visual appeal and a burst of fresh, tangy flavor.
- Perfect for both novice bakers and experienced dessert makers, with straightforward steps.
- Made with common pantry ingredients, making it accessible and cost-effective.
- Ideal for make-ahead convenience, as it requires chilling and tastes even better the next day.
Ingredients
- 180 g (1 ½ cups) graham cracker crumbs
- 67 g (⅓ cup) granulated sugar
- 85 g (6 tbsp) unsalted butter, melted
- 226 g (1 (8 oz) block) cream cheese, at room temperature
- 200 g (1 cup) granulated sugar
- 240 g (1 cup) sour cream
- 5 ml (1 tsp) vanilla extract
- 4 large eggs
- 16 g (2 tbsp) all-purpose flour
- 60 ml (¼ cup) raspberry puree
- 120 ml (½ cup) raspberry puree (for swirl)
- 25 g (2 tbsp) granulated sugar (for swirl)
- Whipped cream, for serving
- Fresh raspberries, for garnish
- Powdered sugar, for dusting
Instructions
- Preheat your oven to 163°C (325°F). This ensures the oven is at the correct temperature for even baking once the cheesecake is ready to go in.
- In a medium bowl, combine the graham cracker crumbs, 67 g (⅓ cup) granulated sugar, and the melted unsalted butter. Mix thoroughly until the crumbs are evenly moistened, resembling wet sand. This creates the foundational crust for your cheesecake.
- Press the crumb mixture evenly and firmly into the bottom of a 9×13 inch (23×33 cm) baking pan. Using the bottom of a glass or your knuckles can help achieve a compact and level crust. Once pressed, place the pan in the refrigerator to chill while you prepare the filling; this helps the crust set and prevents it from crumbling when sliced.
- In a large mixing bowl, using an electric mixer, beat the room temperature cream cheese with 200 g (1 cup) granulated sugar on medium speed until the mixture is completely smooth and creamy, with no lumps remaining. Scrape down the sides of the bowl as needed to ensure everything is well incorporated.
- Add the sour cream and vanilla extract to the cream cheese mixture. Continue mixing on low speed until just combined. Overmixing at this stage can incorporate too much air, which can cause cracks in your cheesecake.
- Beat in the eggs, one at a time, ensuring each egg is fully incorporated before adding the next. This gradual addition helps maintain the creamy texture of the batter. After the eggs, gently fold in the all-purpose flour and the 60 ml (¼ cup) raspberry puree. Be careful not to overmix; just combine until smooth.
- Carefully pour the prepared cheesecake mixture over the chilled graham cracker crust in the baking pan. Gently tap the pan on the counter a few times to release any trapped air bubbles.
- In a small separate bowl, combine the remaining 120 ml (½ cup) raspberry puree with 25 g (2 tbsp) granulated sugar for the swirl. Dollop spoonfuls of this sweetened raspberry puree strategically over the top of the cheesecake batter.
- Using a toothpick, a thin skewer, or the tip of a small knife, gently swirl the raspberry puree into the cheesecake batter. Create beautiful, artistic patterns, being careful not to drag the tool all the way to the bottom, which could disturb the crust.
- Bake the cheesecake in the preheated oven for 35 to 40 minutes, or until the edges are set and lightly golden, but the center still has a slight wobble when the pan is gently jiggled. This indicates it is perfectly baked without being overdone.
- Once baked, remove the cheesecake from the oven and let it cool completely at room temperature on a wire rack. This gradual cooling prevents cracks. Once cooled, transfer the pan to the refrigerator and chill for at least 3 hours, or preferably overnight, to allow the cheesecake to fully set and firm up.
- Before serving, slice the chilled cheesecake into desired portions. Top each slice generously with freshly whipped cream, a scattering of fresh raspberries, and a light dusting of powdered sugar for an elegant finish.
Tools You’ll Need
- 9×13 inch (23×33 cm) baking pan
- Large mixing bowls
- Electric mixer (stand or hand-held)
- Measuring cups and spoons
- Rubber spatula
- Wire cooling rack
- Toothpick or small knife for swirling
Essential Success Tips
- Ensure all dairy ingredients, especially the cream cheese and sour cream, are at true room temperature. This is crucial for a smooth, lump-free batter.
- Do not overmix the batter once the eggs are added; incorporate them just until combined. Overmixing can introduce too much air, leading to cracks during baking and cooling.
- Avoid opening the oven door frequently during baking, as sudden temperature changes can also contribute to cracking.
- Allow the cheesecake to cool completely at room temperature before chilling. Rushing this step can shock the cheesecake and cause cracks.
- For clean slices, use a sharp knife warmed under hot water and wiped clean between each cut.
Professional Cooking Secrets
- To achieve a truly even bake and prevent the center from sinking, place a shallow pan of hot water on the oven rack below the cheesecake during baking. The steam helps to keep the oven environment moist, resulting in a more uniform texture.
- For an extra layer of flavor complexity in your raspberry puree, consider adding a tiny splash of raspberry liqueur or a hint of lemon zest to brighten the fruit notes before swirling.
- To prevent the graham cracker crust from becoming soggy, you can bake it empty for 8-10 minutes before adding the filling, then cool it completely. This creates a slightly more protected barrier.
Notes
- Storage: Store leftover cheesecake tightly covered in the refrigerator for up to 3-4 days.
- Freezing: This cheesecake freezes well! Freeze individual slices or the whole cheesecake (unadorned) for up to 2 months. Thaw in the refrigerator overnight before serving.
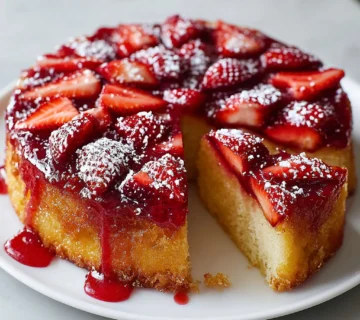
- Flavor Variations: Experiment with other fruit purees like blueberry or strawberry for different swirl effects and flavors. A hint of orange zest in the batter can also complement the raspberry beautifully.
Frequently Asked Questions
Why did my cheesecake crack on top?
Cheesecakes often crack due to sudden temperature changes (e.g., opening the oven too often, cooling too quickly) or overbaking. Ensure ingredients are room temperature, avoid overmixing, and allow for slow, gradual cooling.
Can I use frozen raspberries for the puree?
Yes, frozen raspberries work perfectly for the puree. Thaw them first, then blend and strain as usual to remove seeds. The tartness is essential for balancing the sweetness of the cheesecake.
What kind of cream cheese should I use?
Always use full-fat block cream cheese, not the spreadable tub variety. Full-fat cream cheese provides the best flavor and structure for a rich, dense cheesecake.
Nutrition Facts (Per Serving)
Calories: Approximately 420-480 per serving, Protein: 7g-9g, Fat: 30g-35g, Carbs: 35g-40g (Estimates based on 12 servings; actual values may vary.)
Allergy Information
Contains dairy (cream cheese, sour cream, butter, whipped cream), eggs, and gluten (graham cracker crumbs, all-purpose flour). For a gluten-free version, use gluten-free graham cracker crumbs and gluten-free all-purpose flour.
No comment