
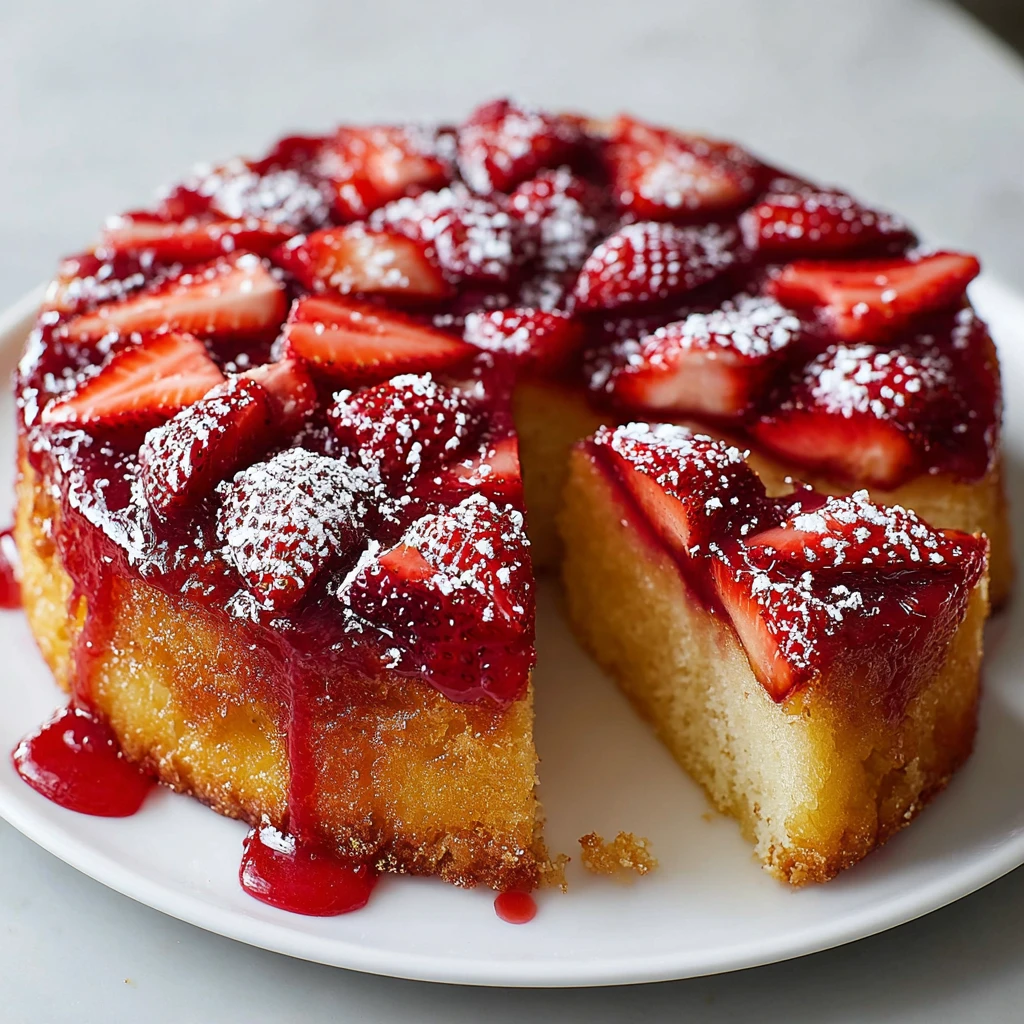
Strawberry Upside Down Cake
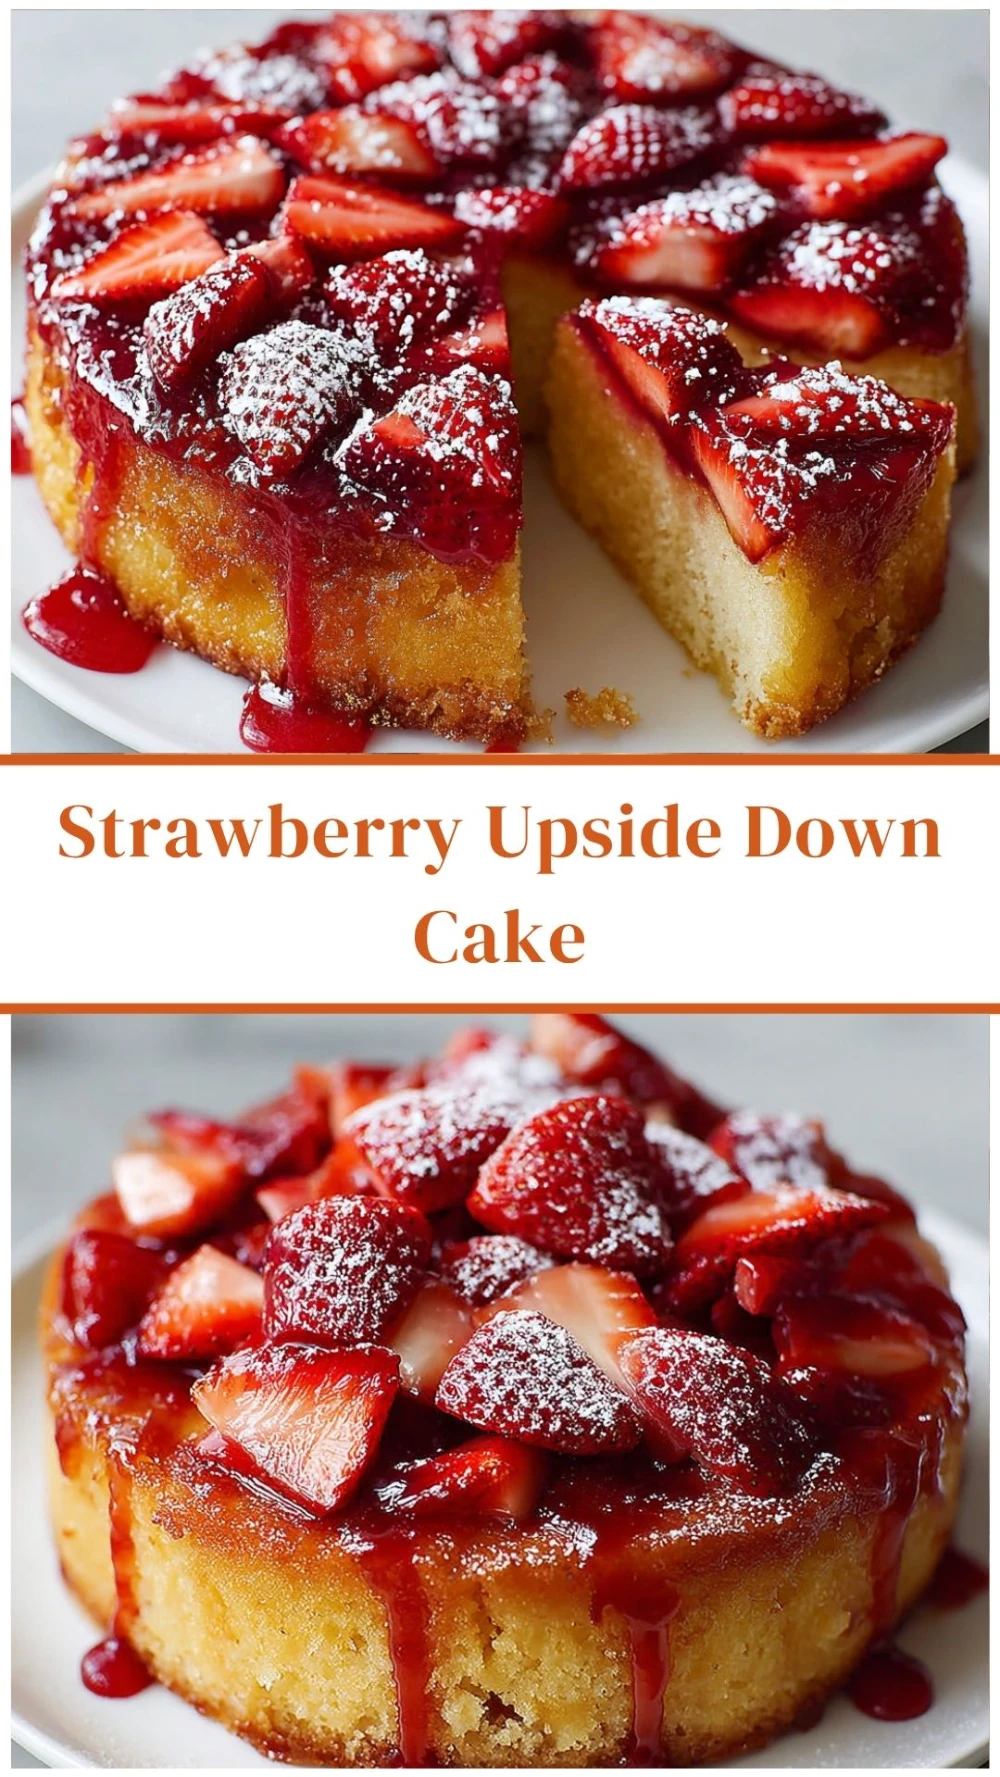
This stunning Strawberry Upside Down Cake combines the irresistible sweetness of caramelized fresh strawberries with a tender, moist vanilla cake. It's a delightful dessert that promises a beautiful presentation and a burst of vibrant flavor in every bite. Perfect for spring gatherings or a simple family treat.
Prep Time
20 minutes
Cook Time
35-40 minutes
Total Time
Approximately 1 hour (including cooling)
Servings
8 servings
Keywords
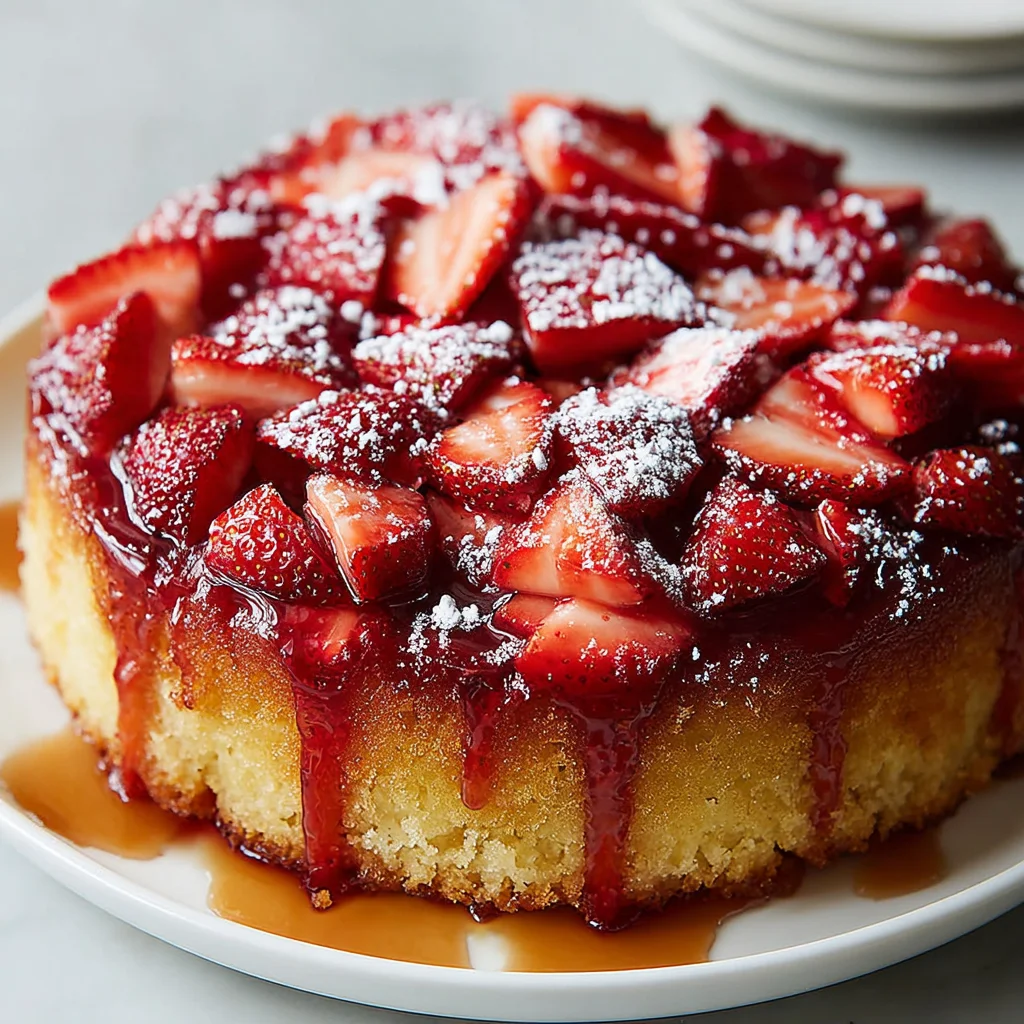
Why This Recipe Delivers
- Visually stunning with its vibrant, caramelized strawberry topping.
- Bursting with the fresh, sweet flavor of ripe strawberries.
- Features a perfectly moist and tender vanilla cake crumb.
- Relatively simple to prepare, making it accessible for bakers of all levels.
- A versatile dessert perfect for any occasion, from casual gatherings to special celebrations.
Ingredients
- 60g (1/4 cup) unsalted butter, for the topping
- 100g (1/2 cup) granulated sugar, for the topping
- 350g (1 1/2 cups) fresh strawberries, hulled and sliced
- 180g (1 1/2 cups) all-purpose flour
- 10g (2 tsp) baking powder
- 1g (1/4 tsp) salt
- 115g (1/2 cup) unsalted butter, softened, for the cake batter
- 150g (3/4 cup) granulated sugar, for the cake batter
- 2 large eggs
- 5ml (1 tsp) vanilla extract
- 120ml (1/2 cup) whole milk
- Powdered sugar, for dusting (optional)
Instructions
- Preheat your oven to 175°C (350°F). Lightly grease a 23 cm (9-inch) round cake pan. This essential preparation prevents the cake from sticking, ensuring a clean release and a beautiful presentation of the caramelized topping.
- In a small saucepan, melt 60 grams (1/4 cup) of unsalted butter over medium heat. Once it's fully liquid, stir in 100 grams (1/2 cup) of granulated sugar until it has completely dissolved into the butter, forming a sweet, syrupy mixture. Pour this warm butter-sugar mixture evenly into the bottom of your prepared cake pan, spreading it to cover the entire surface.
- Carefully arrange the 350 grams (1 1/2 cups) of hulled and sliced fresh strawberries in an even layer over the sugar and butter mixture in the pan. Position them artfully, as this will become the stunning top of your cake, ensuring an appealing visual and an even distribution of fruit in every slice.
- In a medium-sized mixing bowl, whisk together the 180 grams (1 1/2 cups) of all-purpose flour, 10 grams (2 teaspoons) of baking powder, and 1 gram (1/4 teaspoon) of salt. Whisking these dry ingredients thoroughly aerates them and ensures the leavening agent is evenly distributed, which is crucial for a consistent and tender cake crumb. Set this mixture aside.
- In a separate large bowl, using an electric mixer, cream together the 115 grams (1/2 cup) of softened unsalted butter with the remaining 150 grams (3/4 cup) of granulated sugar. Beat this mixture on medium speed for 3-4 minutes until it transforms into a pale, light, and fluffy consistency. This creaming process incorporates air into the batter, which contributes significantly to the cake's tender texture.
- Add the 2 large eggs to the creamed butter and sugar mixture, one at a time. Beat well after each addition to ensure full incorporation before adding the next egg. Once the eggs are mixed in, stir in the 5 ml (1 teaspoon) of vanilla extract until just combined, imparting a fragrant and classic flavor.
- Gradually add the dry flour mixture to the wet ingredients in three alternating additions with the 120 ml (1/2 cup) of whole milk, beginning and ending with the dry ingredients. Mix on low speed just until each addition is combined, being careful not to overmix. Overmixing can overdevelop the gluten in the flour, resulting in a tough cake.
- Once the batter is fully combined, carefully spoon it evenly over the arranged strawberries in the prepared cake pan. Use an offset spatula or the back of a spoon to gently smooth the top of the batter, taking care not to disturb the fruit layer beneath.
- Transfer the cake pan to the preheated oven and bake for 35-40 minutes. The cake is perfectly baked when a wooden toothpick or skewer inserted into the center comes out clean, indicating it's cooked through without any wet batter remaining.
- After baking, remove the cake from the oven and place it on a wire rack. Allow it to cool in the pan for precisely 10 minutes. This critical cooling period allows the caramelized strawberry topping to set slightly and the cake's structure to firm up, making the inversion process much smoother and preventing the cake from breaking apart.
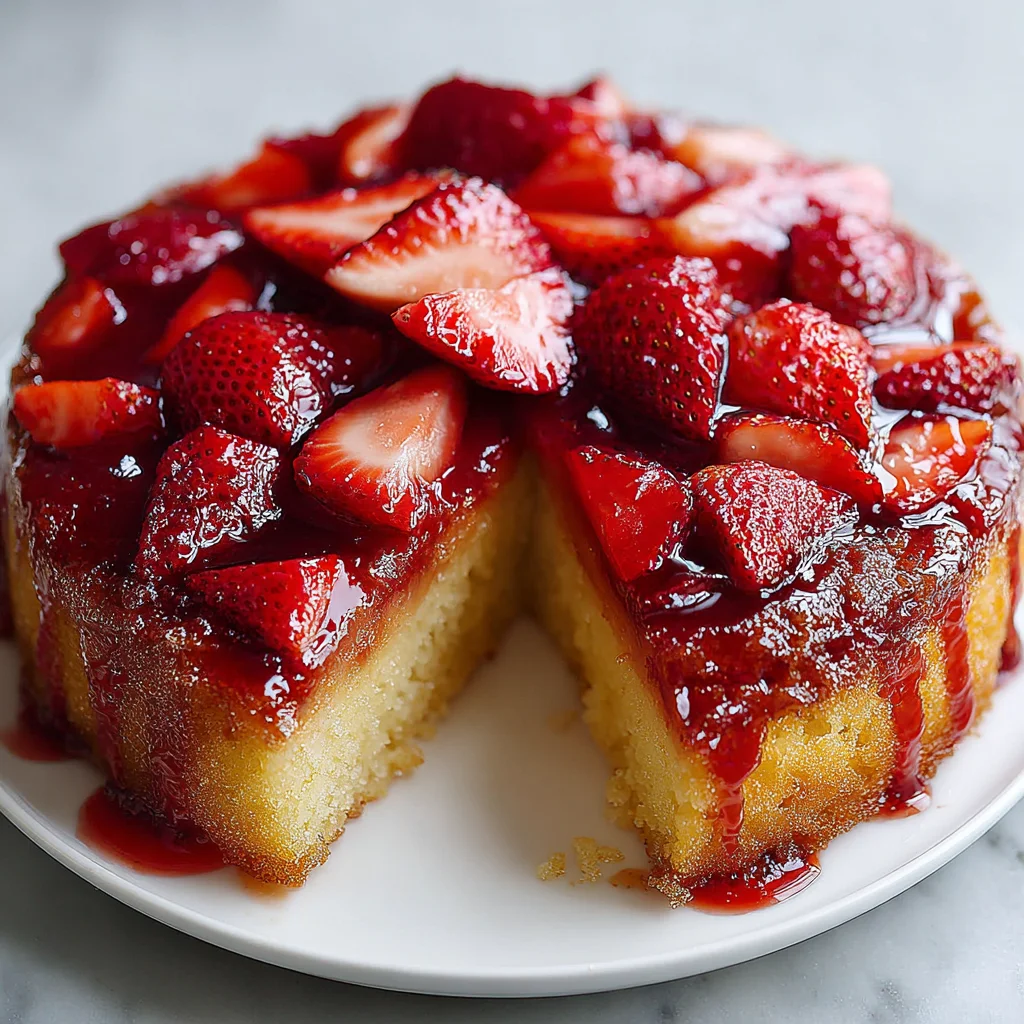
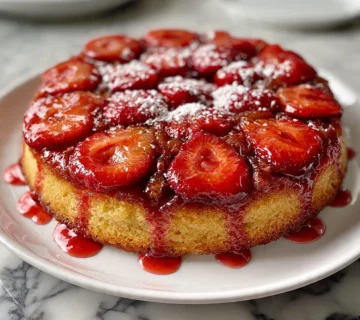
- After the cooling period, carefully run a thin knife or spatula around the inner edges of the cake pan to loosen the cake from the sides. Place a serving plate (larger than the cake pan) over the top of the cake pan and, using oven mitts for protection, confidently but carefully invert the cake onto the plate. Gently lift the cake pan to reveal the beautiful, glistening strawberry topping.
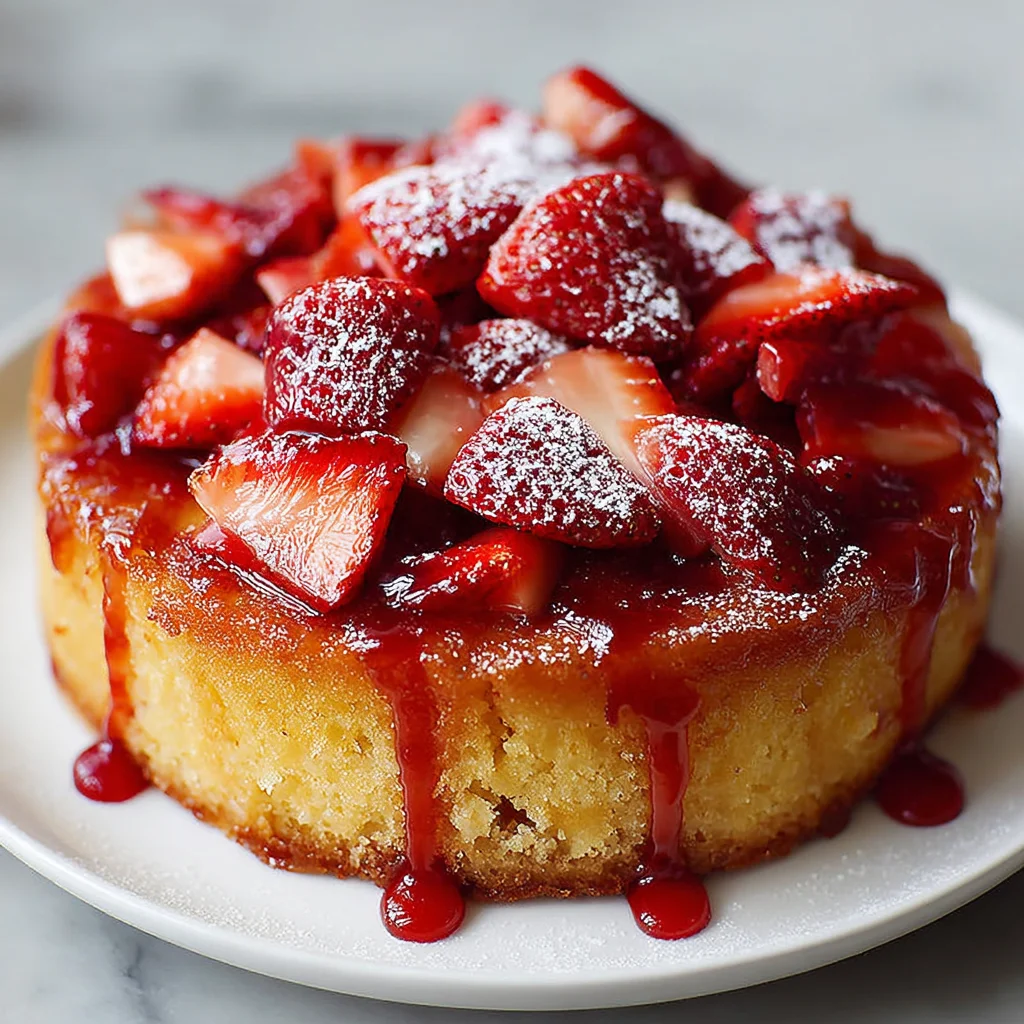
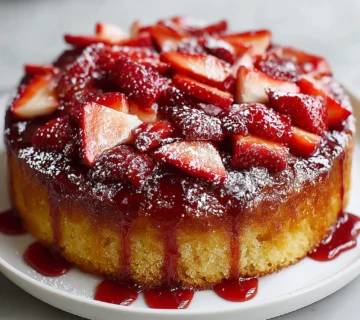
- Allow the strawberry upside-down cake to cool completely on the serving plate before serving. For an elegant finishing touch and a subtle hint of extra sweetness, dust the top with powdered sugar just before presenting.
- Thirteenth Step: Slice the cake into generous wedges and serve. Enjoy the moist, flavorful vanilla cake beautifully crowned with sweet, syrupy, caramelized strawberries. This exquisite dessert is sure to be a beloved hit with its stunning appearance and delightful taste.
Tools You’ll Need
- 23 cm (9-inch) round cake pan
- Small saucepan
- Medium mixing bowl
- Large mixing bowl
- Electric mixer (handheld or stand mixer)
- Whisk
- Spatula or offset spatula
- Measuring cups and spoons
- Wire cooling rack
- Serving plate
Essential Success Tips
- Ensure your butter for the cake batter is truly softened to room temperature for optimal creaming, which creates a lighter, airier cake.
- Do not overmix the cake batter once the flour is added; mix only until just combined to keep the cake tender.
- Use firm but ripe strawberries; overly soft berries can release too much liquid and make the topping soggy.
- Allow the cake to cool in the pan for the full 10 minutes before inverting. This cooling period is crucial for the caramel to set and prevents the cake from crumbling.
- Thoroughly grease your cake pan, including the sides, to ensure the cake releases cleanly without any sticking.
Professional Cooking Secrets
- For an extra layer of flavor in the topping, consider browning the butter slightly before adding the sugar. This adds a nutty, deep caramel note that complements the strawberries beautifully.
- Enhance the cake's aroma by adding a tiny pinch of almond extract along with the vanilla. Strawberry and almond are a classic pairing that elevates the flavor profile without overpowering.
- If you want to ensure the absolute easiest release, line the bottom of your cake pan with a parchment paper circle after greasing, then pour the topping mixture over it. This creates an additional non-stick barrier.
Notes
- Storage: The cake can be stored covered at room temperature for up to 2 days, or refrigerated for up to 4 days. Bring to room temperature before serving for best flavor and texture.
- Serving Suggestion: This cake is exquisite on its own, but also pairs wonderfully with a dollop of fresh whipped cream, a scoop of vanilla bean ice cream, or a light dusting of extra powdered sugar.
- Variation: Feel free to experiment with other fruits like peaches, pineapple, or mixed berries for different variations of this delightful upside down cake.
Frequently Asked Questions
Can I use frozen strawberries for this recipe?
While fresh strawberries are highly recommended for their texture and less excess moisture, you can use frozen strawberries if necessary. Thaw them completely, drain any excess liquid thoroughly, and pat them dry before arranging them in the pan to prevent the topping from becoming watery.
How do I prevent the cake from sticking to the pan when inverting?
The key steps are to thoroughly grease your cake pan before adding the topping, and crucially, to allow the cake to cool in the pan for the specified 10 minutes. This cooling time allows the caramel to firm up and the cake's structure to set, making a clean inversion much more likely. Running a thin knife around the edges just before inverting also helps.
Can I make this cake ahead of time?
Yes, this cake holds up beautifully when made a day in advance. Store it covered at room temperature. The flavors tend to meld and deepen overnight, often making it even more delicious the next day. If refrigerating for longer, allow it to come to room temperature before serving.
Nutrition Facts (Per Serving)
Per serving (estimated for 8 servings): Calories: 380, Protein: 4g, Fat: 18g, Carbs: 50g, Sugars: 35g.
Allergy Information
This dish contains common allergens such as dairy (butter, milk), gluten (all-purpose flour), and eggs. For a gluten-free option, substitute with a 1:1 gluten-free baking flour blend containing xanthan gum. For a dairy-free version, use plant-based butter and milk alternatives.

No comment