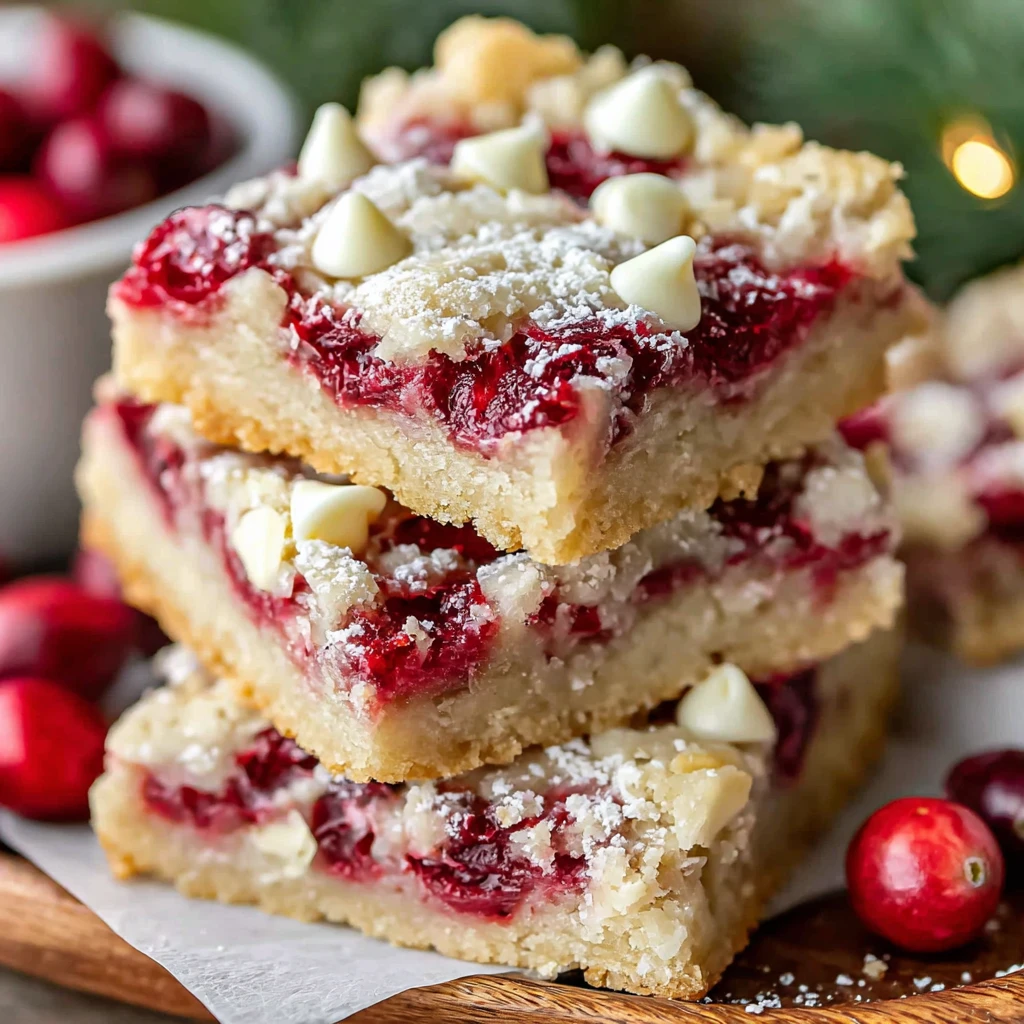
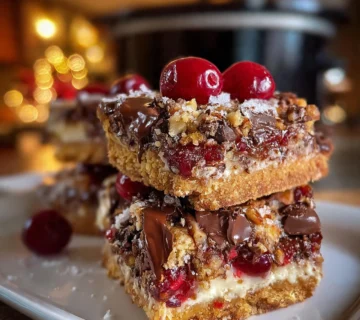
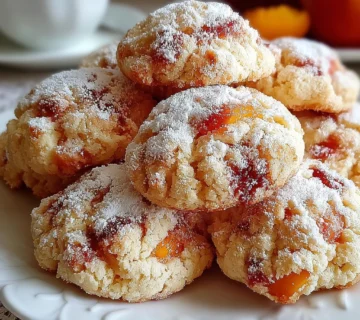
Christmas Cherry Bars
Indulge in the spirit of the season with these delightful Christmas Cherry Crumb Bars. Featuring a buttery shortbread-like crust, a vibrant filling of tart dried cherries and creamy white chocolate chips, and a sweet, crumbly topping, these bars are a holiday dream. They are easy to make, transport beautifully, and offer a perfect balance of sweet and tangy flavors, making them an irresistible addition to any festive gathering or cozy winter evening.
Prep Time
25 minutes
Cook Time
35-40 minutes
Total Time
Approximately 2 hours (including cooling time)
Servings
Makes 16 generous bars
Keywords
Why This Recipe Delivers
- Captures the festive spirit with its vibrant red cherries and rich flavors.
- Offers a perfect balance of tartness from the cherries and sweetness from white chocolate.
- Features a delightful texture contrast between the tender shortbread crust, chewy filling, and crumbly topping.
- Relatively simple to prepare, making it ideal for busy holiday schedules.
- Impressive and shareable, perfect for potlucks, gifts, or family gatherings.
Ingredients
- 180 grams (1 ½ cups) all-purpose flour
- 100 grams (½ cup) granulated sugar
- 113 grams (½ cup) unsalted butter, chilled and cubed
- 2.5 milliliters (½ teaspoon) baking powder
- Pinch of salt
- 1 large egg yolk
- 2.5 milliliters (½ teaspoon) vanilla extract
- 1.25 milliliters (¼ teaspoon) almond extract
- 150 grams (1 cup) dried tart cherries, roughly chopped
- 90 grams (½ cup) white chocolate chips
Instructions
- Preheat your oven to 175°C (350°F). Prepare a 20×20 cm (8×8-inch) baking pan by lightly greasing it or lining it with parchment paper, ensuring an overhang on two sides for effortless removal of the cooled bars. This parchment sling makes it simple to lift the entire batch out once baked.
- In a medium-sized mixing bowl, thoroughly whisk together the all-purpose flour, granulated sugar, baking powder, and a pinch of salt until they are uniformly combined. This ensures an even distribution of leavening and seasoning throughout the dough.
- Add the chilled, cubed unsalted butter to the dry ingredients. Using a pastry cutter or your clean fingertips, work the butter into the flour mixture. Continue until the mixture resembles coarse crumbs, similar to wet sand. The goal is to keep the butter cold to create a tender, flaky crust.
- Incorporate the large egg yolk, vanilla extract, and almond extract into the crumb mixture. Mix gently until a soft dough begins to form. It might appear slightly crumbly at first, but it should hold together when lightly pressed between your fingers. Overmixing can lead to a tough crust, so mix just until combined.
- Reserve approximately one-third of the prepared dough; this portion will be used later for the crumbly topping. Press the remaining two-thirds of the dough evenly into the bottom of your prepared baking pan. Use the back of a spoon or your fingertips to create a compact, uniform base.
- Bake the pressed crust in the preheated oven for 10 to 12 minutes. The edges should appear lightly set and golden, but the center should still be pale. This partial bake, or blind baking, prevents the crust from becoming soggy once the filling is added. Remove the pan from the oven and allow the crust to cool slightly while you prepare the topping.
- While the crust is cooling, in a small bowl, gently toss the roughly chopped dried tart cherries with the white chocolate chips. This step helps to prevent the white chocolate from clumping together and ensures an even distribution of both delicious fillings. Evenly sprinkle this fruit and chocolate mixture over the slightly warm, par-baked crust.
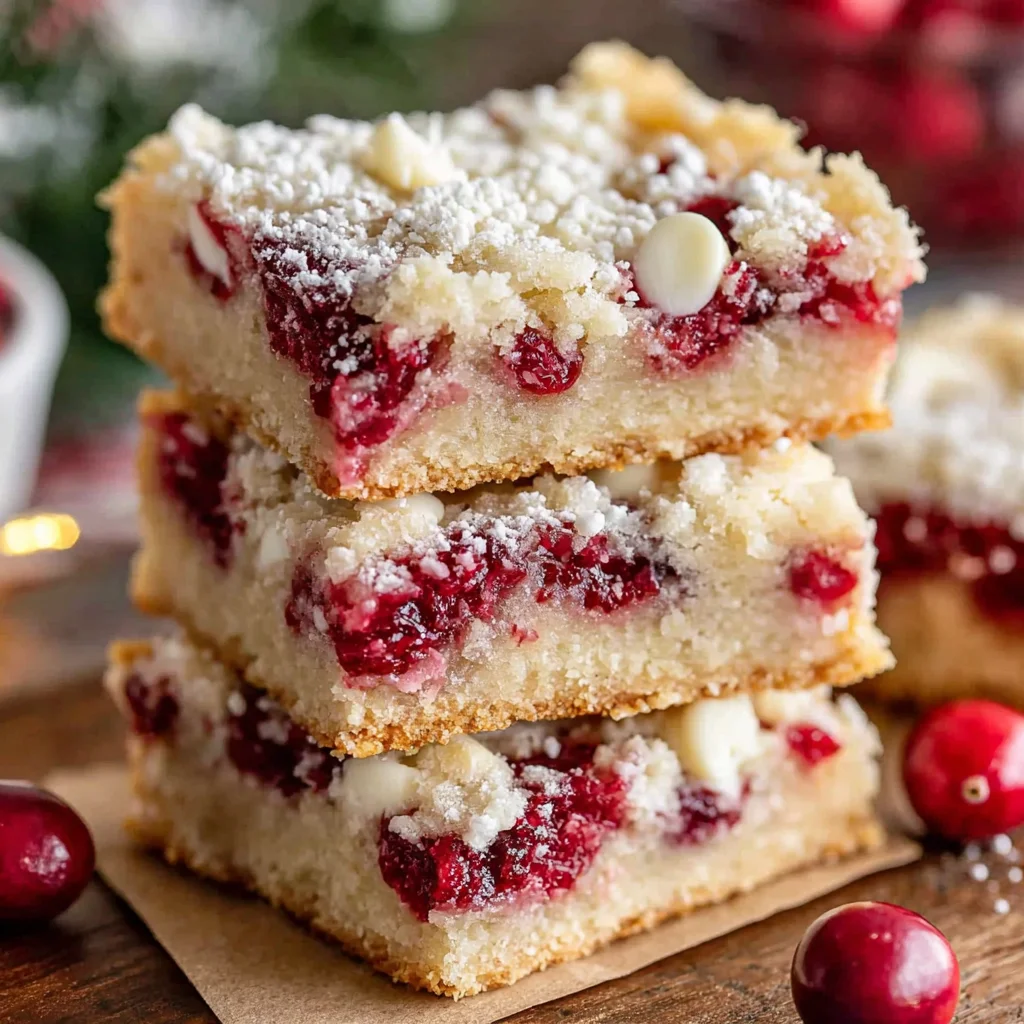
- Take the reserved one-third of the dough and crumble it over the cherry and white chocolate layer. Break the dough into small, irregular pieces, allowing some of the vibrant filling to peek through. This creates a beautiful, rustic top crust that bakes up wonderfully golden and crisp.
- Return the baking pan to the oven and continue to bake for an additional 20 to 25 minutes. The bars are ready when the crumb topping is beautifully golden brown, and the cherry and chocolate filling appears to be bubbling slightly around the edges. This indicates the filling is hot and the bars are cooked through.
- Once baked, remove the pan from the oven and place it on a wire rack to cool completely. This crucial step allows the bars to set properly, making them much easier to cut. Once fully cooled, use the parchment paper overhang to gently lift the entire slab of bars out of the pan. Place them on a cutting board and slice into neat squares or rectangles. Enjoy your festive cherry bars!

Tools You’ll Need
- 20×20 cm (8×8-inch) baking pan
- Parchment paper
- Large mixing bowl
- Medium mixing bowl
- Whisk
- Pastry cutter or fork (or your fingertips)
- Measuring cups and spoons (or kitchen scale)
- Wire cooling rack
- Sharp knife for cutting
Essential Success Tips
- Ensure your butter is truly chilled and cut into small cubes; this is essential for a tender, flaky crust and prevents overworking the dough.
- Do not overmix the dough once the wet ingredients are added. Mix just until it comes together to avoid a tough texture.
- Cool the bars completely before attempting to lift them out of the pan and cut them. This allows the filling to set properly, preventing crumbling.
- For extra flavor, lightly toast the dried cherries in a dry pan for a few minutes before adding them to the filling, which deepens their fruitiness.
- If the topping is browning too quickly, you can loosely tent the pan with aluminum foil for the last few minutes of baking.
Professional Cooking Secrets
- For an even richer flavor profile in the crust, brown your butter before chilling it down to a solid state and cubing. The nutty notes will elevate the shortbread base.
- A touch of orange zest, about 5ml (1 teaspoon), added to the crust mixture can brighten the overall flavor and complement the cherries beautifully.
- To ensure precise, clean cuts, chill the fully cooled bars in the refrigerator for at least 30 minutes before slicing. Use a large, sharp knife, wiping it clean between each cut.
Notes
- Storage: Store Christmas Cherry Crumb Bars in an airtight container at room temperature for up to 3-4 days, or in the refrigerator for up to a week. They can also be frozen for up to 2 months; thaw at room temperature before serving.
- Variation: For a different twist, try substituting other dried fruits like cranberries or apricots, or a mix of dark and white chocolate chips.
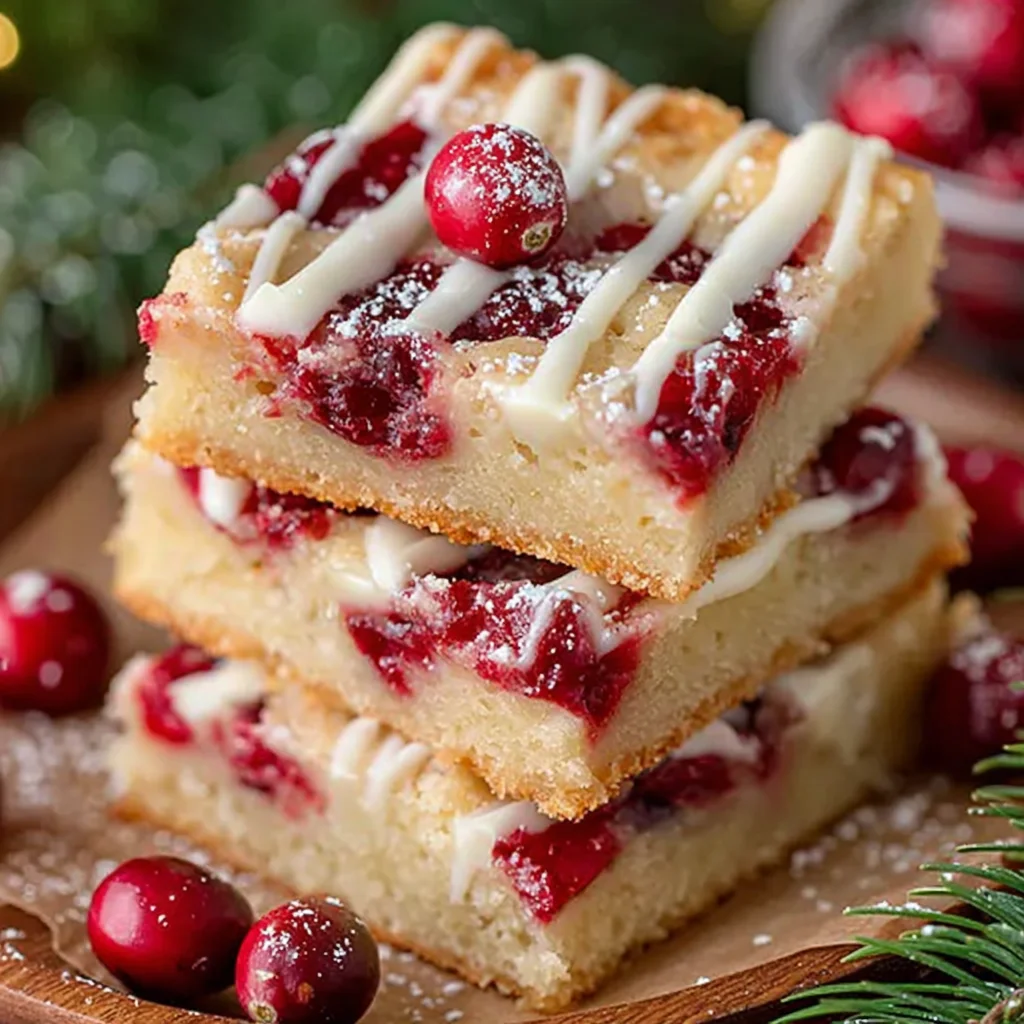
- Garnish: A light dusting of powdered sugar just before serving adds a beautiful festive touch.
Frequently Asked Questions
Can I use fresh cherries instead of dried?
It is not recommended to use fresh cherries as they release too much moisture during baking, which can make the bars soggy. Dried tart cherries are ideal for their concentrated flavor and texture.
How do I know when the bars are fully baked?
The bars are fully baked when the crumb topping is golden brown and the filling is visibly bubbling around the edges. A slight wobble in the center of the filling is normal, as it will firm up as it cools.
Can I make these bars ahead of time?
Absolutely! Christmas Cherry Crumb Bars are an excellent make-ahead dessert. They keep well for several days and their flavors often deepen after a day or two, making them perfect for holiday planning.
Nutrition Facts (Per Serving)
Calories: Approximately 280-320 per bar, Protein: 4g, Fat: 15-18g, Carbs: 35-40g (Estimates based on 16 servings).
Allergy Information
Contains dairy (butter, white chocolate), egg, and gluten (all-purpose flour). For a dairy-free version, use plant-based butter and dairy-free white chocolate chips. A gluten-free version can be made by using a gluten-free all-purpose flour blend, ensuring it contains xanthan gum or adding a small amount separately.
No comment