
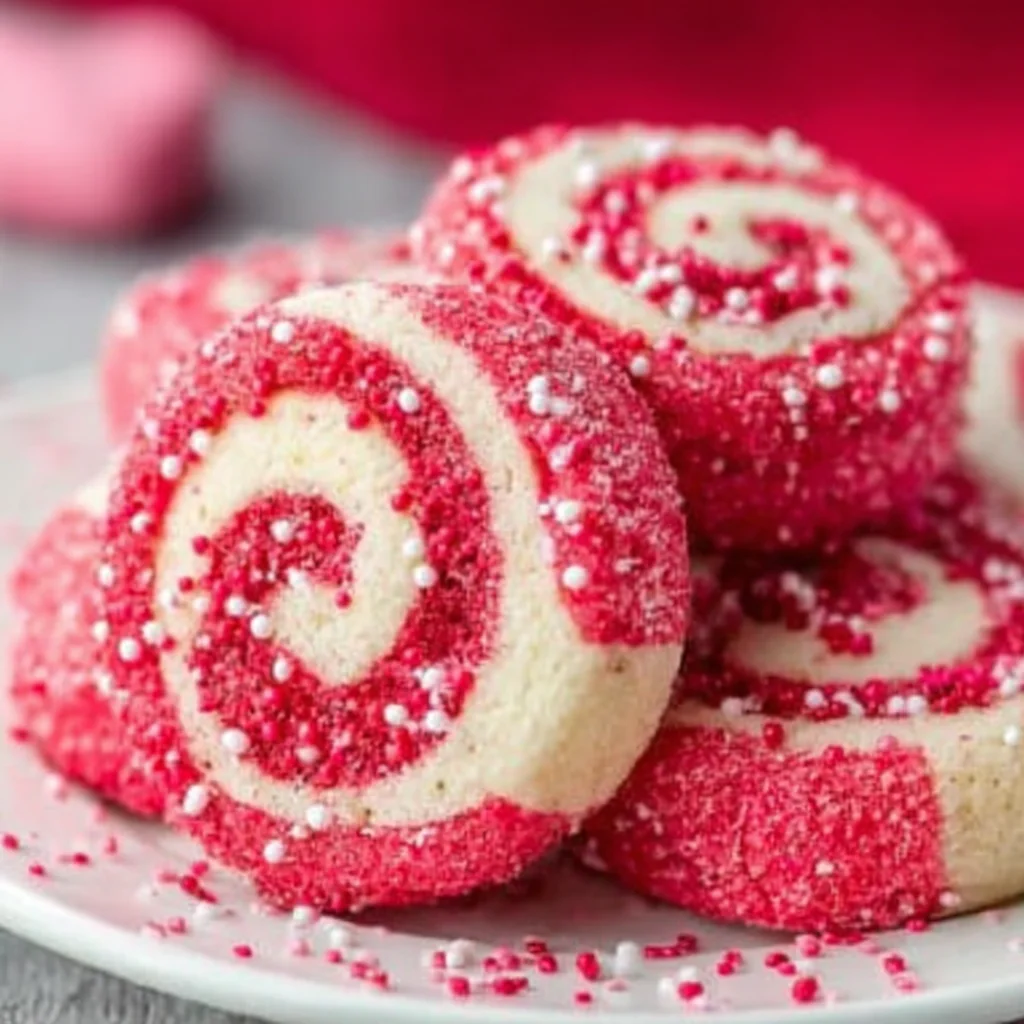
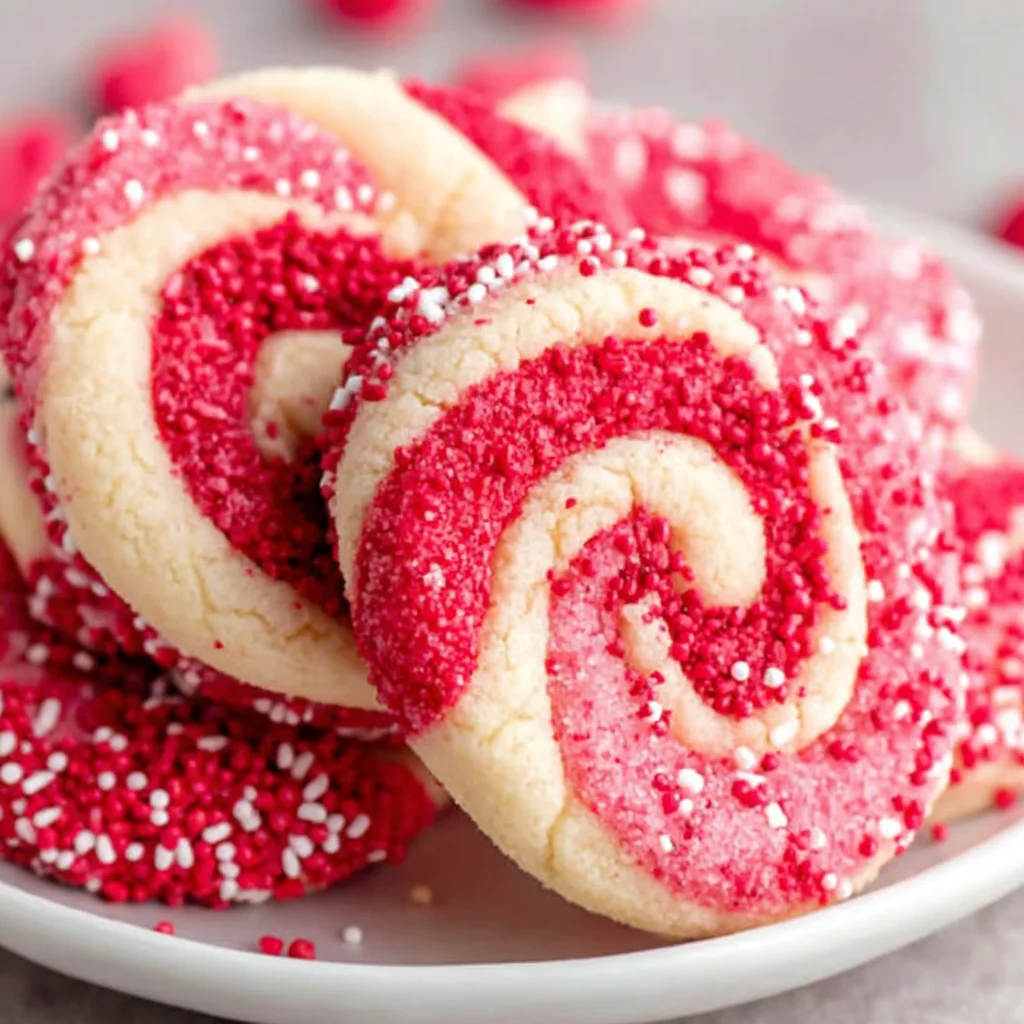
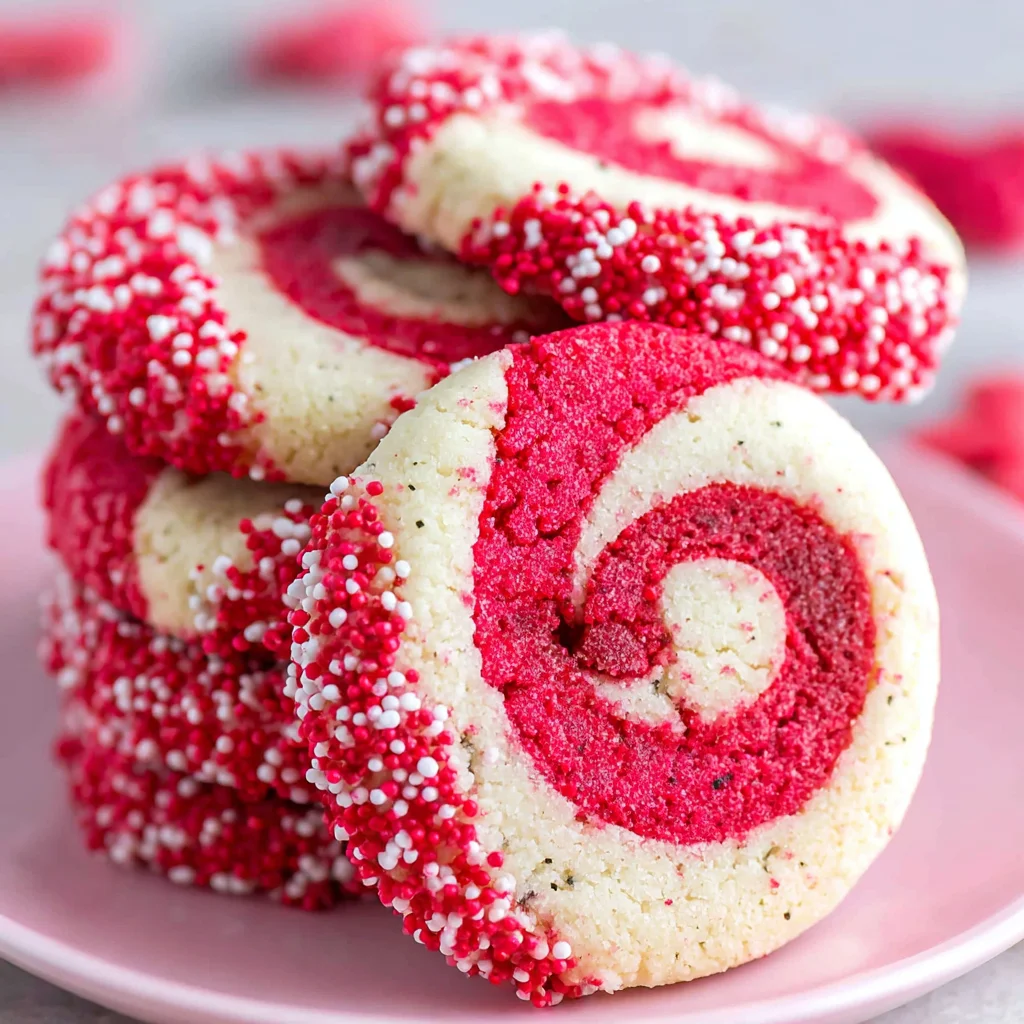
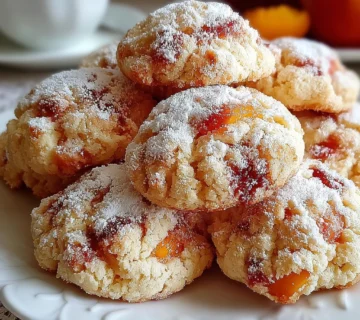
Valentine's Day Swirl Cookies
Celebrate love with these enchanting Valentine's Day Swirl Cookies, a delightful treat that captures the spirit of romance in every bite. Featuring a tender, buttery vanilla dough beautifully swirled with a vibrant, colored counterpart, these cookies are as visually stunning as they are delicious. Perfect for gifting, sharing, or simply enjoying with a warm cup of tea, they bring a touch of whimsy and sweetness to any occasion.
Prep Time
Approximately 2 hours 15 minutes (includes significant chilling time)
Cook Time
15 to 17 minutes
Total Time
Approximately 2 hours 45 minutes
Servings
Makes about 36-40 cookies
Keywords
Why This Recipe Delivers
- Creates visually stunning cookies perfect for special occasions.
- Combines classic vanilla flavor with a fun, vibrant twist.
- Relatively simple to make, yet yields impressive results.
- A delightful way to celebrate Valentine's Day with homemade charm.
- Can be prepared ahead of time, making party planning a breeze.
Ingredients
- 240 grams (2 cups) all-purpose flour, plus an additional 20-30 grams (2-3 tablespoons) as needed
- 2 grams (½ teaspoon) baking powder
- 1.25 grams (¼ teaspoon) fine sea salt
- 80 grams (⅔ cup) unsifted powdered sugar
- 50 grams (¼ cup) granulated sugar
- 280 grams (2 ½ sticks) unsalted butter, cut into chunks and softened
- 5 milliliters (1 teaspoon) pure vanilla extract
- 2.5 milliliters (½ teaspoon) red or pink gel food coloring, and/or 2.5 milliliters (½ teaspoon) of an extra extract (e.g., almond, raspberry)
- 200 grams (1 ½ cups) festive holiday sprinkles
Instructions
- In the bowl of a stand mixer fitted with the paddle attachment, combine the all-purpose flour, baking powder, fine sea salt, powdered sugar, and granulated sugar. Mix on medium speed until all the dry ingredients are thoroughly blended and appear uniform.
- Gradually add the softened butter chunks into the mixer bowl, one or two at a time, allowing them to incorporate fully before adding more. Continue mixing until the butter is evenly distributed.
- Pour in the pure vanilla extract. Continue mixing the dough on medium speed until it comes together and forms a cohesive ball around the paddle attachment or against the sides of the bowl.
- Remove all the prepared dough from the mixer bowl and divide it into two equal portions. Use a kitchen scale for precision if desired.
- Return one portion of the dough to the stand mixer. Add the red or pink gel food coloring and any desired extra extracts (like almond or raspberry). Mix until the color is vibrant and evenly distributed throughout the dough, ensuring no streaks remain.
- Place each portion of dough, one at a time, between two sheets of wax paper. Using a rolling pin, roll out each dough portion until it measures approximately 28 x 23 centimeters (11 x 9 inches) and is about 6 millimeters (¼ inch) thick.
- Carefully slide both rolled-out dough sheets, still between their wax paper, onto a cookie sheet or flat tray. Transfer to the refrigerator and chill for at least 1 hour, or until the dough is firm.
- Once the dough is firm, remove the top sheets of wax paper from both the vanilla and colored dough portions. Lightly brush the surface of the uncolored vanilla dough with water using a pastry brush.
- Carefully invert the colored dough sheet onto the vanilla uncolored dough sheet, aligning their edges precisely so they are stacked evenly. Gently press the edges of the stacked dough with your fingertips to seal them together.
- Using a small, sharp knife, carefully trim the edges of the stacked dough to create straight, even lines, ensuring a neat rectangle.
- Ensure your stacked dough is still cold but flexible enough to roll without cracking. Beginning with one of the longer sides, gently and tightly roll the stacked dough into a swirl, much like a jelly roll. Ensure the roll is compact and uniform.
- Spread the festive holiday sprinkles onto a large platter or shallow baking dish. Gently lift the dough log and carefully roll it over the sprinkles, pressing lightly to ensure they adhere evenly to the entire surface.
- Thirteenth Step: Wrap the sprinkle-coated dough log tightly in plastic wrap. Chill it in the refrigerator for a few hours until very firm, or freeze the dough for up to three months. If freezing, allow it to thaw slightly in the refrigerator before slicing.
- Fourteenth Step: When ready to bake, preheat your oven to 175 degrees Celsius (350 degrees Fahrenheit). Line baking sheets with parchment paper. Using a sharp knife, slice the chilled dough log into 6-millimeter (¼-inch) thick rounds.
- Fifteenth Step: Arrange the sliced cookies on the prepared baking sheets, leaving a small space between each. Bake for 15 to 17 minutes, or until the edges begin to turn a delicate golden brown.
- Sixteenth Step: Once baked, remove the baking sheets from the oven. Let the cookies rest on the hot baking sheets for approximately 5 minutes to set.
- Seventeenth Step: Carefully transfer the slightly cooled cookies to a wire cooling rack to finish cooling completely. This ensures they become perfectly crisp.
Tools You’ll Need
- Stand mixer with paddle attachment
- Rolling pin
- Wax paper
- Cookie sheet or flat tray
- Pastry brush
- Small, sharp knife
- Large platter or shallow dish for sprinkles
- Plastic wrap
- Parchment paper
- Measuring cups and spoons (or kitchen scale)
- Wire cooling rack
Essential Success Tips
- Ensure your butter is truly softened, not melted, for the best dough consistency and easy incorporation.
- Do not overmix the dough after adding the butter; mix just until it forms a ball to keep the cookies tender.
- Chilling the dough thoroughly at each specified step is crucial for easy handling, neat slicing, and preventing the cookies from spreading too much in the oven.
- When stacking the dough, a light brush of water helps the two layers adhere without becoming soggy.
- For perfectly round cookies, roll the dough log as tightly and evenly as possible before chilling and slicing.
Professional Cooking Secrets
- For an even more intense color without altering consistency, use gel food coloring instead of liquid food coloring.
- To prevent the sprinkles from falling off after baking, lightly spritz the rolled dough with a little water or egg wash before rolling it in the sprinkles for better adhesion.
- For uniform slices and minimal crumbling, use a very sharp, thin knife and press straight down rather than sawing, especially when the dough is very cold. You can also lightly oil the knife blade between slices.
Notes
- Storage: Store cooled cookies in an airtight container at room temperature for up to 5 days, or in the freezer for up to 2 months.
- Variations: Experiment with different food coloring shades for other holidays, or add citrus zest (lemon, orange) to the vanilla dough for a brighter flavor profile. Consider using different types of sprinkles or chopped nuts for coating.
Frequently Asked Questions
Can I make the dough ahead of time?
Absolutely! The dough log can be prepared and chilled in the refrigerator for up to 3-4 days, or frozen for up to 3 months. If frozen, let it thaw in the refrigerator for several hours before slicing and baking.
Why are my cookies spreading too much?
Overly warm dough or insufficient chilling is a common culprit. Ensure your dough is thoroughly chilled before slicing and baking. Also, check that your butter was not too soft when incorporated and that your oven temperature is accurate.
Can I use different flavors?
Yes! While vanilla is classic, you can swap extracts. Consider almond extract for a marzipan-like flavor, or raspberry extract to complement a pink coloring for Valentine's Day.
Nutrition Facts (Per Serving)
Per cookie (estimated): Calories: 150-170, Protein: 1g, Fat: 9-11g, Saturated Fat: 6-7g, Carbs: 18-20g, Sugar: 10-12g, Sodium: 40-50mg.
Allergy Information
Contains dairy (butter) and gluten (wheat flour). For a gluten-free version, substitute with a high-quality gluten-free all-purpose flour blend, though texture may vary slightly. May contain soy depending on sprinkles.
No comment