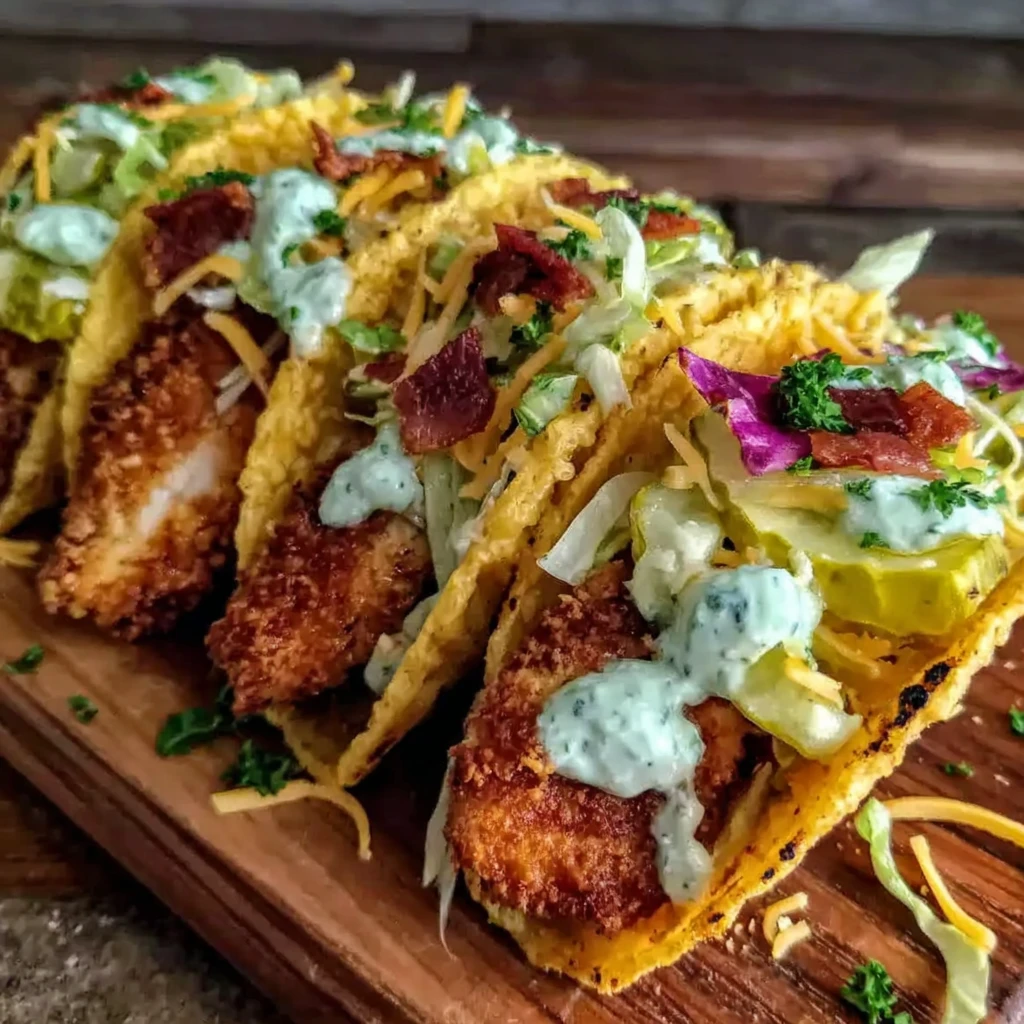
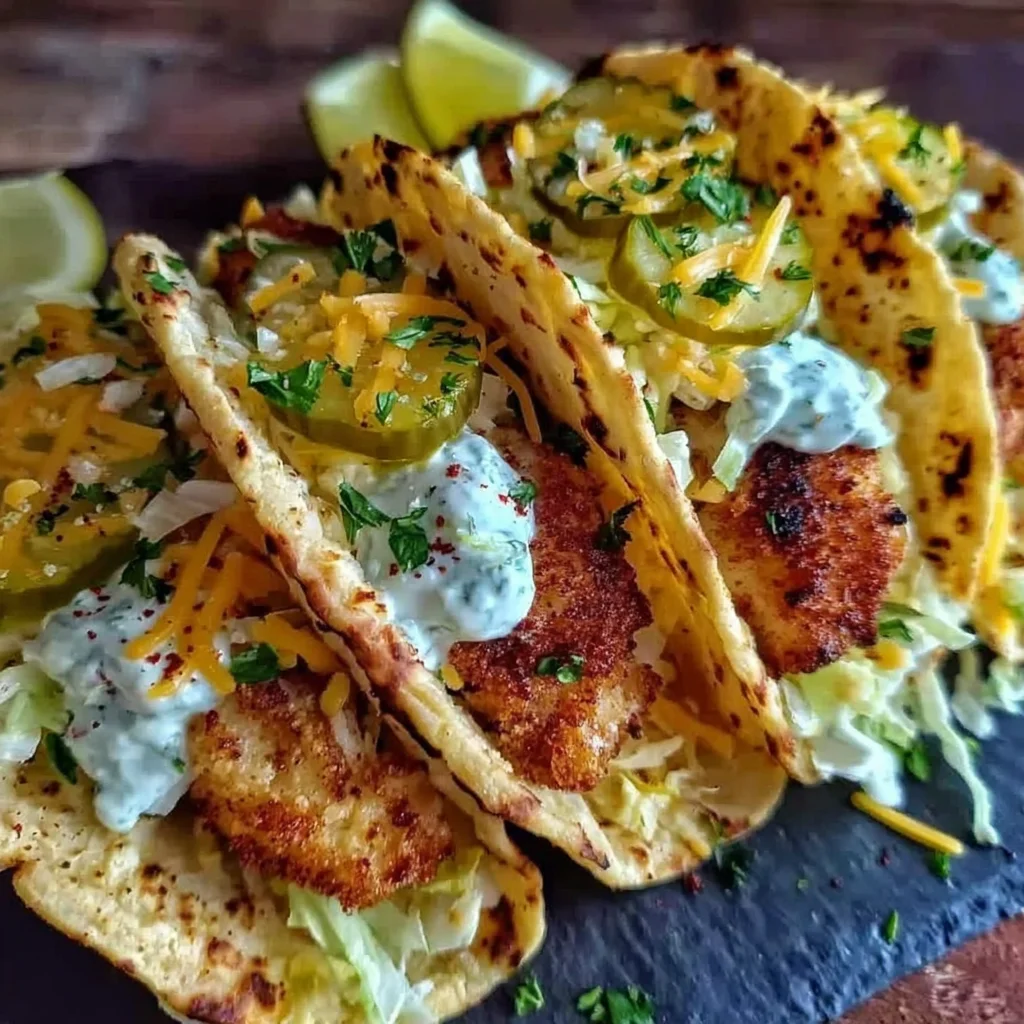
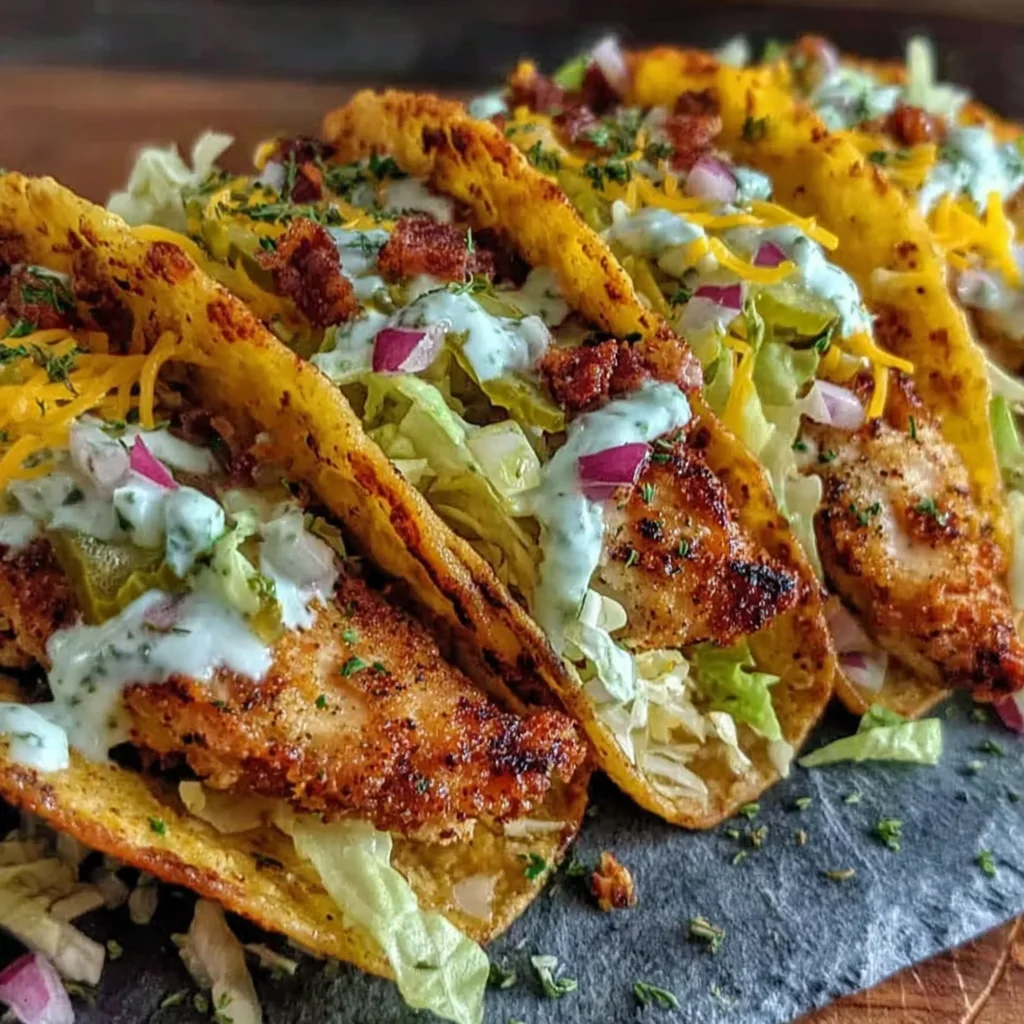
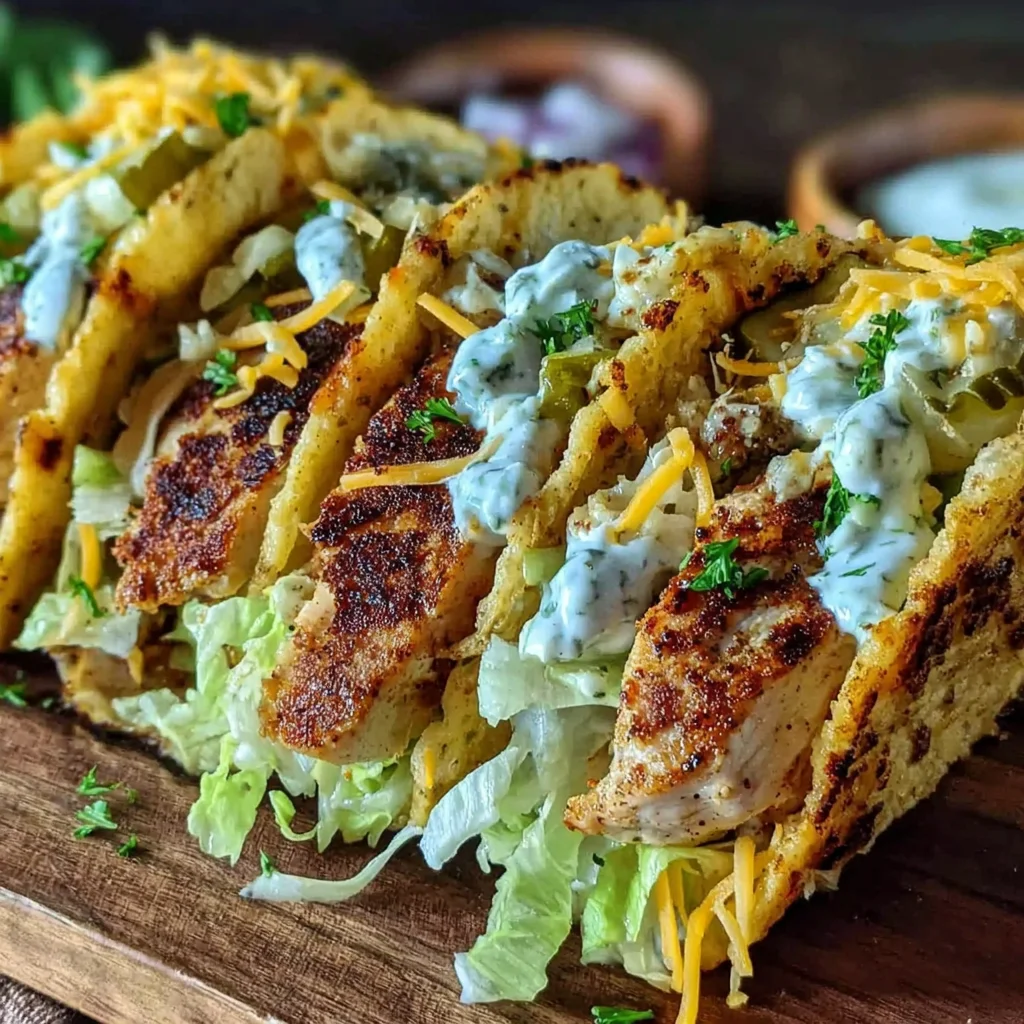
Irresistible Dill Pickle Ranch Smash Chicken Tacos
Prepare your taste buds for an explosion of flavor with these Irresistible Dill Pickle Ranch Smash Chicken Tacos. This innovative dish features ultra-crispy smashed chicken, infused with tangy dill pickles and creamy ranch dressing, all nestled in a warm tortilla and crowned with a golden, crunchy cheese lace. It’s a fun, quick, and uniquely delicious meal that’s perfect for weeknights or lively gatherings.
Prep Time
15 minutes
Cook Time
20 minutes
Total Time
35 minutes
Servings
3 servings (2 tacos each)
Keywords
Why This Recipe Delivers
- Explodes with tangy, savory, and creamy flavors in every bite, a true culinary adventure.
- Achieves incredibly crispy chicken with the simple yet effective smash technique.
- Features a unique, craveable crispy cheese layer that adds texture and richness.
- Ready in under 40 minutes, making it a perfect solution for busy weeknights.
- A fun, customizable dish that appeals to adventurous eaters and taco lovers alike.
Ingredients
- 2 medium boneless, skinless chicken breasts (approximately 450 grams / 1 pound)
- 120 milliliters (½ cup) chopped dill pickle slices
- 60 milliliters (¼ cup) ranch dressing
- 110 grams (1 cup) shredded sharp cheddar cheese
- 6 small flour tortillas
- 5 milliliters (1 teaspoon) garlic powder
- 5 milliliters (1 teaspoon) onion powder
- Salt and freshly ground black pepper to taste
- 30 milliliters (2 tablespoons) unsalted butter or a neutral oil (like canola or avocado oil)
- Optional: Shredded lettuce, thinly sliced red onion for garnish
Instructions
- Prepare the chicken for smashing. On a clean cutting board, take each boneless, skinless chicken breast and carefully slice it horizontally into two or three pieces, aiming for a thickness of approximately 1.25 centimeters (½-inch). This preparation ensures more surface area for developing that coveted crispy texture when smashed.
- Season the chicken generously. In a medium bowl, combine the sliced chicken pieces with 5 milliliters (1 teaspoon) garlic powder, 5 milliliters (1 teaspoon) onion powder, and season liberally with salt and freshly ground black pepper. Toss well to ensure every piece is evenly coated, which will build foundational layers of flavor.
- Smash and crisp the chicken. Heat 15 milliliters (1 tablespoon) of butter or oil in a large, heavy-bottomed skillet (cast iron works wonderfully for this) over medium-high heat until it shimmers. Place the seasoned chicken pieces in the hot skillet, ensuring not to overcrowd the pan; cook in batches if necessary. Using a sturdy spatula or a bacon press, firmly press down on each chicken piece to flatten it to about 0.6 centimeters (¼-inch) thickness. This maximizes contact with the hot pan for ultimate crispiness. Cook without moving for 3-4 minutes until the edges are golden brown and wonderfully crispy, indicating a beautiful sear has formed.
- Finish the chicken with ranch and pickles. Carefully flip each smashed chicken piece. Immediately spoon approximately 5 milliliters (a teaspoon) of the chopped dill pickles onto the surface of each piece, followed by a light drizzle of ranch dressing. Continue to cook for another 2-3 minutes, allowing the chicken to cook through completely and the ranch to warm and meld with the chicken. The internal temperature of the chicken should reach 74°C (165°F) for safety. Remove the cooked chicken to a plate and set aside.
- Create the crispy cheese laces. In a clean skillet (or wipe out the chicken skillet), reduce the heat to medium. Sprinkle small rounds of shredded cheddar cheese, about 7.5 centimeters (3 inches) wide, directly onto the non-stick surface of the pan. Cook for 2-3 minutes until the cheese is bubbly, fully melted, and the edges turn a deep golden brown and become appealingly crispy.
- Finish the cheese laces. Carefully slide a thin spatula under each crispy cheese lace and flip it. Cook for just 1 minute more to lightly crisp the other side. Remove the finished crispy cheese laces and place them on a paper towel-lined plate to drain any excess oil, ensuring they remain perfectly crunchy.
- Warm the tortillas. Briefly warm the small flour tortillas in the same skillet for about 15-30 seconds per side, or microwave them for 15-20 seconds, until they are soft and pliable but still sturdy enough to hold the delicious fillings without tearing.
- Assemble the irresistible tacos. To assemble, place a warm tortilla on your serving plate. Layer it generously with a piece of the crispy smashed chicken, complete with its flavorful dill pickle and ranch topping. Crown the chicken with a golden, crispy cheese lace. For an optional fresh contrast, add a sprinkle of shredded lettuce or thinly sliced red onion for an extra layer of texture and freshness. Serve immediately and savor the explosion of unique flavors!
Tools You’ll Need
- Large, heavy-bottomed skillet (cast iron recommended)
- Sturdy spatula (preferably metal for smashing)
- Cutting board
- Sharp knife
- Measuring cups and spoons
- Medium mixing bowl
- Paper towel-lined plate
- Tongs
Essential Success Tips
- Do not overcrowd the skillet when smashing chicken; cook in batches if necessary to ensure even crisping and proper browning.
- Press the chicken firmly and resist the urge to move it until a beautiful golden crust forms – this patience is key for maximum crispiness.
- Adjust the heat for the cheese laces carefully; too high and they burn, too low and they won't get crispy. Medium heat is ideal for a perfect lace.
- Warm tortillas just before serving to keep them pliable without drying out, ensuring they don't crack when folded.
- For an extra punch of pickle flavor, consider adding a teaspoon of pickle juice to your ranch dressing before drizzling.
Professional Cooking Secrets
- To achieve the most uniform and crispiest smash, if you don't have a bacon press, use a heavy, flat-bottomed tool like another cast iron skillet or a brick wrapped in aluminum foil.
- Before adding cheese for the laces, ensure your skillet is impeccably clean and truly non-stick. A very light brushing of oil can help, but generally, the fat in the cheese is sufficient for a clean release once crispy.
- For an elevated flavor profile, consider making your own ranch dressing from scratch using fresh dill and chives; the vibrant herbs will complement the dill pickle even further.
Notes
- Leftover cooked chicken can be stored in an airtight container in the refrigerator for up to 3 days. For best results, reheat gently in a skillet or air fryer to maintain crispiness.
- For a low-carb or gluten-free option, serve the crispy smashed chicken and cheese lace over a bed of fresh, crisp lettuce or in large lettuce cups instead of flour tortillas.
- Experiment with different cheeses for the laces, such as Monterey Jack or a Mexican cheese blend. Ensure the cheese you choose melts and crisps well for the best texture.
Frequently Asked Questions
Can I prepare the chicken ahead of time?
You can slice and season the chicken up to a day in advance and store it covered in the refrigerator. However, for optimal crispiness, it is best to smash and cook the chicken just before serving.
What if my cheese laces stick to the pan?
Ensure your skillet is truly non-stick and adequately heated but not excessively hot (medium heat is key). A very light brushing of oil can sometimes help, but typically the fat in the cheese is sufficient for release once it has caramelized and crisped.
Can I use different types of pickles?
While dill pickles provide the classic tangy and briny flavor that defines this dish, feel free to experiment with sweet pickles for a different flavor profile, or even spicy pickles if you enjoy an extra kick.
Nutrition Facts (Per Serving)
Calories: 480, Protein: 35g, Fat: 28g, Carbs: 25g (estimated per serving, excludes optional garnishes and varies by brand)
Allergy Information
Contains dairy (shredded cheddar cheese, ranch dressing) and gluten (flour tortillas). For a gluten-free option, use corn tortillas or lettuce wraps and ensure your chosen ranch dressing is certified gluten-free.


No comment