
These Honey Garlic Air Fryer Cauliflower Wings are a game-changer for anyone craving a flavorful, plant-based appetizer or light meal. Crispy panko-coated cauliflower florets are air-fried to golden perfection, then generously tossed in a sticky, sweet, and savory honey-garlic sauce. This dish offers all the satisfying crunch and vibrant taste of traditional wings without the meat, making it a delicious and healthier alternative that's sure to impress.
Why You’ll Love This Honey Garlic Air Fryer Cauliflower Wings
- Achieves incredible crispiness in the air fryer without deep frying.
- Features a perfectly balanced sweet, savory, and tangy honey garlic sauce.
- Offers a delicious plant-based alternative to traditional chicken wings.
- Quick and easy to prepare, making it ideal for weeknight meals or entertaining.
- Highly customizable with optional heat or additional garnishes.
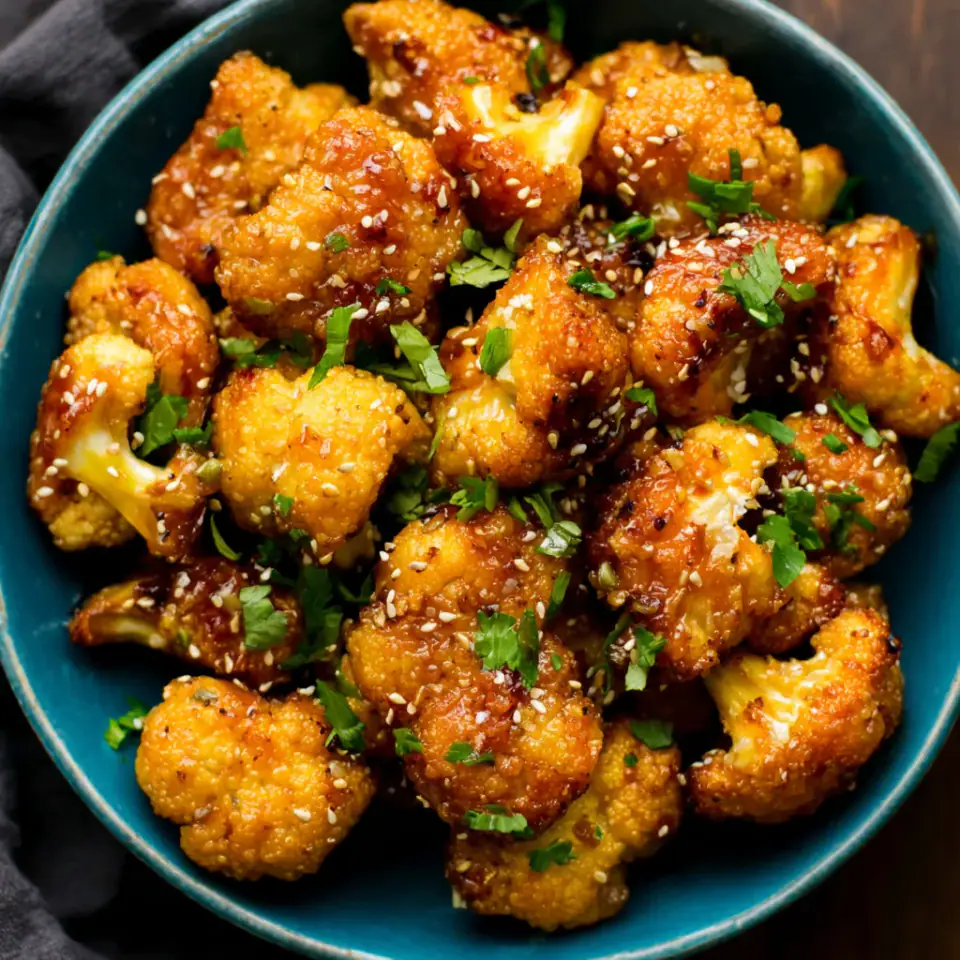
Tips for the Best Honey Garlic Air Fryer Cauliflower Wings
- Do not overcrowd the air fryer basket; cook in batches to ensure maximum crispiness and even cooking.
- Ensure the cauliflower florets are cut into similar sizes (2.5-3.8 cm or 1-1.5 inches) for uniform cooking.
- Shake off excess batter before coating in Panko to prevent a gummy texture.
- Warm the honey garlic sauce slightly before tossing the cooked cauliflower to ensure it coats smoothly and evenly.
- Serve the cauliflower wings immediately after coating in sauce to enjoy them at their crispiness peak.
How to Take It Further
Once you have made it the classic way, these small upgrades make it even better.
- For an extra layer of flavor in your batter, consider adding a pinch of smoked paprika or a dash of nutritional yeast for a cheesy undertone.
- To achieve restaurant-level crispiness, lightly spray the breaded cauliflower with cooking oil before air frying. This helps create a beautiful golden crust.
- If you like a spicier kick, add a pinch of red pepper flakes to the honey garlic sauce while it simmers, or a dash of sriracha to taste after it's cooked for a fiery twist.
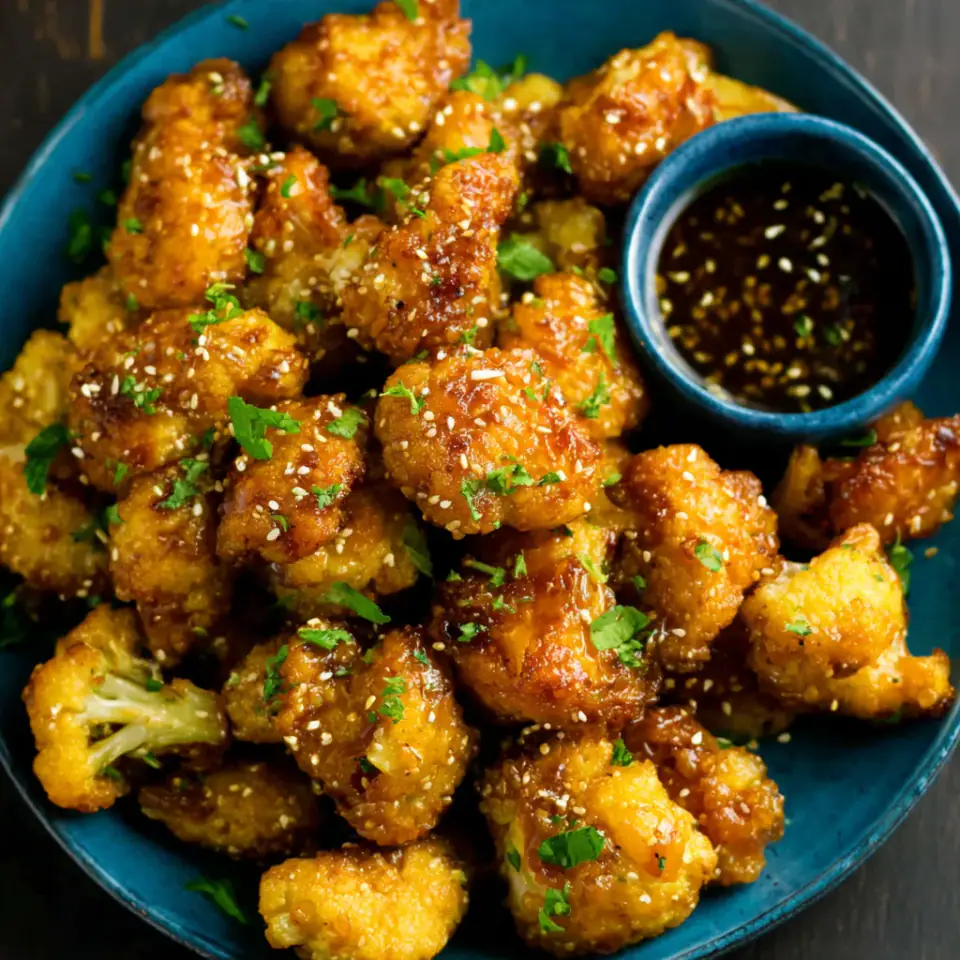
Storage, Make-Ahead and Variations
- For a gluten-free version, use gluten-free all-purpose flour and gluten-free Panko breadcrumbs.
- To make this dish completely vegan, ensure your Worcestershire sauce is vegan (as many contain anchovies) and use a plant-based milk alternative (such as almond or soy milk).
- Leftovers can be stored in an airtight container in the refrigerator for up to 2 days, though the cauliflower may lose some of its crispiness. Reheat in the air fryer for a few minutes to crisp up.
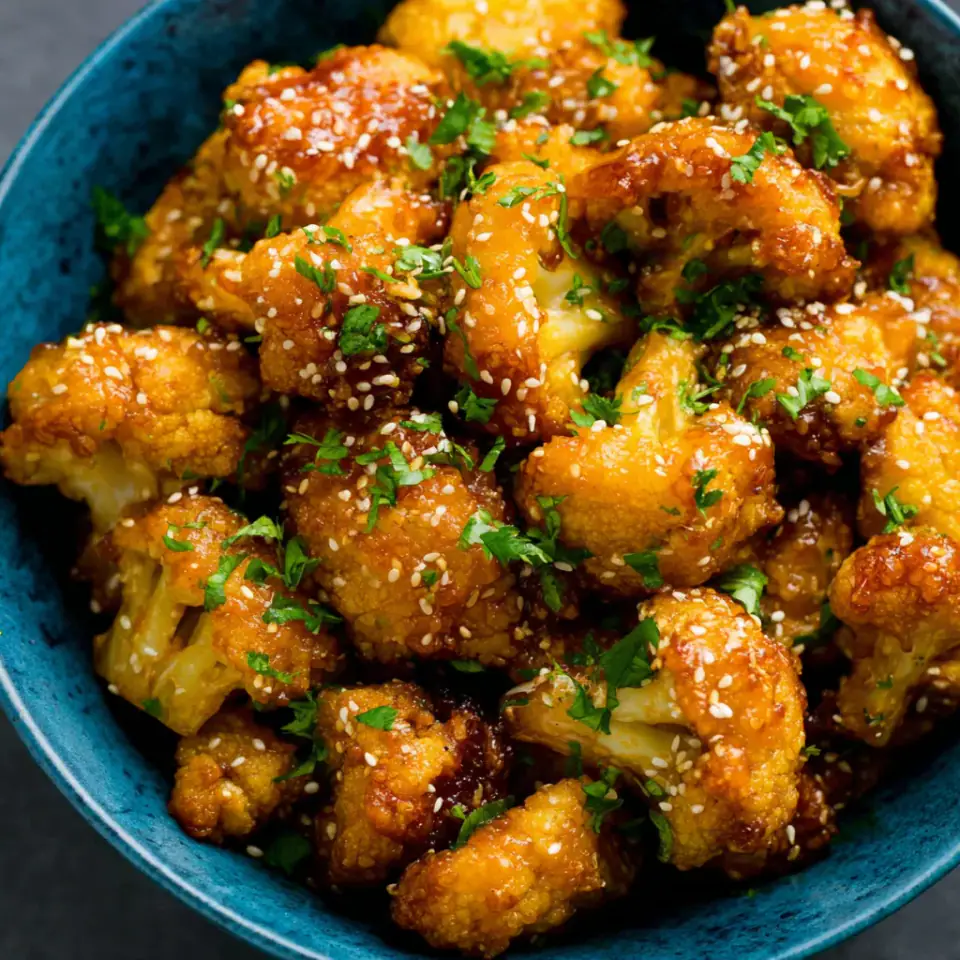
Frequently Asked Questions
Can I bake these cauliflower wings instead of air frying?
Yes, you can. Preheat your oven to 220°C (425°F). Place the breaded cauliflower on a lightly greased baking sheet in a single layer and bake for 20-25 minutes, flipping halfway through, until golden and crispy.
How can I make the sauce spicier?
To add a spicy kick, you can incorporate ½ teaspoon of red pepper flakes into the sauce while it simmers, or add a teaspoon of sriracha or chili garlic sauce to taste after it's cooked.
Can I prepare the cauliflower ahead of time?
You can prepare the honey garlic sauce up to 3 days in advance and store it in the refrigerator. However, it is best to batter, bread, and air fry the cauliflower just before serving to maintain optimal crispiness.
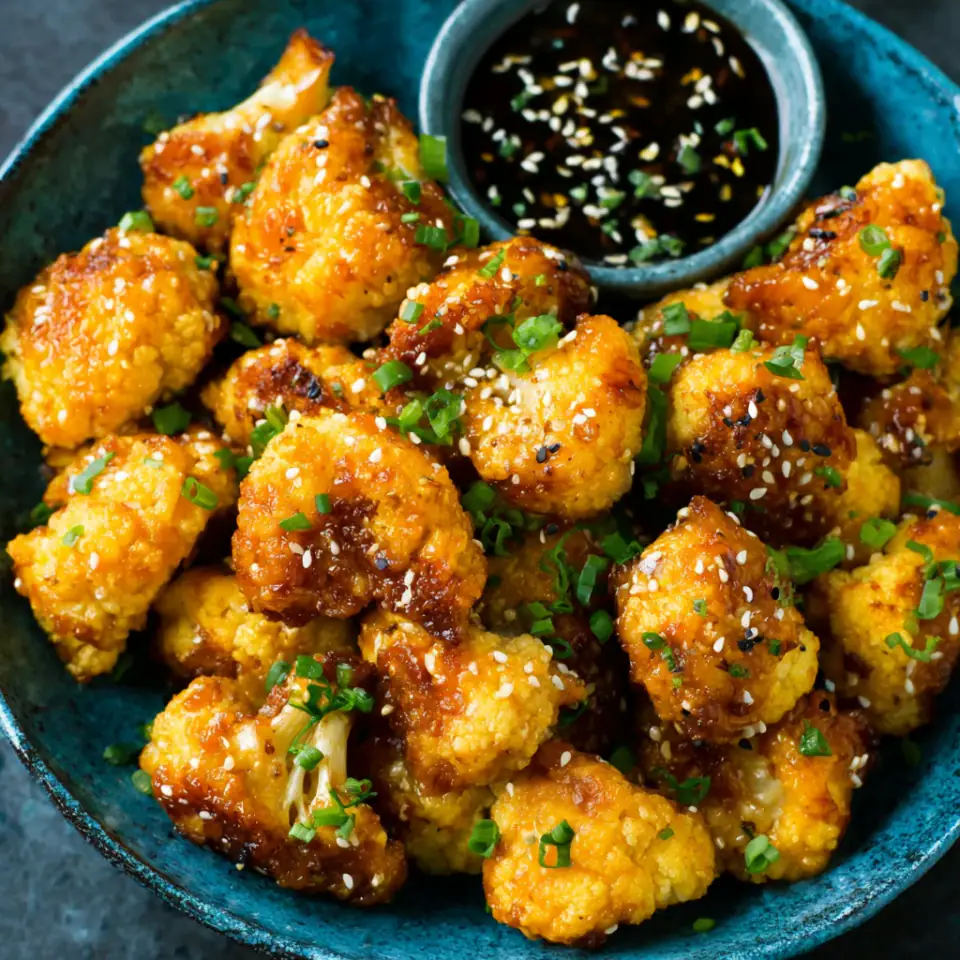
Honey Garlic Air Fryer Cauliflower Wings
These Honey Garlic Air Fryer Cauliflower Wings are a game-changer for anyone craving a flavorful, plant-based appetizer or light meal. Crispy panko-coated cauliflower florets are air-fried to golden perfection, then generously tossed in a…
By James Parker · Recipes Dad
Ingredients
Honey Garlic Sauce
Cauliflower Wings
Garnishes
Instructions
Prepare the Honey Garlic Sauce by combining the 80 mL (⅓ cup) honey, 80 mL (⅓ cup) reduced sodium soy sauce, minced garlic, 30 mL (2 tablespoons) apple cider vinegar, 22.5 mL (1 ½ tablespoons) Worcestershire sauce, 10 mL (2 teaspoons) sesame oil, 120 mL (½ cup) water, and 15 mL (1 tablespoon) cornstarch in a medium-sized saucepan. Whisk all ingredients thoroughly to ensure the cornstarch is fully dissolved and prevents lumps.
- Place the saucepan over medium-low heat
Continuously whisk the sauce mixture as it heats, allowing it to gently bubble and thicken. This process typically takes about 5-7 minutes. Once it reaches a smooth, syrupy consistency that coats the back of a spoon, remove it from the heat and set aside to cool slightly. The sauce will continue to thicken as it cools.
- Set up your breading station
Arrange two medium-sized bowls side-by-side. In the first bowl, whisk together the 120 mL (½ cup) all-purpose flour, 1.25 mL (¼ teaspoon) salt, and 1.25 mL (¼ teaspoon) garlic powder until well combined. Gradually add the 120 mL (½ cup) milk to the flour mixture, stirring constantly until a smooth, lump-free batter is formed.
In the second bowl, add the 60 grams (1 cup) Panko breadcrumbs. Ensure a generous layer of Panko for even coating.
- Prepare the cauliflower florets for breading
Working in small batches to avoid overcrowding, immerse the cauliflower florets into the wet batter, ensuring each piece is completely coated. Gently shake off any excess batter, allowing it to drip back into the bowl.
Immediately transfer the batter-coated cauliflower florets to the bowl of Panko breadcrumbs. Toss and press the Panko onto the cauliflower, ensuring a thick, even coating on all sides. Transfer the breaded florets to a clean plate or baking sheet and continue the process with the remaining cauliflower.
- Preheat your air fryer to 200°C (400°F)
Allow it to preheat for at least 5 minutes to ensure it reaches the optimal cooking temperature for maximum crispiness.
Once preheated, carefully arrange the breaded cauliflower florets in a single layer in the air fryer basket. It is acceptable for the pieces to touch slightly, but they should not overlap, as this can lead to uneven cooking and less crispiness. You may need to cook in multiple batches depending on the size of your air fryer.
- Air fry the cauliflower for 5 minutes
After this initial cooking time, carefully open the air fryer, flip each cauliflower piece, and gently shake the basket to redistribute. Continue cooking for an additional 2-5 minutes, or until the cauliflower is uniformly golden brown and wonderfully crispy. The exact time may vary by air fryer model.
Once a batch of cauliflower is cooked through and perfectly crispy, immediately transfer it to a large mixing bowl. If your honey garlic sauce has cooled significantly, gently warm it over low heat for a minute or two to ensure it's fluid enough for coating.
Pour or spoon a generous amount of the warm honey garlic sauce over the cooked cauliflower in the mixing bowl. Toss gently using tongs or a spatula until all the cauliflower pieces are thoroughly coated in the luscious sauce. Shake off any excessive sauce clinging to the florets.
Transfer the sauced cauliflower wings to a clean serving plate. Garnish immediately with a sprinkle of toasted sesame seeds and freshly sliced green onions for an extra layer of flavor and visual appeal. Serve hot and enjoy the irresistible combination of sweet, savory, and spicy notes.
Equipment
- Medium saucepan
- Whisk
- Two medium mixing bowls
- Tongs
- Air fryer
- Measuring cups and spoons
- Sharp knife for cutting cauliflower
- Cutting board
Nutrition per serving
- Calories
- 280–320 kcal
- Carbohydrates
- 40–45 g
- Protein
- 8–10 g
- Fat
- 10–12 g
- Fiber
- 4–5 g
Estimated per serving; values vary with brands and portion size. See our nutrition disclaimer.
Allergy information
Contains soy (from soy sauce) and gluten (from flour and Panko). May contain dairy if dairy milk is used. For a gluten-free version, use gluten-free all-purpose flour and gluten-free Panko. For a dairy-free and vegan version, use a plant-based milk alternative and a vegan Worcestershire sauce.
Keywords: Honey garlic cauliflower wings, air fryer cauliflower, vegan wings, plant-based appetizer, vegetarian wings, crispy cauliflower, honey garlic recipe, easy air fryer recipe, healthy snack, party food
Made this recipe? Leave a note below and tell us how it went — or save it to Pinterest for later.

James Parker
James Parker is the dad and home cook behind Recipes Dad. He writes practical, family-friendly recipes with clear steps, everyday ingredients and honest tips for busy weeknights.
More about James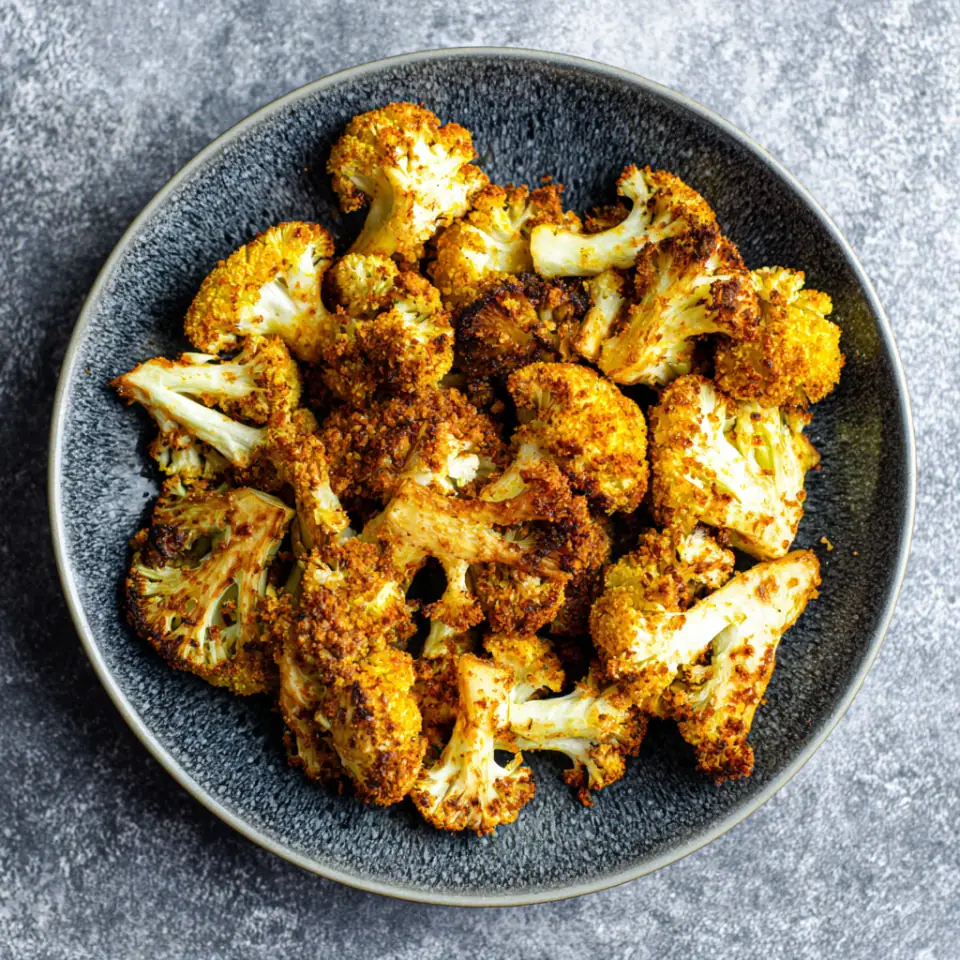
Reader notes
Be the first to share how this recipe turned out, or ask a question — we read every note.