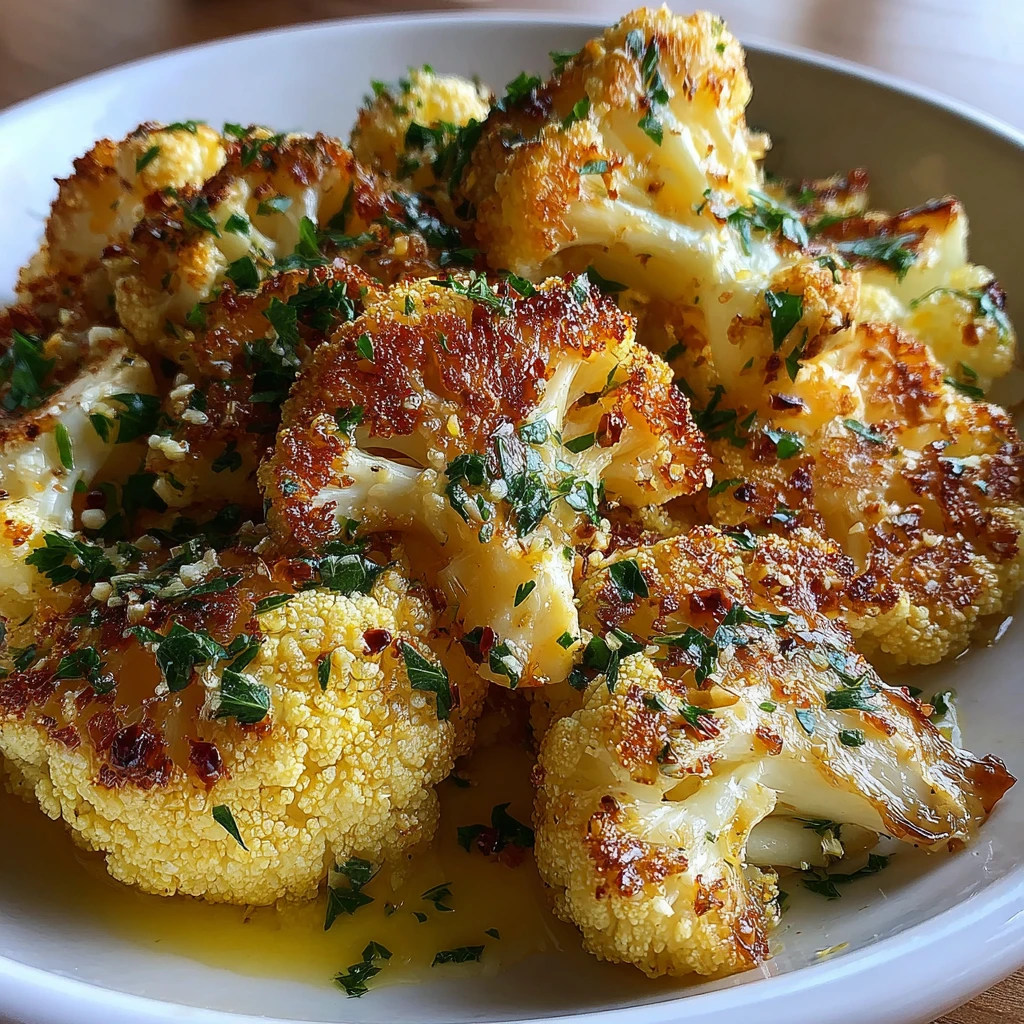
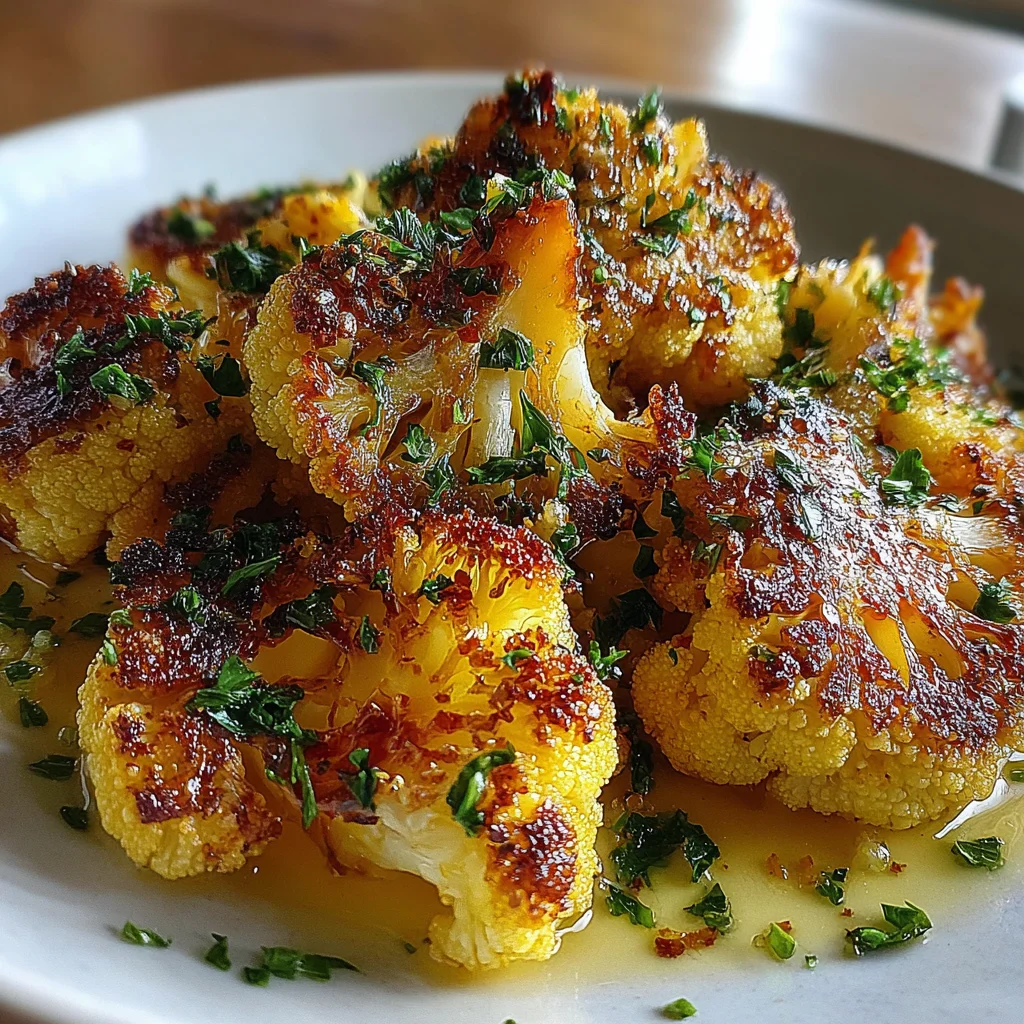
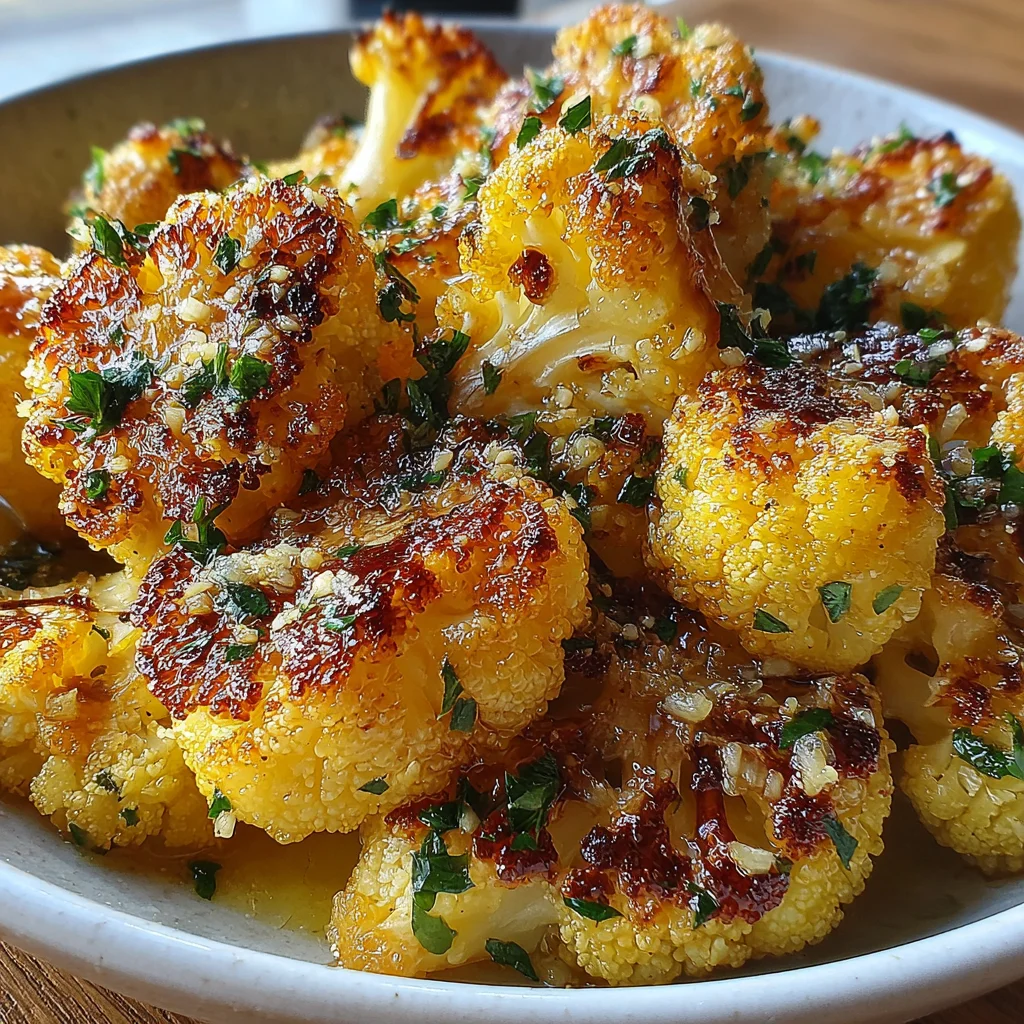
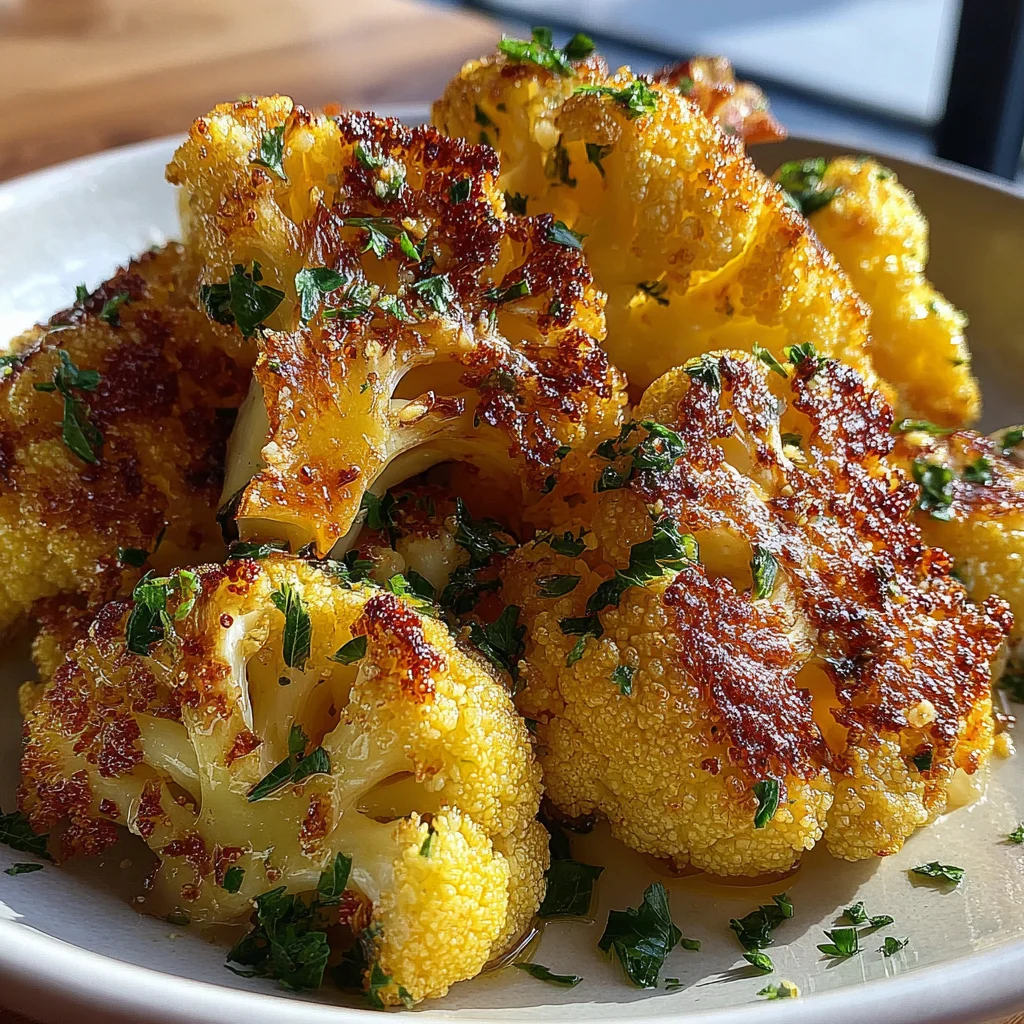
Garlic Butter Roasted Cauliflower: A Flavorful Delight!
Transform humble cauliflower into a culinary sensation with this incredibly simple yet intensely flavorful dish. Roasted to tender perfection and coated in a savory garlic butter sauce, it makes for an unforgettable side dish or a delightful light meal. This recipe promises golden-brown florets bursting with aromatic goodness, sure to please even the most discerning palates.
Prep Time
15 minutes
Cook Time
25-30 minutes
Total Time
40-45 minutes
Servings
4-6 servings
Keywords
Why This Recipe Delivers
- Incredibly easy to prepare with minimal fuss, perfect for busy weeknights.
- Packed with robust garlic and butter flavor, transforming simple cauliflower into a culinary delight.
- Versatile as a side dish, appetizer, or healthy snack.
- Naturally gluten-free and low-carb, fitting a variety of dietary needs.
- Achieves a perfect balance of tender interior and slightly crispy, caramelized exterior.
Ingredients
- 1 medium head (approx. 700-800 g / 1.5-1.75 lbs) cauliflower, cut into bite-sized florets
- 60 g (4 tablespoons) unsalted butter, melted
- 4 large cloves garlic, finely minced
- Fine sea salt, to taste (starting with 5 g / 1 teaspoon)
- Freshly ground black pepper, to taste (starting with 1.5 g / 1/2 teaspoon)
- 15 g (approx. 1/4 cup) fresh flat-leaf parsley, finely chopped, for garnish
Instructions
- Preheat your oven to 220°C (425°F). Prepare a large baking sheet, optionally lining it with parchment paper for easier cleanup.
- In a spacious mixing bowl, combine the melted unsalted butter, finely minced garlic, a generous pinch of fine sea salt, and freshly ground black pepper. Whisk these ingredients together until well combined and fragrant.
- Add the prepared cauliflower florets to the bowl with the garlic butter mixture. Toss thoroughly using tongs or a spatula, ensuring every floret is evenly coated with the aromatic butter sauce. This even coating is key for maximum flavor and consistent caramelization.
- Evenly spread the coated cauliflower florets in a single layer onto the prepared baking sheet. It is crucial to avoid overcrowding the pan, as this allows the cauliflower to roast and caramelize properly rather than steam.
- Transfer the baking sheet to the preheated oven and roast for 25-30 minutes. Keep an eye on the cauliflower, flipping the florets halfway through the cooking time to ensure even browning. The cauliflower should be beautifully golden brown at the edges and fork-tender when done.
- Carefully remove the roasted cauliflower from the oven. Taste and adjust seasoning with additional salt or pepper if desired. Garnish immediately with the freshly chopped flat-leaf parsley before serving warm. The fresh parsley adds a vibrant pop of color and a touch of herbaceousness.
Tools You’ll Need
- Large mixing bowl
- Baking sheet
- Parchment paper (optional)
- Whisk or fork
- Tongs or spatula
- Sharp knife
- Cutting board
Essential Success Tips
- Do not overcrowd the baking sheet; if necessary, use two sheets to ensure the cauliflower roasts and caramelizes instead of steaming.
- Cut florets into roughly uniform sizes for even cooking. Smaller florets will cook faster.
- Ensure the butter is fully melted to get a smooth, even coating on the cauliflower.
- Flip the cauliflower halfway through roasting to encourage browning on all sides and prevent sticking.
- Adjust salt and pepper after roasting; the flavor intensifies, and you might need less than you think.
Professional Cooking Secrets
- For an extra layer of umami, sprinkle a pinch of nutritional yeast or grated Parmesan cheese over the cauliflower during the last 5 minutes of roasting.
- To achieve even deeper caramelization and a nuttier flavor, lightly brown the butter before adding the garlic. Be cautious not to burn it!
- Experiment with fresh herbs beyond parsley; fresh thyme or rosemary sprigs added to the baking sheet during roasting can infuse additional aromatic complexity.
Notes
- Storage: Leftover roasted cauliflower can be stored in an airtight container in the refrigerator for up to 3-4 days. Reheat in the oven or air fryer for best texture.
- Variations: Add a pinch of red pepper flakes for a subtle kick, or a squeeze of lemon juice after roasting for brightness. For a vegan version, use a plant-based butter alternative.
Frequently Asked Questions
Can I use frozen cauliflower for this recipe?
While fresh cauliflower is highly recommended for the best texture and caramelization, you can use frozen. Thaw it completely and pat it very dry before tossing with the butter mixture to prevent a watery result.
How do I ensure my cauliflower gets crispy?
The key to crispy roasted cauliflower is high heat, not overcrowding the baking sheet, and ensuring the florets are completely dry before coating. A single layer allows for proper air circulation, which promotes browning and crisping.
Can I prepare this dish ahead of time?
You can cut the cauliflower into florets and mince the garlic a day in advance. Store them separately in airtight containers in the refrigerator. However, for the best results, toss the cauliflower with the garlic butter just before roasting to prevent it from becoming soggy.
Nutrition Facts (Per Serving)
Approximate per serving (1/6th of recipe): Calories: 120, Protein: 3g, Fat: 9g, Saturated Fat: 5g, Carbs: 8g, Fiber: 3g, Sugar: 3g, Sodium: 250mg.
Allergy Information
Contains dairy (butter). For a dairy-free or vegan version, substitute unsalted butter with a high-quality plant-based butter alternative.

No comment