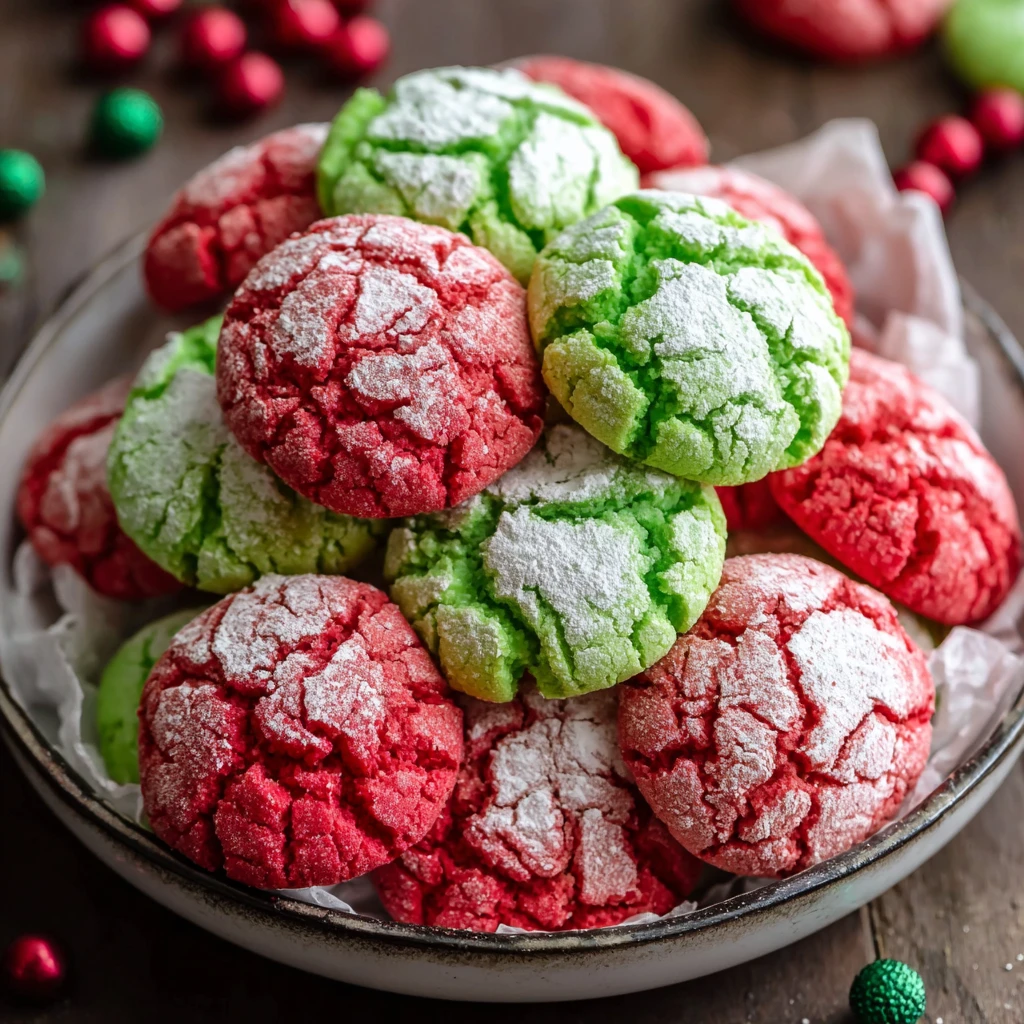
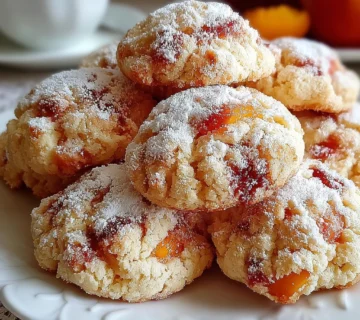
Festive Red and Green Crinkle Cookies Recipe
Brighten your holiday season with these delightful Festive Red and Green Crinkle Cookies. Made effortlessly from a white cake mix base, these cookies boast a soft, chewy interior and a beautiful powdered sugar 'crackle' finish. They are perfect for festive gatherings, cookie exchanges, or simply adding a touch of cheer to your home.
Prep Time
45 minutes (including chilling time)
Cook Time
9-11 minutes
Total Time
Approximately 55-60 minutes
Servings
Approximately 36 cookies
Keywords
Why This Recipe Delivers
- Effortlessly festive, requiring minimal effort thanks to the cake mix base.
- Visually stunning with vibrant red and green hues and a delightful powdered sugar crinkle.
- Produces consistently soft, chewy cookies that are a holiday favorite.
- Perfect for last-minute holiday baking or a fun activity with family.
- A crowd-pleaser that adds a cheerful touch to any dessert spread.
Ingredients
- 375 grams (13.25 ounces) white cake mix (standard box size)
- 2 large eggs
- 80 milliliters (1/3 cup) vegetable oil
- 40 grams (1/3 cup) powdered sugar, for coating
- Red gel food coloring
- Green gel food coloring
Instructions
- In a spacious mixing bowl, combine the entire box of white cake mix, the two large eggs, and the vegetable oil. Ensure all ingredients are added to the bowl.
- Using a sturdy spoon or a stand mixer with a paddle attachment, mix the ingredients together until a smooth, thick, and uniform dough forms. Scrape down the sides of the bowl as needed to incorporate everything fully.
- Carefully divide the prepared dough into two equal portions, placing each portion into a separate medium-sized bowl.
- In one bowl, add a few drops of red gel food coloring. In the second bowl, add a few drops of green gel food coloring. Start with a small amount and add more as needed to achieve your desired vibrant holiday shades.
- Mix each dough portion thoroughly until the colors are evenly distributed and beautifully vibrant throughout. Be patient, as it may take a few minutes to fully incorporate the gel color.
- Cover both bowls tightly with plastic wrap to prevent the dough from drying out. Transfer them to the refrigerator and chill for at least 30 minutes. This step is crucial for firming the dough, making it easier to handle and roll.
- Once the chilling time is almost complete, preheat your oven to 190°C (375°F). Prepare a large baking sheet by lining it with parchment paper or a silicone baking mat to prevent sticking.
- Take the chilled dough out of the refrigerator. Using a small scoop or a tablespoon, portion out approximately 1 tablespoon (about 15 ml) of dough for each cookie. Gently roll each portion between your palms to form a smooth ball.
- Place the powdered sugar for coating in a shallow bowl. Roll each dough ball generously in the powdered sugar until it is completely coated on all sides. This thick coating is what creates the beautiful crinkle effect.
- Arrange the coated dough balls on the prepared baking sheet, leaving approximately 5 centimeters (2 inches) of space between each cookie to allow for spreading during baking.
- Bake the cookies in the preheated oven for 9-11 minutes. Keep a close eye on them; the cookies are ready when they have developed their characteristic crinkled appearance and the edges are lightly set, while the centers remain wonderfully soft.
- Avoid overbaking the cookies, as this will result in a dry texture. The goal is a soft, slightly chewy center. If necessary, bake in batches.
- Thirteenth Step: Once baked, remove the baking sheet from the oven. Allow the cookies to rest on the hot baking sheet for 2-3 minutes. This brief resting period helps them set up and prevents them from breaking when transferred.
- Fourteenth Step: After resting, carefully transfer the cookies to a wire rack using a spatula to cool completely. Cooling on a wire rack ensures air circulation, preventing the bottoms from becoming soggy and maintaining their delicate texture. Serve and enjoy!
Tools You’ll Need
- Large mixing bowl
- Two medium mixing bowls
- Measuring cups and spoons (or kitchen scale)
- Rubber spatula or spoon
- Plastic wrap
- Baking sheet
- Parchment paper or silicone baking mat
- Small cookie scoop (optional, but recommended for uniformity)
- Shallow bowl for powdered sugar
- Wire cooling rack
Essential Success Tips
- Ensure your gel food coloring is of good quality for vibrant, true colors without affecting dough consistency.
- Do not skip the chilling step; it makes the dough much easier to handle and prevents excessive spreading during baking.
- Roll the dough balls generously in powdered sugar. A thick, even coating is essential for a pronounced crinkle effect.
- Bake until the edges are just set and the centers still look slightly soft. Overbaking will result in dry, hard cookies.
- Let the cookies cool completely before storing to prevent condensation, which can make them sticky.
Professional Cooking Secrets
- For an extra burst of flavor, add a teaspoon of vanilla extract or almond extract to the dough mixture with the wet ingredients.
- To achieve perfectly round cookies, slightly re-roll any misshapen dough balls after their initial powdered sugar coating before baking.
- If you want even more dramatic crinkles, after coating in powdered sugar, lightly mist the cookie balls with water from a spray bottle before baking. This helps the sugar absorb moisture and crackle more pronouncedly.
Notes
- Storage: Store cooled cookies in an airtight container at room temperature for up to 5-7 days. They can also be frozen for up to 3 months; thaw at room temperature before serving.
- Variations: Experiment with different food coloring colors for other holidays or themes, such as blue and white for Hanukkah, or pastel colors for Easter.
Frequently Asked Questions
Why did my crinkle cookies not crinkle?
The most common reasons for a lack of crinkle are not chilling the dough sufficiently, not coating the dough balls generously enough in powdered sugar, or overbaking them. Ensure the dough is firm and well-coated before baking.
Can I make these cookies ahead of time?
Yes, you can prepare the dough, color it, and chill it for up to 2-3 days in the refrigerator before baking. You can also bake and freeze the cookies for up to 3 months, thawing them at room temperature when ready to serve.
What kind of cake mix works best?
A standard white or vanilla cake mix (typically 375-430 grams or 13.25-15.25 ounces) works perfectly for this recipe. Avoid cake mixes with added pudding for the best texture.
Nutrition Facts (Per Serving)
Calories: approximately 150-180 per cookie, Protein: 2g, Fat: 7-9g, Carbs: 20-25g (Estimates based on typical cake mix and oil content, will vary by brand and exact serving size).
Allergy Information
Contains wheat, dairy (if cake mix contains dairy), and eggs. Always check your specific cake mix ingredients for additional allergens. This recipe is not suitable for gluten-free diets unless a certified gluten-free cake mix is used.

No comment