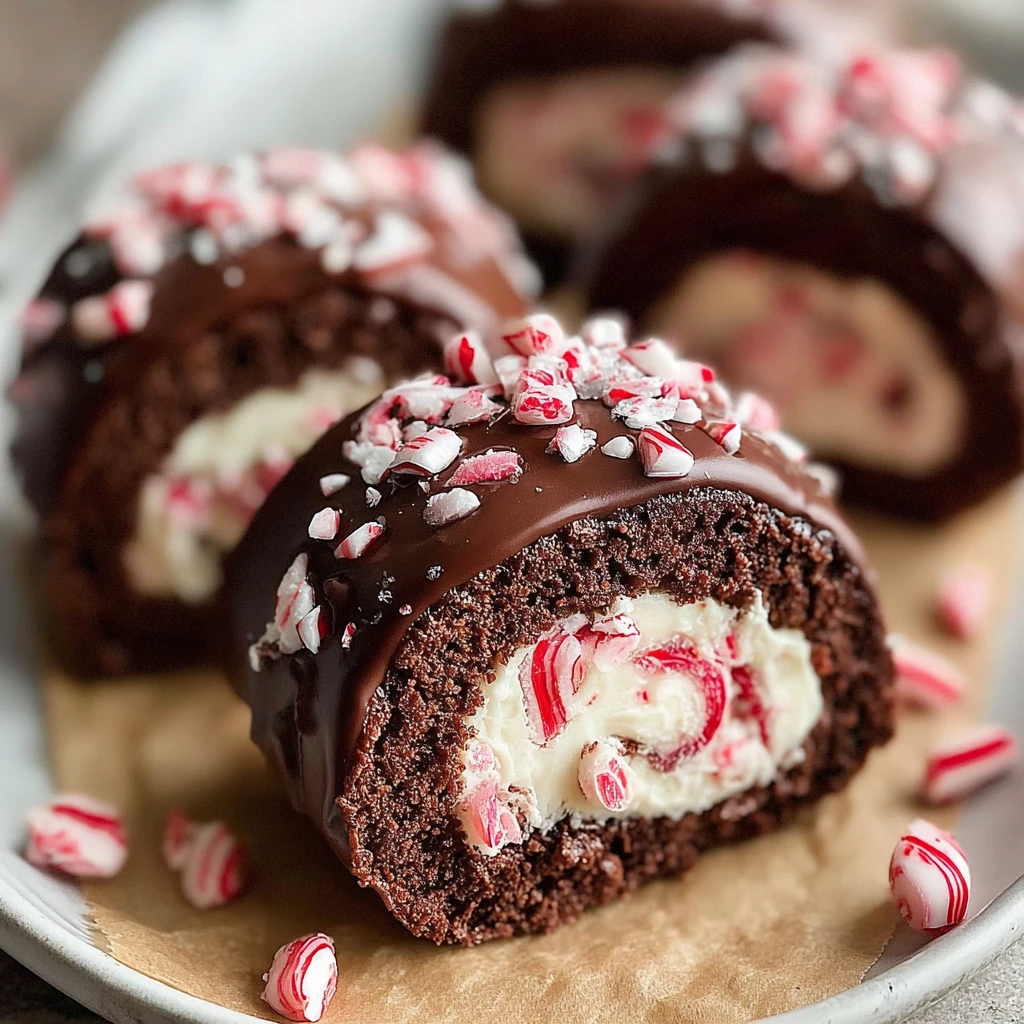
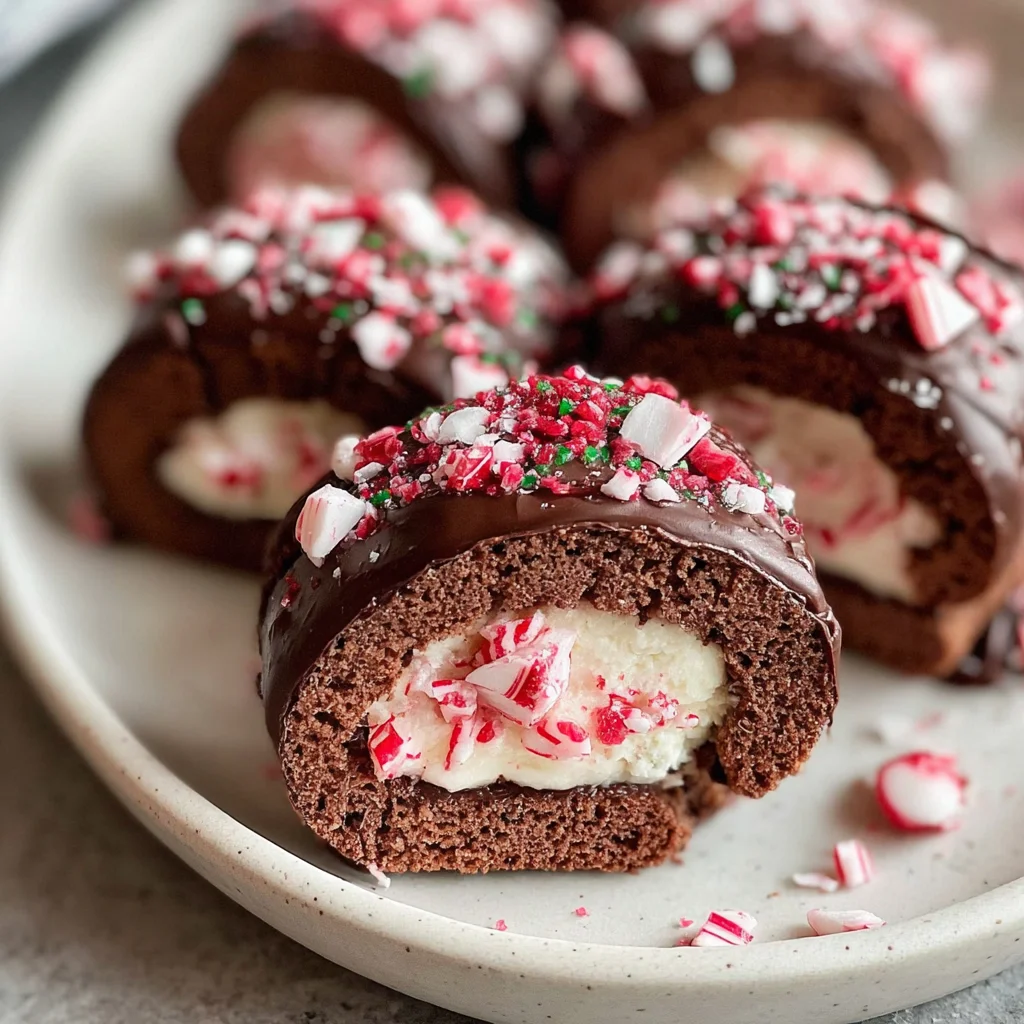
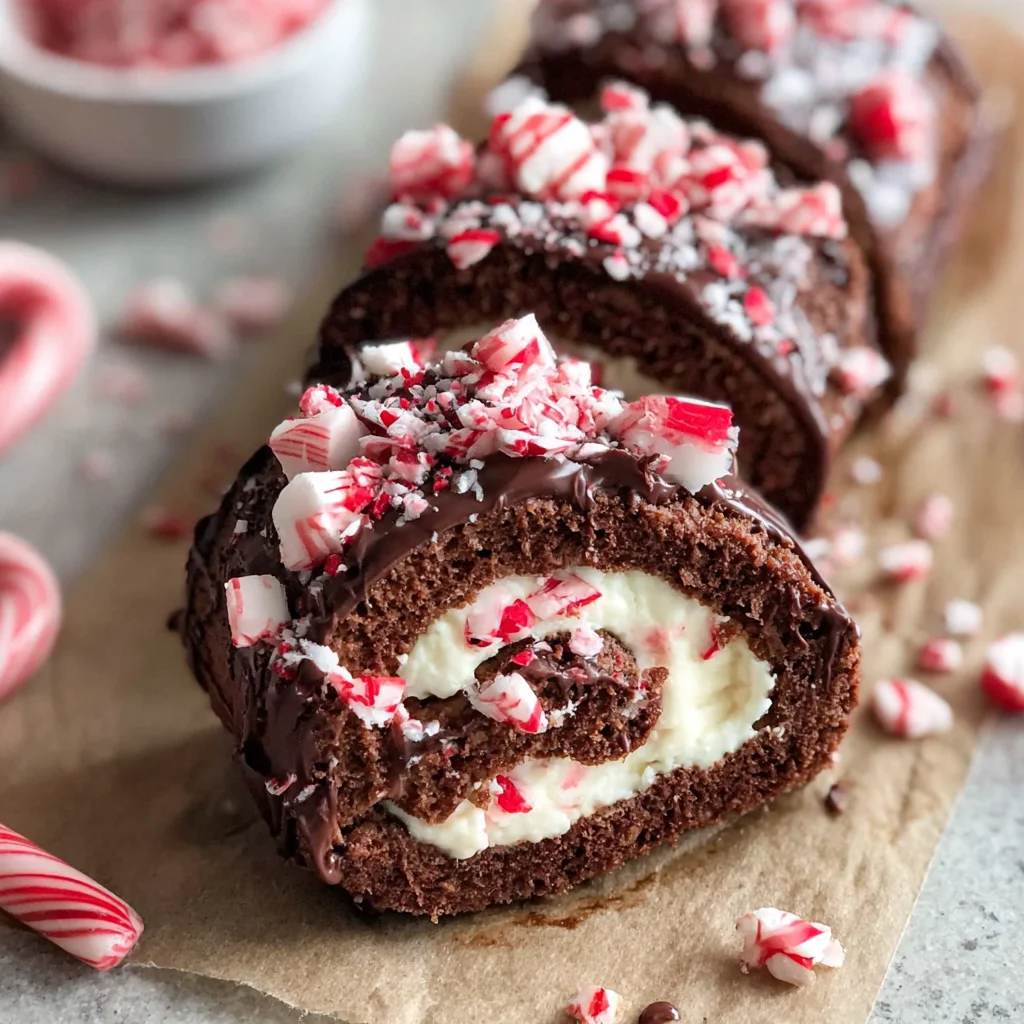
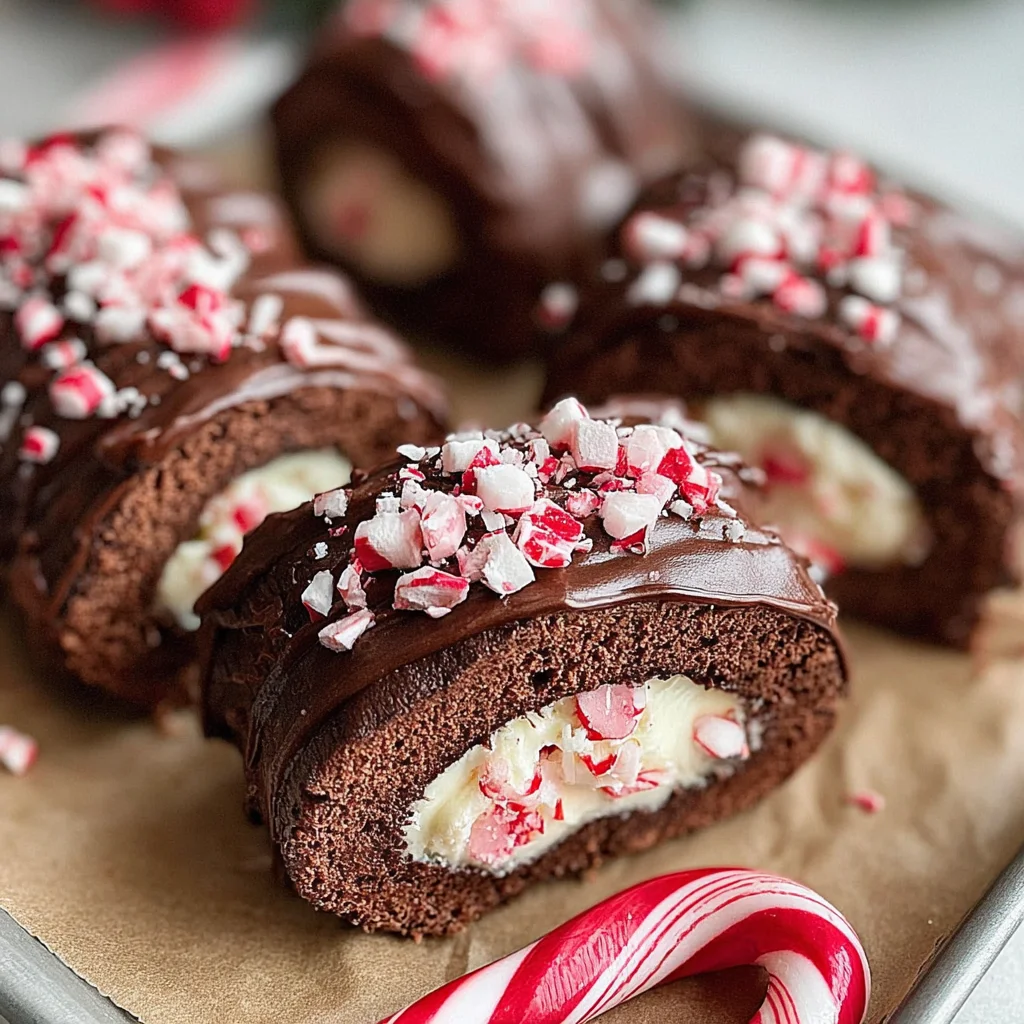
Delicious Peppermint Chocolate Roll Cookies for Holiday Joy
These delightful Peppermint Chocolate Roll Cookies are a festive treat, combining rich cocoa with refreshing mint. Perfect for holiday gatherings or a cozy night in, they offer a unique shape and an irresistible flavor combination that will bring joy to any occasion.
Prep Time
45 minutes (plus 30 minutes chilling time)
Cook Time
10 minutes
Total Time
1 hour 25 minutes
Servings
Makes approximately 18-24 cookies
Keywords
Why This Recipe Delivers
- Offers a unique, eye-catching spiral design that impresses guests.
- Combines the classic holiday flavors of rich chocolate and cool peppermint.
- Perfectly portioned for sharing or individual enjoyment during festive occasions.
- Relatively straightforward to make, yielding professional-looking results.
- The hollow center makes them fun to fill with creamy mint goodness.
Ingredients
- 113 grams (½ cup) unsalted butter, melted (for cookie dough)
- 1 large egg white (approximately 30g), or 1 flax egg (15g ground flaxseed mixed with 45ml water) for a vegan alternative
- 5 ml (1 teaspoon) peppermint extract (for cookie dough), or vanilla extract for a classic flavor
- 180 grams (1½ cups) plain (all-purpose) flour, or a gluten-free baking blend
- 60 grams (½ cup) Dutch process cocoa powder, or unsweetened cocoa powder
- 120 grams (1 cup) icing (powdered) sugar (for cookie dough)
- 56 grams (¼ cup) unsalted butter, softened, or solidified coconut cream (from a chilled can) for dairy-free (for minty filling)
- 240 grams (2 cups) icing (powdered) sugar (for minty filling)
- 30 ml (2 tablespoons) liquid glucose or light corn syrup, or maple syrup for an alternative
- 2.5 ml (½ teaspoon) peppermint extract (for minty filling)
- 1 gram (a pinch) fine sea salt
- 170 grams (1 cup) dark chocolate, chopped (for melting and dipping)
- 50 grams (½ cup) candy canes, finely crushed (for garnish)
Instructions
- Prepare the cookie dough by combining the wet ingredients. In a large mixing bowl, whisk together the melted unsalted butter, egg white (or flax egg), and 5 ml (1 teaspoon) of peppermint extract until thoroughly blended and smooth. This ensures a uniform base for the rich chocolate flavor.
- Incorporate the dry ingredients for the dough. Sift the 180 grams (1½ cups) of plain flour, 60 grams (½ cup) of Dutch process cocoa, and 120 grams (1 cup) of icing sugar directly into the wet mixture. Mix carefully with a spatula or wooden spoon until a cohesive, slightly firm dough forms. Avoid overmixing to prevent tough cookies and maintain a tender crumb.
- Shape the cookie rolls. Divide the prepared dough into three equal portions. On a piece of baking paper, roll out one portion to a uniform thickness of approximately 6 mm (¼ inch). Cut the flattened dough into roughly square or rectangular pieces, suitable for wrapping around a straw. Carefully wrap each dough piece tightly around a paper straw or silicone mold, ensuring there are no gaps. The tightness of the roll is key for a good hollow center.
- Chill the shaped dough. Place all the dough-wrapped straws onto a baking sheet and transfer them to the refrigerator. Allow them to chill for a minimum of 30 minutes. This chilling process helps the dough firm up, preventing spreading during baking and making them much easier to handle without distortion.
- Preheat the oven and prepare for baking. Preheat your oven to 175°C (350°F). Line a baking sheet with parchment paper or a silicone baking mat to prevent sticking and ensure even baking.
- Bake the cookie rolls. Arrange the chilled cookie rolls on the prepared baking sheet, leaving a small space between each for air circulation. Bake for precisely 10 minutes. The cookies should be firm to the touch but not overly crisp, indicating they are cooked through yet tender.
- Cool and remove molds. Once baked, remove the baking sheet from the oven and let the cookie rolls cool completely on the sheet. This is crucial for their structural integrity. As they cool, the dough will firm up, making it easier to gently twist and slide out the paper straws or silicone molds, leaving perfectly hollow cookie tubes.
- Prepare the minty filling. In a clean bowl, combine the softened unsalted butter (or coconut cream), 240 grams (2 cups) of icing sugar, 30 ml (2 tablespoons) of liquid glucose (or maple syrup), 1 gram (a pinch) of fine sea salt, and 2.5 ml (½ teaspoon) of peppermint extract. Beat with an electric mixer until the mixture is light, fluffy, and perfectly smooth. This creates a creamy, vibrant filling.
- Fill and garnish the cookies. Transfer the minty filling into a piping bag fitted with a small round tip. Carefully pipe the filling into both ends of each hollow chocolate cookie roll until it meets in the middle. Melt the 170 grams (1 cup) of dark chocolate in a heatproof bowl over a double boiler or in the microwave in 30-second intervals, stirring until smooth. Dip both ends of each filled cookie into the melted dark chocolate, allowing any excess to drip off. Immediately sprinkle the wet chocolate ends with the finely crushed candy canes for a festive touch and added crunch.
- Final chill and serve. Place the finished cookies on a parchment-lined tray and chill for another 15-20 minutes to allow the chocolate coating to set firmly. Once set, they are ready to serve and enjoy, offering a delightful visual and taste experience.
Tools You’ll Need
- Large mixing bowls
- Whisk
- Sieve
- Spatula or wooden spoon
- Baking paper
- Rolling pin
- Sharp knife or pastry cutter
- Paper straws (or food-grade silicone molds)
- Baking sheets
- Parchment paper or silicone baking mats
- Electric mixer (handheld or stand mixer)
- Piping bag with small round tip
- Heatproof bowl for melting chocolate
- Double boiler setup or microwave-safe bowl
Essential Success Tips
- Ensure your butter is truly melted for the dough, but not hot, to avoid scrambling the egg white.
- When rolling the dough around the straws, apply gentle, even pressure to create a tight, consistent spiral and prevent cracking.
- Do not skip the chilling step; it is vital for the cookies to hold their shape during baking and achieve the desired hollow center.
- Allow the baked cookies to cool completely before attempting to remove the straws; this prevents breakage and ensures the cookies set properly.
- For the filling, make sure your butter (or coconut cream) is properly softened to achieve a smooth, lump-free consistency, beating until truly light and fluffy.
Professional Cooking Secrets
- To achieve a truly intense peppermint flavor without overwhelming bitterness, use a high-quality peppermint extract. A small amount makes a big impact.
- For an extra-glossy and stable chocolate coating, temper your dark chocolate correctly. If you don't have a thermometer, simply melt two-thirds of the chocolate, then stir in the remaining third off the heat until fully melted.
- When crushing candy canes, place them in a zip-top bag and gently tap with a rolling pin or the flat side of a meat mallet. Avoid pulverizing them into dust; small, distinct pieces offer better texture and visual appeal.
Notes
- Storage: Store these cookies in an airtight container at room temperature for up to 5 days, or in the refrigerator for up to 1 week. If storing in the refrigerator, allow them to come to room temperature before serving for best flavor and texture.
- Make Ahead: The cookie dough can be made ahead of time and chilled for up to 2 days, or frozen for up to 1 month. Thaw in the refrigerator before rolling and baking. The baked, unfilled cookies can also be frozen for up to 2 weeks.
- Variations: For a different twist, try substituting vanilla extract in the cookie dough or filling. You could also experiment with white chocolate for dipping, or use different crushed candies for garnish.
Frequently Asked Questions
Can I make these cookies gluten-free?
Yes, you can easily make these cookies gluten-free by using a good quality 1:1 gluten-free all-purpose flour blend in place of regular plain flour. Ensure your blend contains xanthan gum for best results.
What if I don't have paper straws or silicone molds?
While paper straws or silicone molds are ideal for creating the hollow center, you can improvise. Thin wooden dowels or even tightly rolled aluminum foil can work, though removal might be slightly trickier. Ensure whatever you use is food-safe and oven-safe.
My dough is too sticky/crumbly. What should I do?
If the dough is too sticky, add a tablespoon or two more of flour until it's workable but not dry. If it's too crumbly, add a teaspoon of milk (dairy or non-dairy) or a tiny bit more melted butter until it comes together. Humidity and flour types can affect dough consistency.
Nutrition Facts (Per Serving)
Calories: Approximately 280-320 per cookie, Protein: 3g, Fat: 18-22g, Carbs: 30-35g (Estimates vary based on specific ingredient brands and sizes)
Allergy Information
Contains dairy, eggs, and gluten. For a dairy-free option, use solidified coconut cream and dairy-free chocolate. For a vegan option, use a flax egg and ensure your chocolate is vegan. For a gluten-free version, use a certified gluten-free flour blend.


No comment