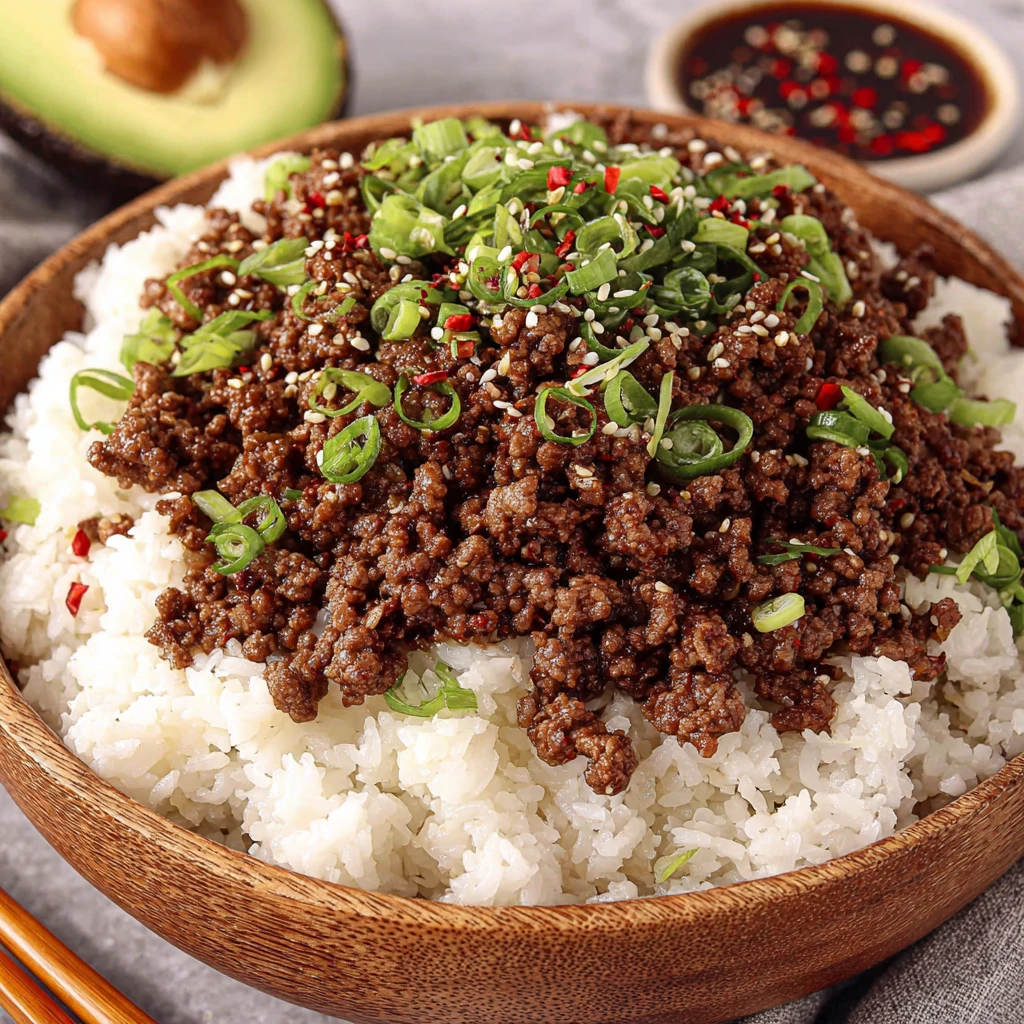
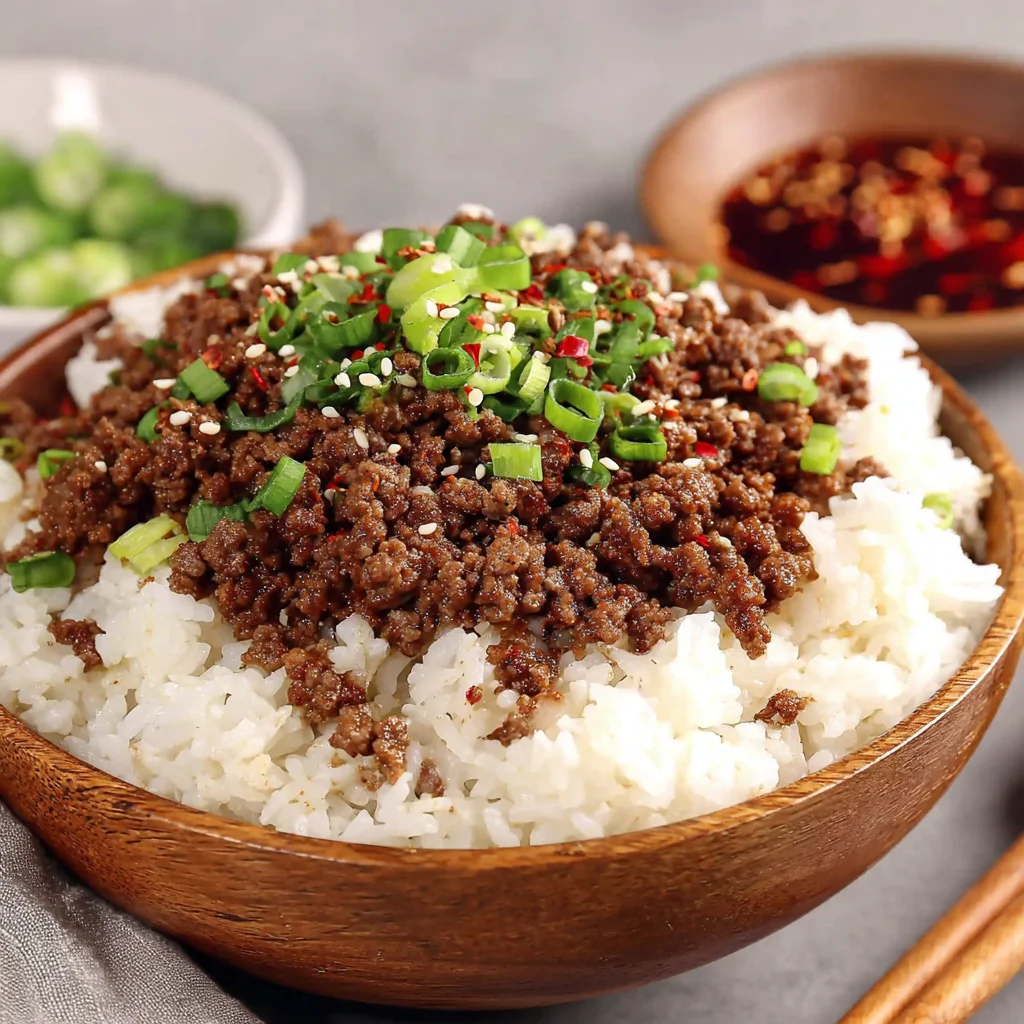
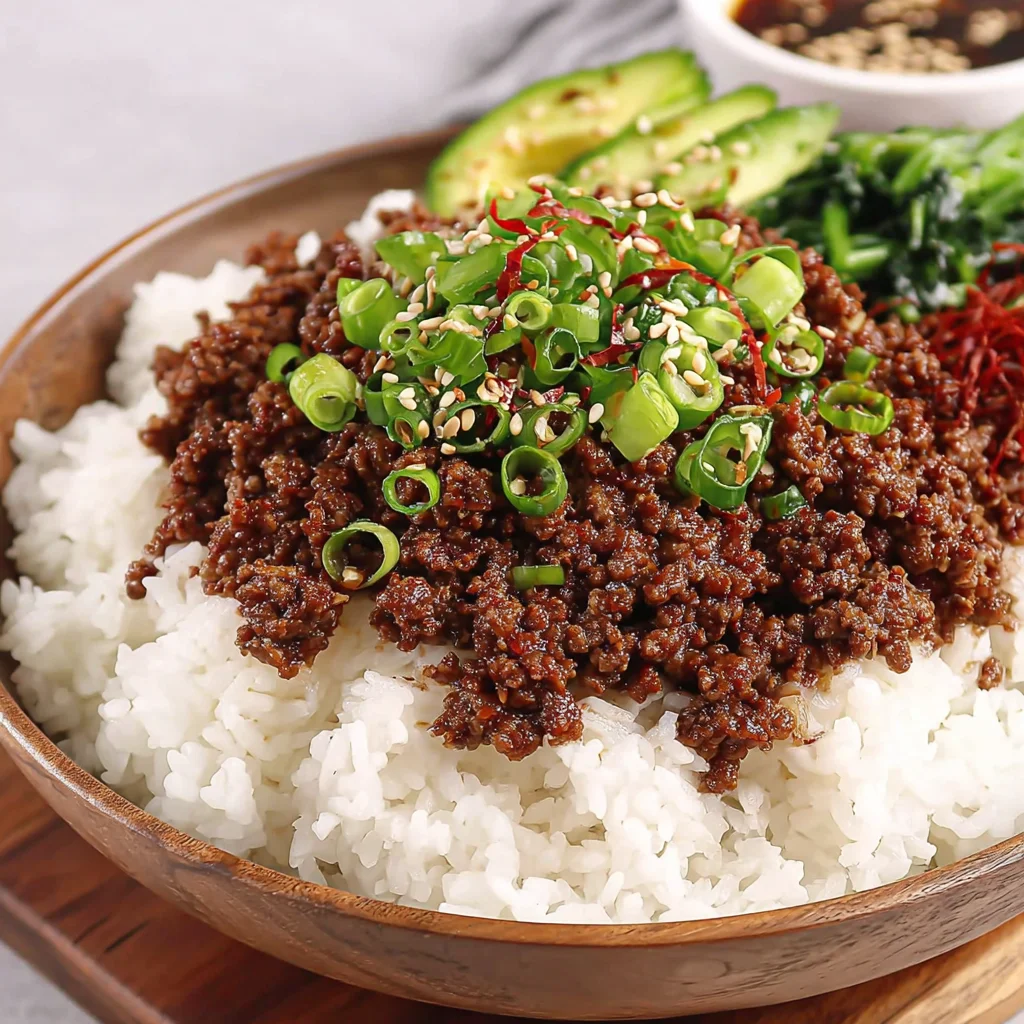
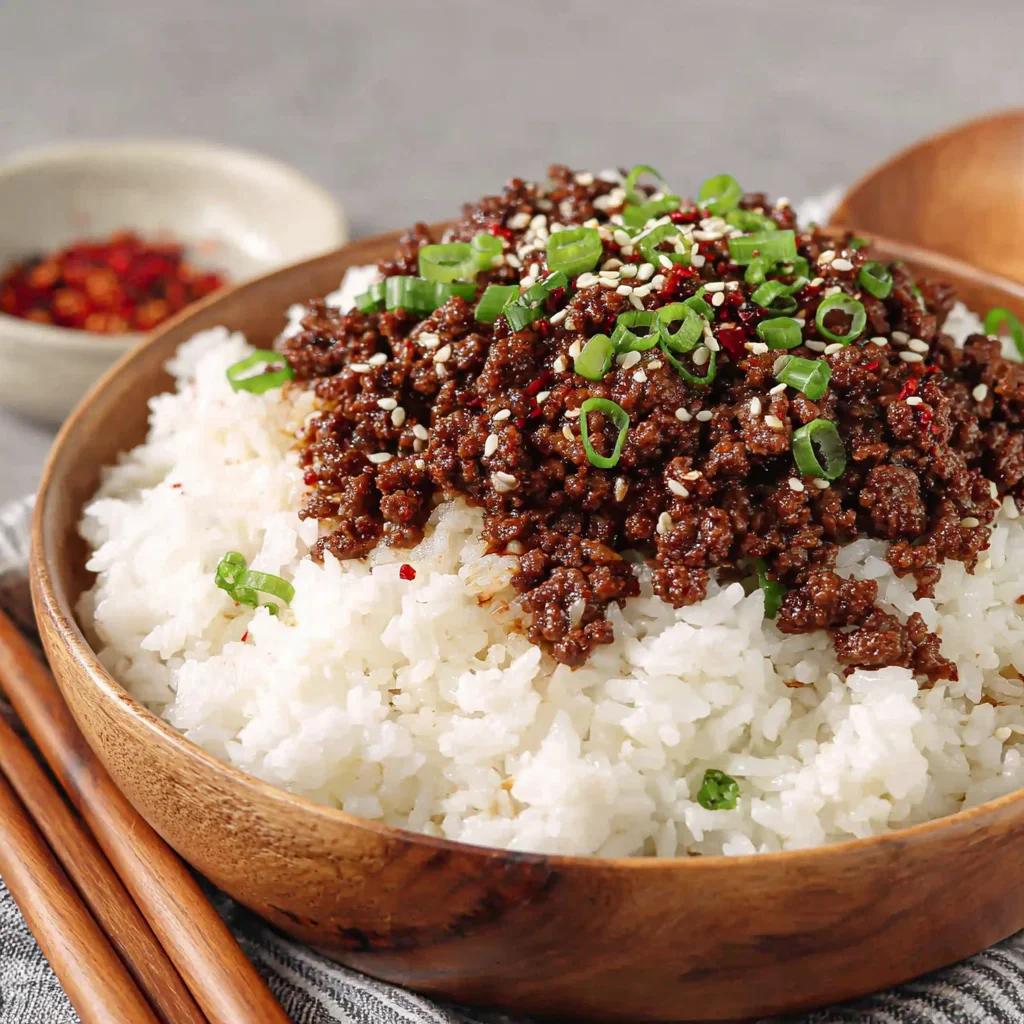
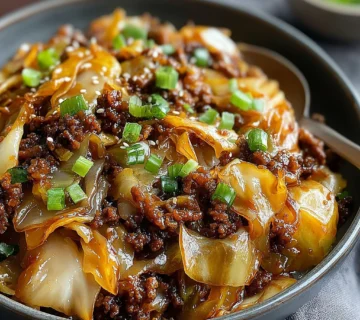
Juicy Ground Beef and Rice Bowl
Indulge in this incredibly satisfying and quick-to-make ground beef and rice bowl, featuring a rich, savory, and slightly sweet glaze that clings perfectly to every morsel of meat. It's a weeknight warrior that delivers maximum flavor with minimal effort, transforming simple ingredients into a truly delightful meal. This dish promises a harmonious blend of textures and tastes, making it a go-to for busy evenings.
Prep Time
15 minutes
Cook Time
10-12 minutes
Total Time
25-27 minutes
Servings
4 servings
Keywords
Why This Recipe Delivers
- Ready in under 30 minutes, perfect for busy weeknights.
- Packed with a savory, sweet, and umami-rich glaze that’s incredibly satisfying.
- Uses simple, accessible ingredients for a gourmet-tasting meal.
- Versatile and easily adaptable with your favorite vegetables or protein.
- Features a beautiful glossy sauce that coats every morsel.
Ingredients
- 450 g (1 lb) ground beef
- 4 green onions, sliced thin (white and green parts separated)
- 22.5 ml (1.5 tbsp) avocado oil (or any neutral oil with high smoke point)
- 90 ml (6 tbsp) low-sodium soy sauce
- 60 ml (1/4 cup) water
- 50 g (3.5 tbsp) packed brown sugar
- 3 garlic cloves, minced
- 10 ml (2 tsp) freshly grated ginger
- 15 ml (1 tbsp) cornstarch
- 2.5 ml (1/2 tsp) red pepper flakes
- 2.5 ml (1/2 tsp) sesame oil
- Cooked rice or noodles, for serving
Instructions
- In a small bowl, whisk together the soy sauce, water, brown sugar, minced garlic, grated ginger, cornstarch, and red pepper flakes until the cornstarch is fully dissolved and the mixture is smooth. Set aside—this ensures the cornstarch won't clump when it hits the hot beef. Preparing this first means it's ready to go the moment the meat finishes cooking, which helps build that glossy sauce quickly and efficiently.
- Heat the avocado oil in a large skillet or wok over medium-high heat until it shimmers, indicating it's hot enough to sear. Add the sliced white parts of the green onions and the ground beef, breaking it apart with a sturdy spoon or spatula as it cooks. Cook for 5-7 minutes, stirring occasionally, until the beef is deeply browned and crispy in spots—this crucial step develops rich, caramelized flavor. Once the beef is cooked through with no pink remaining, carefully pour off any excess grease, leaving just enough to lightly coat the bottom of the pan.
- Pour the prepared sauce mixture from the First Step over the cooked beef, stirring constantly to evenly distribute. Cook for 1-2 minutes, allowing the cornstarch to activate and thicken the sauce into a luscious, glossy glaze that beautifully coats each piece of meat. The sauce will transition from a thin liquid to a thick, clingy consistency as the heat activates the cornstarch. Maintaining medium-high heat and continuous stirring is key to preventing the sauce from scorching and ensuring an even, desirable glaze. Once the sauce reaches a consistent glaze-like consistency, drizzle in the sesame oil and toss thoroughly to combine and infuse its distinctive aroma.
- Immediately transfer the generously glazed beef to individual serving bowls, spooning it over a bed of fluffy white rice or your preferred noodles. To finish, top generously with the vibrant, sliced green parts of the green onions, providing a fresh, bright contrast that cuts through the rich, savory sauce and adds a pop of color.
Tools You’ll Need
- Large skillet or wok
- Small mixing bowl
- Whisk
- Spatula or wooden spoon
- Measuring cups and spoons
- Cutting board
- Sharp knife
Essential Success Tips
- Ensure your skillet is properly hot before adding the beef to achieve a good sear and develop deep flavor; avoid overcrowding the pan.
- Don't skip whisking the sauce ingredients thoroughly beforehand; this prevents cornstarch lumps and ensures a smooth, glossy glaze.
- After browning the beef, drain most of the excess fat. This prevents the final dish from being greasy and allows the glaze to properly cling to the meat.
- Stir the sauce continuously once added to the beef. This helps the cornstarch thicken evenly and prevents sticking or scorching at the bottom of the pan.
- Use fresh ginger and garlic for the best flavor; their aromatic punch makes a significant difference in the sauce's depth.
Professional Cooking Secrets
- To achieve an even crispier texture on your ground beef, brown it in batches if your skillet isn't large enough. Overcrowding cools the pan and steams the meat instead of searing it.
- Elevate the umami by adding a splash of mirin (sweet rice wine) or a pinch of mushroom powder to your sauce mixture. This deepens the flavor profile without drastically changing the balance.
- For an extra layer of complexity, toast a small amount of sesame seeds in a dry pan until fragrant, then sprinkle them over the finished dish along with the green onions. This adds a nutty crunch and visual appeal.
Notes
- Storage: Leftovers can be stored in an airtight container in the refrigerator for up to 3 days. Reheat gently on the stovetop or in the microwave.
- Variations: Feel free to add steamed broccoli, snap peas, or shredded carrots to the bowl for added vegetables. A fried egg on top also makes a fantastic addition.
- Spice Level: Adjust the red pepper flakes to your preference; omit for no heat, or add more for a fiery kick.
Frequently Asked Questions
Can I use ground turkey or chicken instead of beef?
Yes, absolutely! Ground turkey or chicken can be substituted for ground beef. The cooking time might vary slightly, but the sauce will work beautifully with either poultry option.
How can I make this dish gluten-free?
To make this dish gluten-free, ensure you use a gluten-free tamari instead of regular soy sauce, as traditional soy sauce contains wheat. All other ingredients are typically gluten-free, but always check labels for hidden gluten.
What's the best way to serve this dish?
This dish is traditionally served over steamed white rice, but it's also delicious with brown rice, quinoa, or your favorite noodles (like ramen or udon). For a lower-carb option, serve it over cauliflower rice or lettuce cups.
Nutrition Facts (Per Serving)
Calories: Approximately 450-500 kcal, Protein: 30-35g, Fat: 25-30g, Carbohydrates: 30-35g (per serving, excluding rice/noodles)
Allergy Information
Contains soy and sesame. For a gluten-free version, use gluten-free tamari. To make it soy-free, you could experiment with coconut aminos, though the flavor profile will differ.


No comment