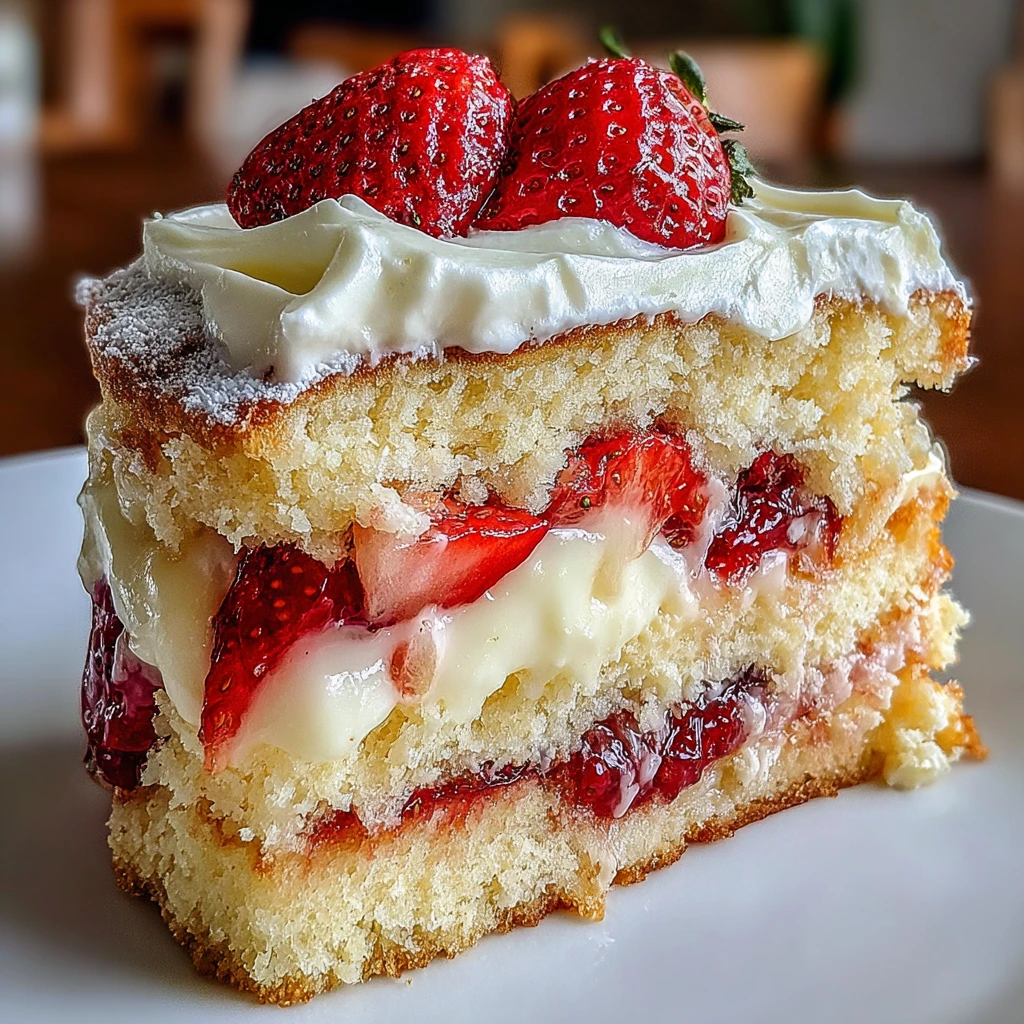
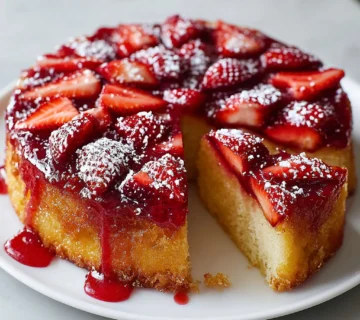
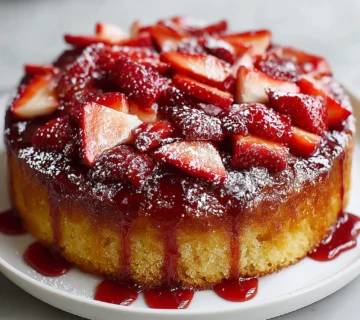
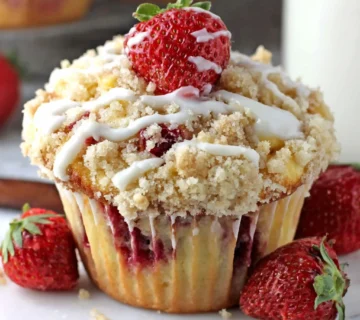
Strawberry Custard Delight Cake: Your New Favorite Treat
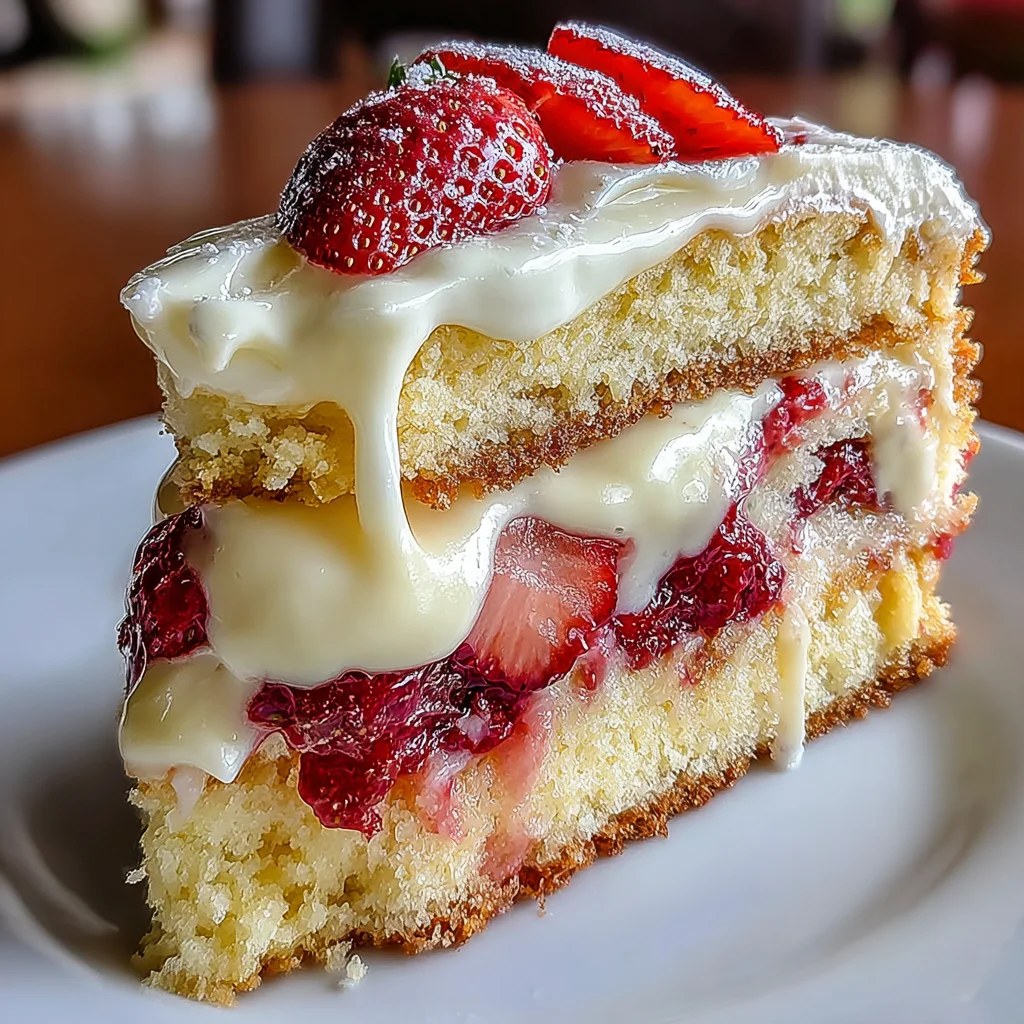
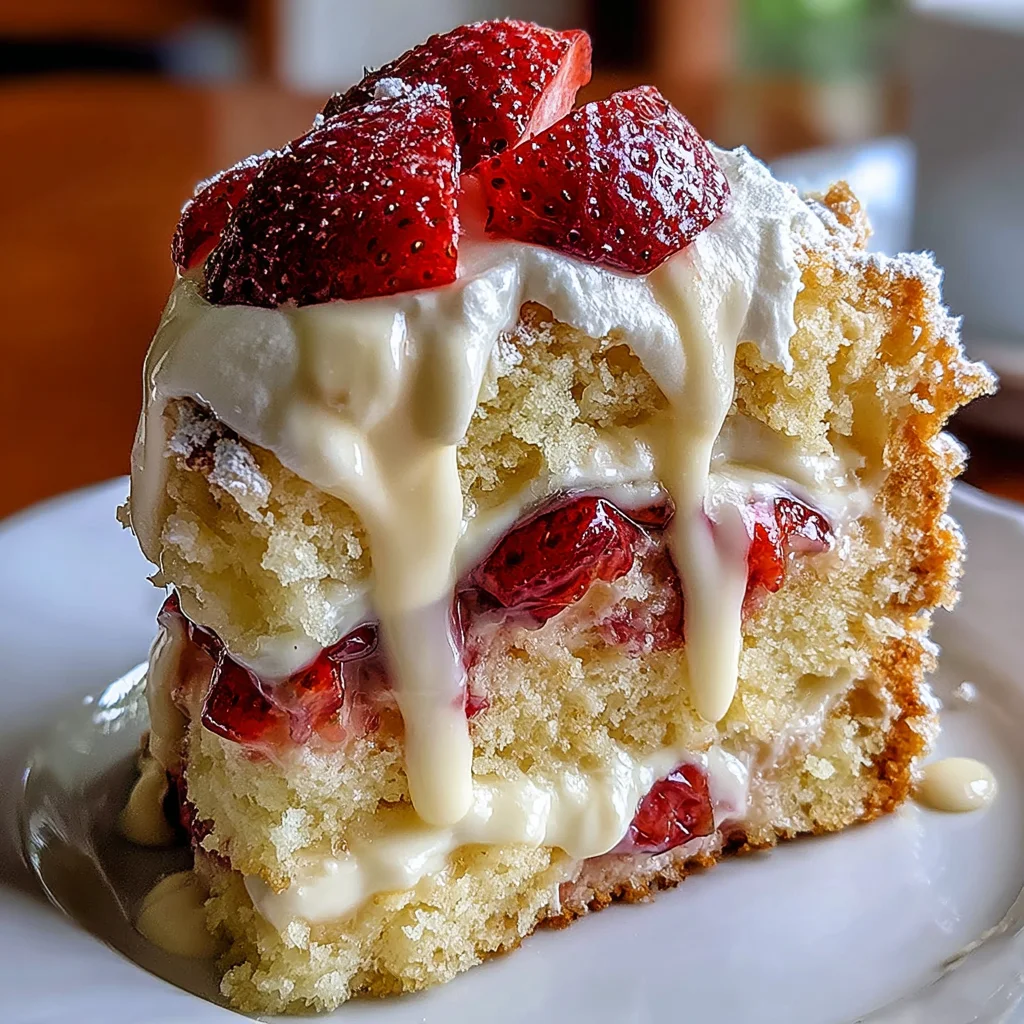
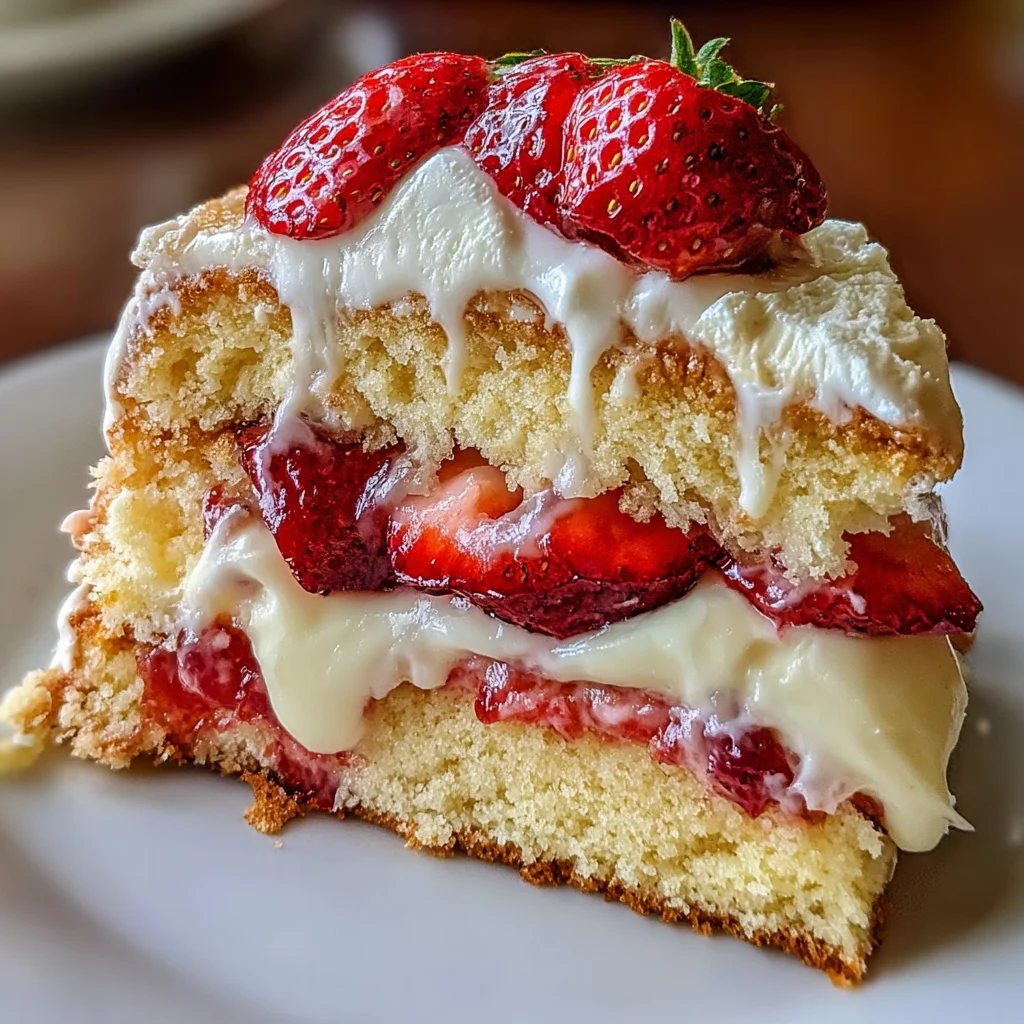
Indulge in a truly delightful dessert with this Strawberry Custard Delight Cake. Layers of tender, moist cake are generously filled with a velvety, homemade vanilla custard and abundant fresh strawberries. It's an elegant, yet approachable cake that's perfect for celebrations or simply elevating your everyday dessert experience.
Prep Time
45 minutes
Cook Time
35-40 minutes
Total Time
2 hours 20 minutes (including chilling)
Servings
10-12 servings
Keywords
Why This Recipe Delivers
- Features layers of moist, tender vanilla cake.
- Boasts a rich, velvety homemade custard that's incredibly satisfying.
- Bursting with the fresh, sweet flavor of ripe strawberries.
- An elegant dessert that's surprisingly straightforward to make.
- Perfect for celebrations or a delightful weekend treat.
Ingredients
- 240 grams (2 cups) All-Purpose Flour
- 10 grams (2 teaspoons) Baking Powder
- 5 grams (1 teaspoon) Salt
- 225 grams (1 cup) Unsalted Butter, softened
- 200 grams (1 cup) Granulated Sugar (for cake)
- 4 large Eggs, at room temperature
- 10 milliliters (2 teaspoons) Vanilla Extract
- 240 milliliters (1 cup) Whole Milk
- 200 grams (1 cup) Granulated Sugar (for custard)
- 18 grams (2 tablespoons) Cornstarch
- 4 large Egg Yolks
- 300 grams (2 cups) Fresh Strawberries, hulled and diced, plus extra for garnish
Instructions
- Preheat your oven to 175°C (350°F). Prepare two 23 cm (9-inch) round cake pans by generously greasing them with unsalted butter or cooking spray, then dust lightly with flour to prevent sticking.
- In a large mixing bowl, thoroughly whisk together the all-purpose flour, baking powder, and salt until they are evenly combined. This step ensures that the leavening agents are well distributed throughout the dry ingredients, promoting an even rise.
- In a separate large bowl, using an electric mixer, cream the softened unsalted butter and 200 grams (1 cup) granulated sugar together on medium speed until the mixture is light, fluffy, and pale in color, typically taking 3-5 minutes. Beat in the eggs one at a time, ensuring each is fully incorporated before adding the next, then mix in the vanilla extract. Scrape down the sides of the bowl as needed to ensure everything is well combined.
- Gradually add the flour mixture to the butter mixture in three additions, alternating with the whole milk, beginning and ending with the dry ingredients. Mix on low speed until the batter is just smooth, being careful not to overmix, which can lead to a tough cake.
- Divide the cake batter evenly between the two prepared pans, smoothing the tops with a spatula. Bake for 25-30 minutes, or until a wooden skewer inserted into the center comes out clean. The cakes should be lightly golden and spring back when gently touched.
- Allow the baked cakes to cool in their pans on a wire rack for about 10 minutes. This allows the cakes to firm up slightly, making them easier to handle. After 10 minutes, carefully invert the cakes onto the wire rack to cool completely before proceeding.
- Once the cake layers are completely cooled, use a serrated knife to carefully slice each cake layer horizontally in half, creating a total of four even cake layers. A long, sharp knife and a steady hand are key here for even layers.
- While the cakes cool, prepare the luscious custard. In a medium saucepan, gently warm the remaining 240 milliliters (1 cup) whole milk over medium heat until it's steamy but not boiling. In a separate bowl, whisk together the 200 grams (1 cup) granulated sugar, cornstarch, and egg yolks until smooth. Slowly pour a small amount of the heated milk into the egg yolk mixture while whisking continuously to temper the yolks. Then, gradually pour the tempered egg mixture back into the saucepan with the remaining warm milk. Cook over medium-low heat, stirring constantly with a whisk, until the custard thickens to a pudding-like consistency. This usually takes about 5-8 minutes. Remove from heat, stir in a splash more vanilla if desired, and press plastic wrap directly onto the surface of the custard to prevent a skin from forming as it cools. Chill in the refrigerator until completely cold, about 1-2 hours.
- To assemble the cake, place one cake layer on your serving plate or cake stand. Spread an even layer of the chilled custard over the cake, leaving a small border. Arrange a portion of the diced strawberries over the custard. Repeat this process with the remaining cake layers, custard, and strawberries. Finish with a final layer of custard on top. Garnish the top of the cake generously with fresh strawberry slices or halves. Cover the assembled cake and chill in the refrigerator for at least 1-2 hours to allow the flavors to meld and the cake to set before serving. This step is crucial for stability and taste.
Tools You’ll Need
- Two 23 cm (9-inch) round cake pans
- Large mixing bowls
- Electric mixer (stand or hand-held)
- Whisk
- Rubber spatula
- Serrated knife
- Wire cooling rack
- Medium saucepan
- Plastic wrap
Essential Success Tips
- Ensure all cold ingredients (butter, eggs, milk) are at room temperature before you begin; this helps them emulsify properly, resulting in a smoother batter and better cake texture.
- Do not overmix the cake batter once the flour is added. Mix only until just combined to keep the cake tender and moist.
- When making the custard, continuously whisk while heating to prevent scorching and ensure a smooth, lump-free consistency. Tempering the egg yolks slowly is vital.
- Chill the custard thoroughly before assembling the cake; a cold, firm custard will hold its shape better between the layers.
- For the neatest cake layers, use a long serrated knife and a gentle sawing motion to slice the cakes in half. You can even chill the cake layers briefly before slicing to make them firmer.
Professional Cooking Secrets
- To achieve perfectly even cake layers, weigh your batter and divide it equally between the two pans. This ensures both cakes bake uniformly.
- For an extra layer of flavor complexity, lightly macerate your diced strawberries with a tablespoon of sugar and a squeeze of lemon juice for 15-30 minutes before assembling. This enhances their natural sweetness and creates a lovely light syrup.
- To prevent any potential stickiness, dust your cooled, sliced cake layers with a very thin layer of powdered sugar before applying the custard. This creates a slight barrier that can prevent the custard from making the cake soggy over time.
Notes
- Storage: Store the cake covered in the refrigerator for up to 3-4 days. It tastes best when allowed to sit at room temperature for about 15-20 minutes before serving.
- Dairy-Free Option: Substitute unsalted butter with plant-based butter, and whole milk with almond or oat milk for a delicious dairy-free version.
- Gluten-Free Option: Use a 1:1 gluten-free all-purpose flour blend in place of regular flour for a gluten-friendly cake.
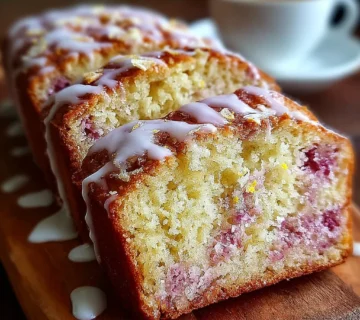
- Berry Variations: Feel free to swap fresh strawberries with raspberries, blueberries, or a mix of berries based on seasonal availability. Thawed frozen berries (drained well) can also be used.
Frequently Asked Questions
Can I make the cake layers ahead of time?
Yes, you can bake the cake layers up to two days in advance. Once cooled completely, wrap them tightly in plastic wrap and store at room temperature, or freeze them for longer storage. Thaw completely before slicing and assembling.
How do I prevent lumps in my custard?
The key to a lump-free custard is tempering the egg yolks slowly with warm milk and then constantly whisking the mixture as it cooks over medium-low heat. Using cornstarch also helps stabilize the custard and prevents it from curdling.
What if my custard doesn't thicken?
If your custard isn't thickening, it likely needs more cooking time. Continue to cook it over medium-low heat, stirring constantly, until it coats the back of a spoon and leaves a clear path when a finger is drawn across it. Ensure your cornstarch is fresh and accurately measured.
Nutrition Facts (Per Serving)
Calories: Approximately 420 per serving, Protein: 6g, Fat: 22g, Carbs: 50g (Estimates are approximate and may vary based on exact ingredients and serving size).
Allergy Information
Contains dairy, eggs, and gluten. For a dairy-free version, use plant-based butter and non-dairy milk. For a gluten-free version, substitute with a gluten-free all-purpose flour blend. Always check ingredient labels for hidden allergens.
No comment