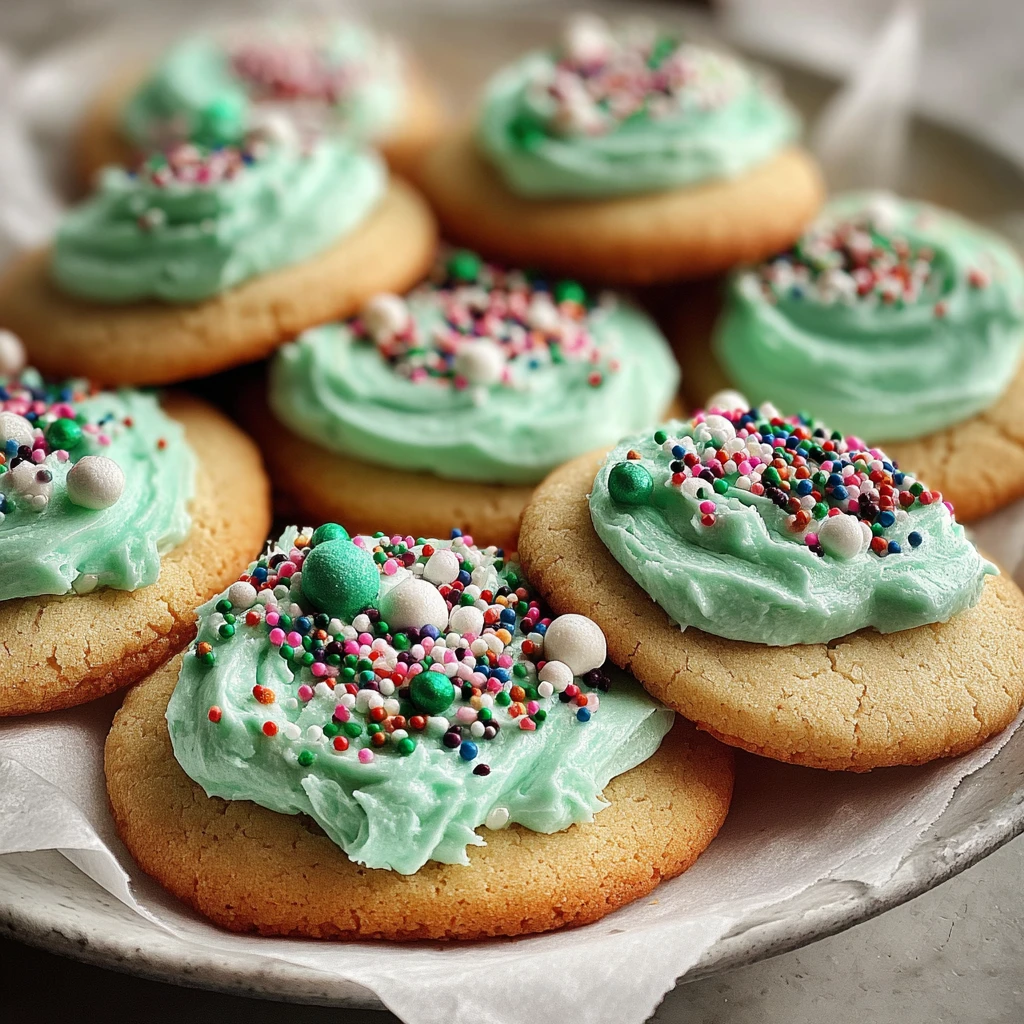
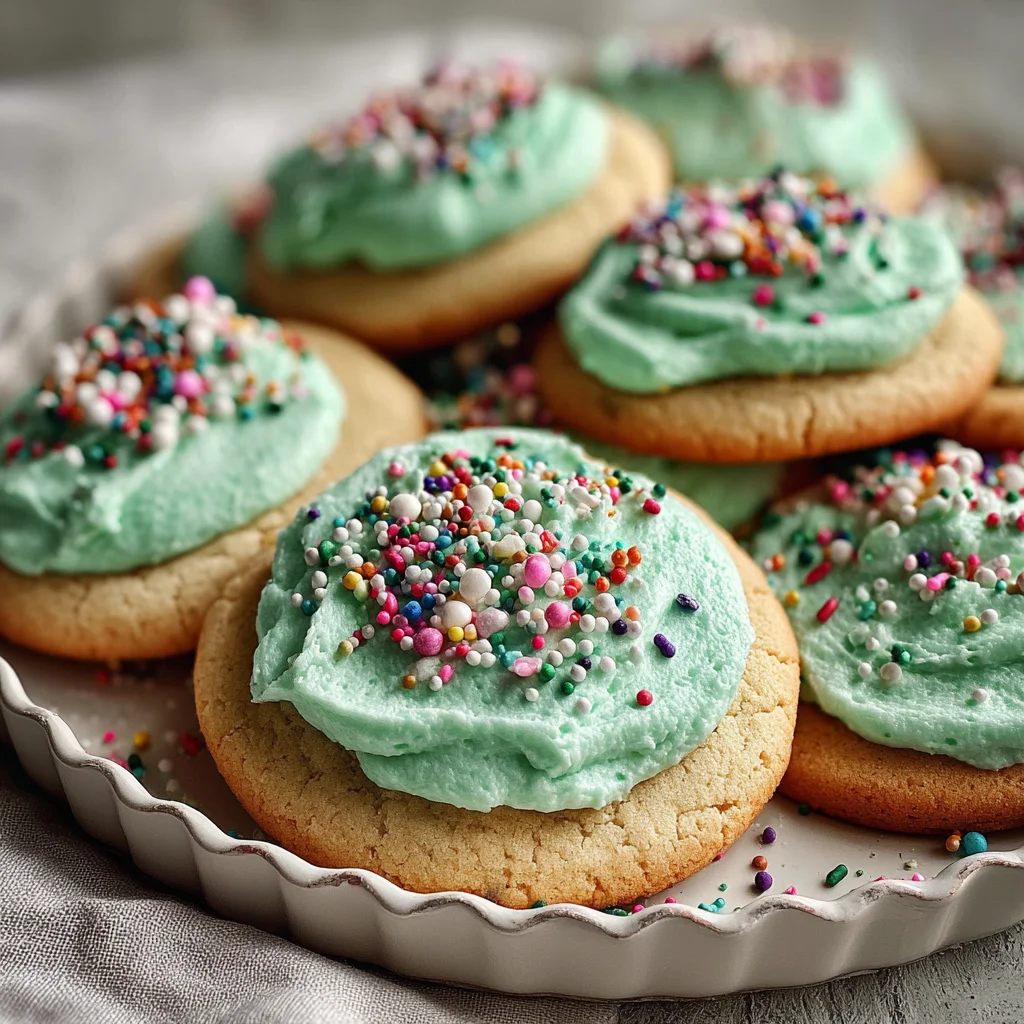
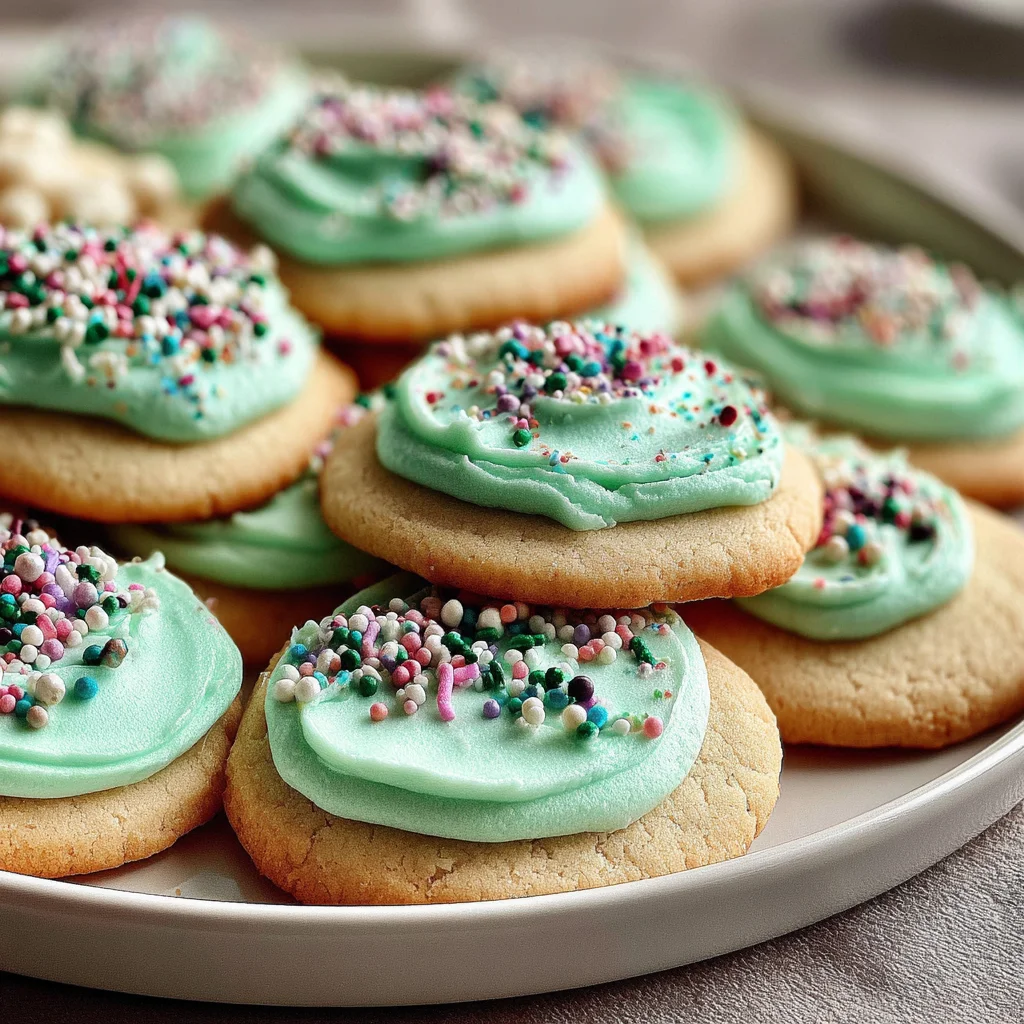
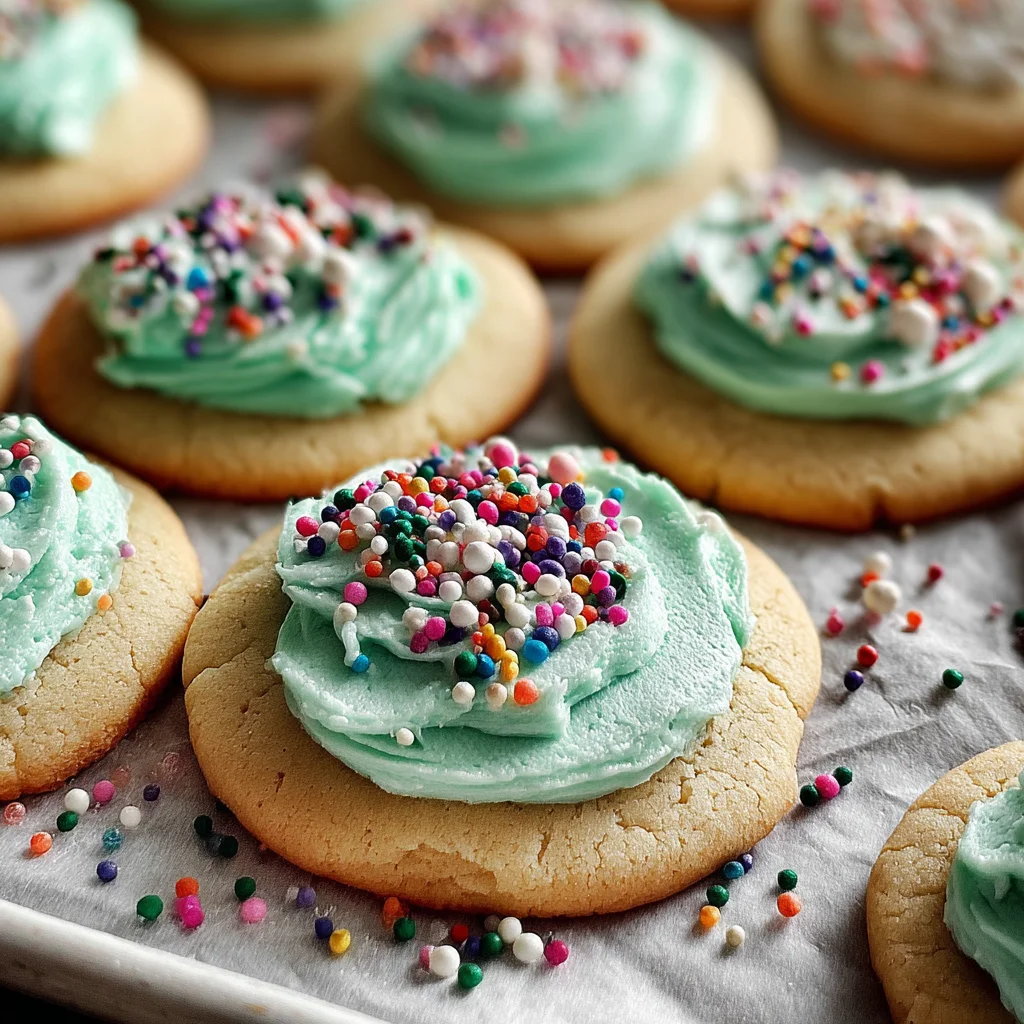
Easy Sugar Cookie Frosting That Actually Sets
Achieve perfectly decorated sugar cookies with this simple, reliable frosting recipe that truly sets! This velvety smooth, easy-to-spread buttercream forms a delicate crust, making your cookies stackable and travel-friendly without smudging. Ideal for holiday baking, birthday treats, or any occasion requiring beautifully finished, picture-perfect sweets.
Prep Time
10 minutes
Cook Time
0 minutes
Total Time
10 minutes (plus 1-2 hours setting time)
Servings
Enough for approximately 2-3 dozen standard sugar cookies
Keywords
Why This Recipe Delivers
- Creates a beautiful, professional-looking finish on your sugar cookies.
- Forms a light crust, allowing cookies to be stacked and transported without damage.
- Incredibly easy to make with basic pantry ingredients.
- Versatile for both spreading and piping, perfect for all decorating skill levels.
- Offers a delicious, sweet flavor that complements any sugar cookie.
Ingredients
- 113 grams (1/2 cup) unsalted butter, softened to room temperature
- 360 grams (3 cups) powdered sugar, sifted (also known as confectioners' sugar)
- 30-45 milliliters (2-3 tablespoons) full-fat milk or heavy cream, plus extra as needed for thinning
- 5 milliliters (1 teaspoon) pure vanilla extract (or almond extract for a different flavor profile)
- A pinch of fine sea salt (about 1 gram)
- Food coloring, gel or liquid, optional, for tinting
- Sprinkles, sanding sugar, or other edible decorations, optional
Instructions
- In a large mixing bowl, using an electric mixer fitted with a paddle attachment, beat the softened unsalted butter on medium speed for approximately 2 minutes, or until it becomes noticeably light, fluffy, and creamy. This aeration step is crucial for a smooth frosting texture.
- Gradually add the sifted powdered sugar to the butter mixture, starting on low speed to prevent a sugar cloud. Once partially incorporated, increase the speed to medium and continue mixing until all the sugar is blended in and the mixture appears fluffy and uniform.
- Pour in 30 milliliters (2 tablespoons) of milk or heavy cream, along with the vanilla (or almond) extract and the pinch of salt. Beat the mixture on medium-high speed for another 2-3 minutes until the frosting is exceptionally smooth, glossy, and has a spreadable consistency. The salt helps to balance the sweetness.
- Assess the frosting's consistency. If it appears too thick for spreading or piping, add additional milk or cream, 5 milliliters (1 teaspoon) at a time, beating well after each addition until the desired texture is achieved. Conversely, if it seems too thin, incorporate a tablespoon of additional sifted powdered sugar until it thickens appropriately.
- If you wish to create colored frosting, divide the prepared frosting into separate smaller bowls. Add a few drops of your chosen food coloring to each bowl, starting with a small amount and adding more gradually, stirring thoroughly with a spoon or spatula until the color is evenly blended and vibrant.
- Using an offset spatula or a piping bag, carefully spread or pipe the frosting onto your completely cooled sugar cookies. Ensure the cookies are entirely at room temperature, as warm cookies will melt the frosting.
- While the frosting is still wet and soft, immediately apply any desired sprinkles, sanding sugar, or edible decorations. This ensures they adhere properly. Allow the decorated cookies to sit undisturbed at room temperature for 1 to 2 hours. During this time, the frosting will develop a light, firm crust, making the cookies stackable without smudging.
- Once the frosting has fully set and formed a crust, the cookies can be carefully stacked in an airtight container for storage or packaged for gifting.
Tools You’ll Need
- Large mixing bowl
- Electric mixer (stand mixer or hand mixer)
- Rubber spatula
- Sifter (for powdered sugar)
- Measuring cups and spoons (or kitchen scale for metric)
- Offset spatula or piping bags with tips (for decorating)
Essential Success Tips
- Ensure your butter is truly at room temperature. It should be soft enough to indent with a finger but not greasy or melted, which is crucial for creamy texture.
- Always sift your powdered sugar. This removes any lumps and ensures a smooth, lump-free frosting.
- Start with the minimum amount of liquid (milk/cream) and add gradually. It's easier to thin frosting than to thicken it.
- Make sure your cookies are completely cooled before frosting. Any warmth will cause the frosting to melt and slide off.
- If using gel food coloring, add it with a toothpick in small increments for precise color control without thinning the frosting too much.
Professional Cooking Secrets
- For an extra-silky texture, after beating the frosting to your desired consistency, beat it on the lowest speed for an additional 1-2 minutes. This helps to eliminate any lingering air bubbles and ensures a super smooth application.
- To achieve a more stable crust and slightly faster setting time, substitute a tablespoon of milk with a tablespoon of light corn syrup. This adds a subtle sheen and contributes to a firmer set without altering the flavor significantly.
- If preparing in advance, store the frosting in an airtight container at room temperature for up to 2 days, or refrigerated for up to 5 days. If refrigerated, let it come to room temperature and re-beat with an electric mixer for a minute or two, adding a tiny splash of milk if needed to restore consistency.
Notes
- Storage: Once the frosting has set on the cookies, store them in a single layer or stacked carefully in an airtight container at room temperature for up to 5-7 days. For longer storage, freeze the frosted cookies for up to 1 month, thawing at room temperature before serving.
- Flavor Variations: Experiment with different extracts! Try lemon, orange, or peppermint extract instead of vanilla for seasonal or themed cookies. A touch of espresso powder can also add depth.
- For a stiffer frosting, ideal for intricate piping, use heavy cream instead of milk and add slightly less liquid overall.
Frequently Asked Questions
Why isn't my frosting setting properly?
The most common reasons are too much liquid (milk/cream), insufficient powdered sugar, or high humidity. Ensure you measure precisely and adjust consistency as needed. If humidity is an issue, a small amount of cornstarch added to the powdered sugar can help.
Can I make this frosting ahead of time?
Yes, you can! Store it in an airtight container at room temperature for up to 2 days, or in the refrigerator for up to a week. If refrigerated, allow it to come to room temperature and re-beat it briefly with a mixer, adding a tiny splash of milk if it's too stiff.
Can I use regular granulated sugar instead of powdered sugar?
No, powdered sugar (confectioners' sugar) is essential for this recipe. Its finely ground texture and inclusion of a small amount of cornstarch are what create the smooth consistency and the setting property. Granulated sugar would result in a gritty texture that would not set.
Nutrition Facts (Per Serving)
Approximate per frosted cookie (assuming 2 dozen cookies): Calories: 120-150, Fat: 6-8g, Saturated Fat: 4-5g, Carbohydrates: 20-25g, Sugars: 18-22g, Protein: 0-1g.
Allergy Information
Contains dairy. For a dairy-free version, use plant-based butter alternatives and plant-based milk (e.g., almond milk or oat milk). This recipe is naturally gluten-free if used on gluten-free cookies.


No comment