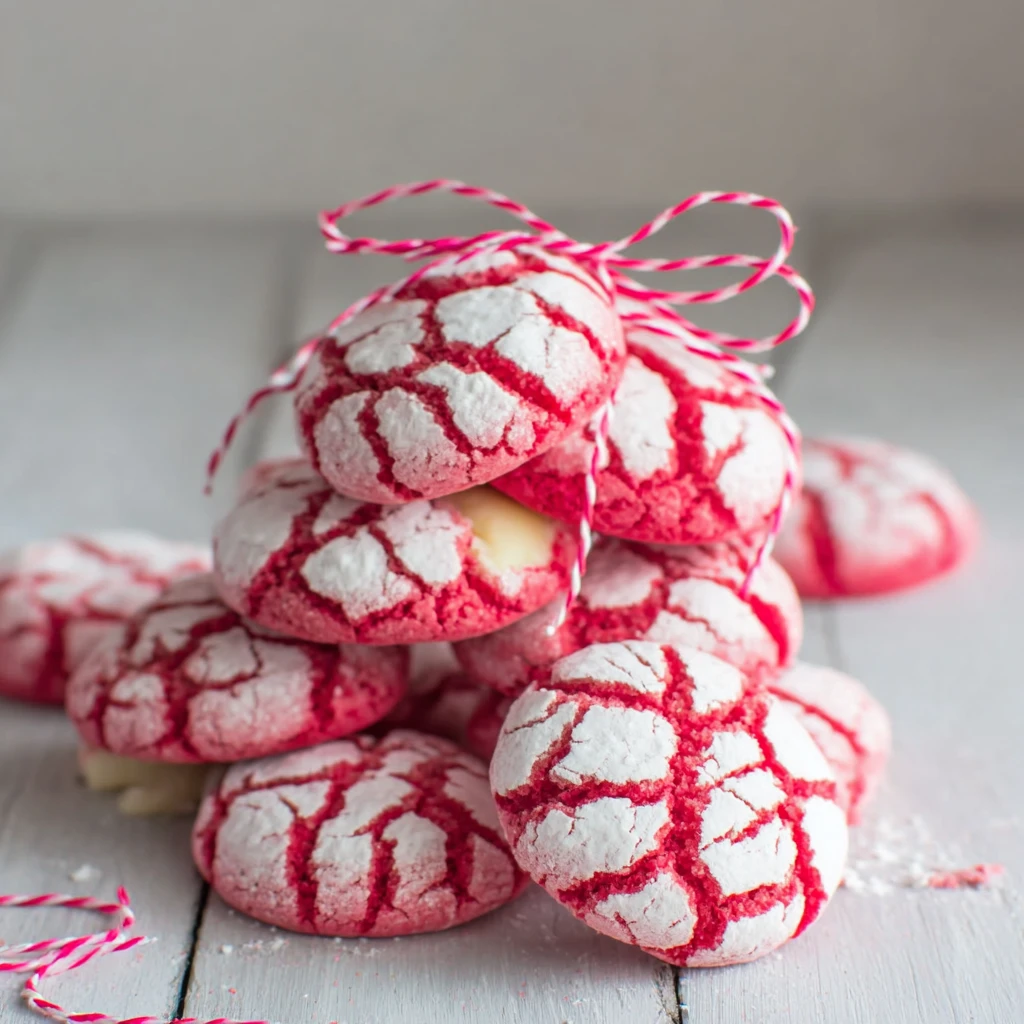
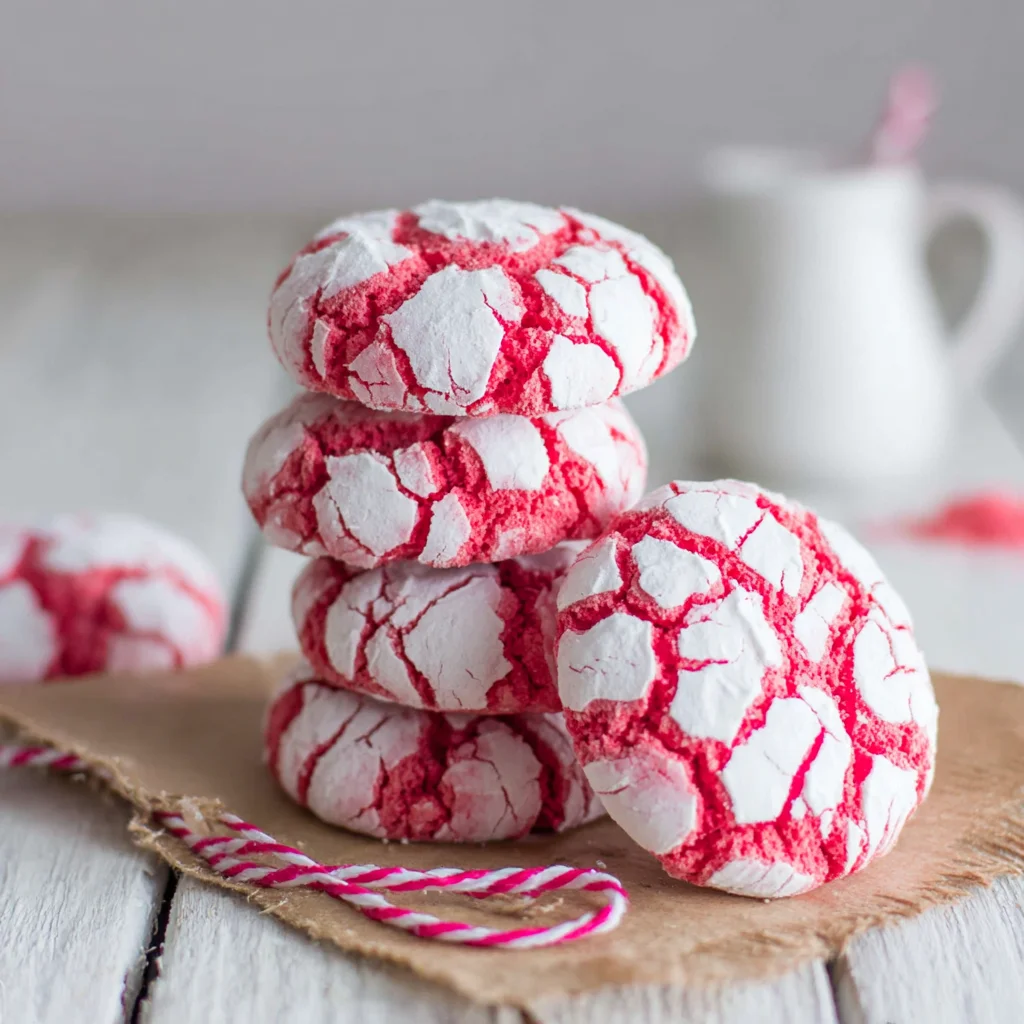
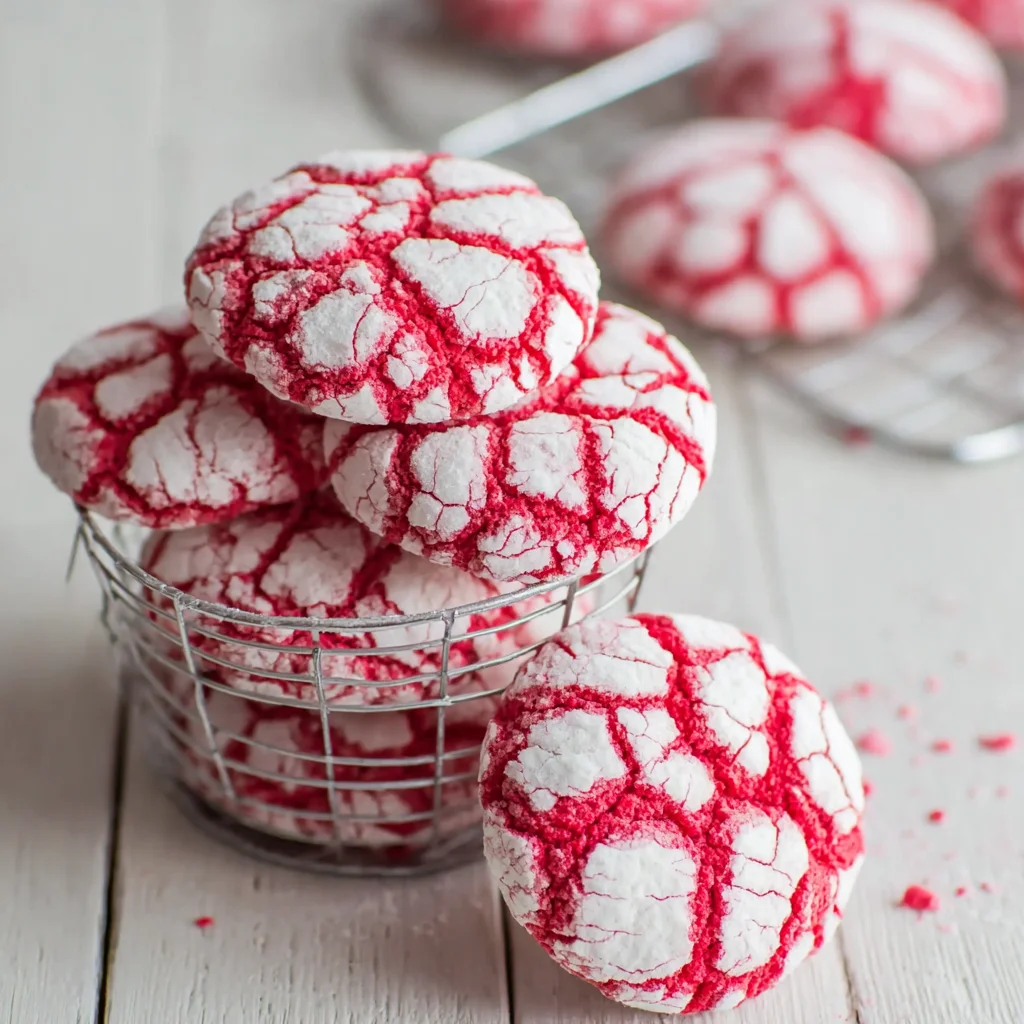
Bake Pink Velvet Crinkle Cookies That Look Adorable
Indulge in the charming allure of these Pink Velvet Crinkle Cookies, a delightful twist on a classic favorite. Each bite offers a soft, chewy interior with a subtle hint of cocoa, beautifully contrasted by a delicate powdered sugar crinkle. These adorable cookies are perfect for celebrations, gifts, or simply adding a touch of whimsical elegance to your dessert spread.
Prep Time
30 minutes
Cook Time
10-12 minutes
Total Time
1 hour 15 minutes (including chilling time)
Servings
Approximately 24 cookies
Keywords
Why This Recipe Delivers
- Visually stunning with its vibrant pink hue and signature crinkled finish, making it a showstopper.
- Features a soft, chewy texture with a delightful balance of sweet and subtle cocoa notes.
- Perfect for special occasions, holidays, or adding a whimsical touch to any dessert spread.
- Surprisingly easy to make, even for novice bakers, thanks to clear instructions and a forgiving dough.
- Offers a unique twist on the classic red velvet flavor, creating an irresistible treat.
Ingredients
- 250 grams (2 cups) all-purpose flour
- 15 grams (2 tablespoons) high-quality unsweetened cocoa powder
- 5 grams (1 teaspoon) baking powder
- 2 grams (1/2 teaspoon) salt
- 115 grams (1/2 cup or 1 stick) unsalted butter, softened
- 60 grams (1/4 cup) cream cheese, softened
- 200 grams (1 cup) granulated sugar
- 1 large egg
- 5 milliliters (1 teaspoon) vanilla extract
- 5-10 milliliters (1-2 teaspoons) pink or red gel food coloring (gel works best for intensity)
- 60 grams (1/4 cup) granulated sugar, for rolling
- 120 grams (1 cup) powdered sugar, for rolling
Instructions
- In a medium bowl, whisk together the all-purpose flour, high-quality unsweetened cocoa powder, baking powder, and salt. Set aside. The cocoa powder contributes to the signature 'red velvet' flavor profile, even if the primary color is pink.
- In a large bowl, using an electric mixer, cream together the softened unsalted butter, softened cream cheese, and 200 grams (1 cup) of granulated sugar until light and fluffy, about 2-3 minutes. Ensure the butter and cream cheese are at room temperature for a smooth, homogenous mixture.
- Beat in the large egg and vanilla extract until well combined. Scrape down the sides of the bowl as needed to ensure everything is incorporated.
- Add the pink or red gel food coloring to the wet mixture. Start with 1 teaspoon and add more gradually until you achieve your desired vibrant pink hue. Gel food coloring provides a more intense color without altering the dough's consistency too much.
- Gradually add the dry ingredients to the wet ingredients, mixing on low speed until just combined. Be careful not to overmix, as this can lead to tough cookies. The dough will be soft and slightly sticky.
- Cover the dough with plastic wrap and chill it in the refrigerator for a minimum of 30 minutes, or up to 2 hours. This chilling step is essential as it firms up the dough, making it much easier to handle and crucial for achieving the distinctive crinkle effect during baking.
- Preheat your oven to 175°C (350°F). Line a baking sheet with parchment paper. Prepare two shallow bowls: one with 60 grams (1/4 cup) granulated sugar and another with 120 grams (1 cup) powdered sugar.
- Remove the chilled dough from the refrigerator. Roll out small, uniform balls of dough, about 2.5 cm (1 inch) in diameter. Consistency in size ensures even baking.
- First, generously roll each dough ball in the granulated sugar. This layer helps the powdered sugar adhere. Then, immediately and very generously roll the sugared dough ball in the powdered sugar, ensuring it is completely coated. The intense pink dough contrasting with this thick layer of powdered sugar is what will naturally create the adorable crinkle aesthetic as the cookie expands.
- Place the coated dough balls about 5 cm (2 inches) apart on the prepared baking sheet. This spacing allows for proper airflow and prevents the cookies from spreading into each other.
- Bake for 10-12 minutes, or until the edges are just set but the centers still appear slightly soft and puffy. The cookies will continue to set as they cool. Do not overbake, as this will result in a dry cookie.
- Remove the baking sheet from the oven and let the cookies cool on the sheet for 5 minutes before transferring them to a wire rack to cool completely. This allows them to firm up without breaking.
Tools You’ll Need
- Large mixing bowl
- Medium mixing bowl
- Electric mixer (handheld or stand mixer)
- Rubber spatula
- Measuring cups and spoons
- Baking sheet
- Parchment paper
- Wire cooling rack
Essential Success Tips
- Ensure your butter and cream cheese are truly at room temperature. This is crucial for achieving a smooth, well-emulsified wet ingredient mixture, which translates to a tender cookie.
- Use gel food coloring for the most vibrant pink. Liquid food coloring can thin the dough and dilute the color, while gel provides concentrated pigment without adding excess moisture.
- Do not skip the chilling step! It makes the dough much easier to handle and is fundamental for the distinct crinkled appearance. Cold dough resists spreading too quickly.
- Be extra generous with the powdered sugar coating. The thick layer is essential for creating that beautiful cracked, crinkled surface as the cookies expand in the oven.
- Avoid overbaking. Pink velvet crinkle cookies are best when their centers are still slightly soft and chewy. They will continue to set as they cool, so pull them from the oven when the edges are just firm.
Professional Cooking Secrets
- To enhance the velvet texture and moisture, consider replacing 15ml (1 tablespoon) of the butter with 15ml (1 tablespoon) of vegetable oil or melted coconut oil. This slight alteration can contribute to an even softer crumb.
- For an extra layer of flavor complexity, add a tiny pinch (less than 1/8 teaspoon) of espresso powder along with the cocoa. It won't make the cookies taste like coffee, but it will deepen and enrich the chocolate notes of the cocoa powder.
- To ensure perfect roundness and prevent excessive spreading, chill your baking sheet in the freezer for 10-15 minutes before placing the coated dough balls on it. A cold baking surface helps the cookies set slightly before spreading too much.

Notes
- Storage: Store cooled cookies in an airtight container at room temperature for up to 3-4 days. For longer storage, freeze the baked cookies for up to 3 months; thaw at room temperature.
- Dough Freezing: You can freeze unbaked dough balls (after coating in both sugars) on a baking sheet until solid, then transfer to a freezer bag. Bake directly from frozen, adding a couple of minutes to the baking time.
- Flavor Variation: For a more intense chocolate velvet flavor, increase the cocoa powder to 20 grams (3 tablespoons) and adjust the pink food coloring as desired.
Frequently Asked Questions
Why didn't my cookies crinkle properly?
The most common reasons for a lack of crinkle are insufficient chilling time for the dough, or not coating the dough balls generously enough in powdered sugar. The cold dough helps prevent immediate spreading, and the thick sugar coating cracks as the cookie expands, creating the crinkle.
Can I use liquid food coloring instead of gel?
While technically possible, liquid food coloring is not recommended for its diluted color intensity and the additional moisture it adds to the dough, which can affect the cookie's texture and spread. Gel food coloring provides a vibrant hue without altering the dough's consistency.
My cookies spread too much; what went wrong?
Excessive spreading is often due to insufficient chilling of the dough, butter that was too warm, or an oven that wasn't preheated to the correct temperature. Ensure your ingredients are at the right temperature and the dough is adequately chilled.
Nutrition Facts (Per Serving)
Calories: Approximately 180 per cookie, Protein: 2g, Fat: 9g, Carbs: 23g (Estimates based on ingredients and serving size.)
Allergy Information
Contains dairy, eggs, and gluten. For a gluten-free version, use a 1:1 gluten-free all-purpose flour blend. For a dairy-free option, use vegan butter and cream cheese substitutes, though texture may vary slightly.

No comment