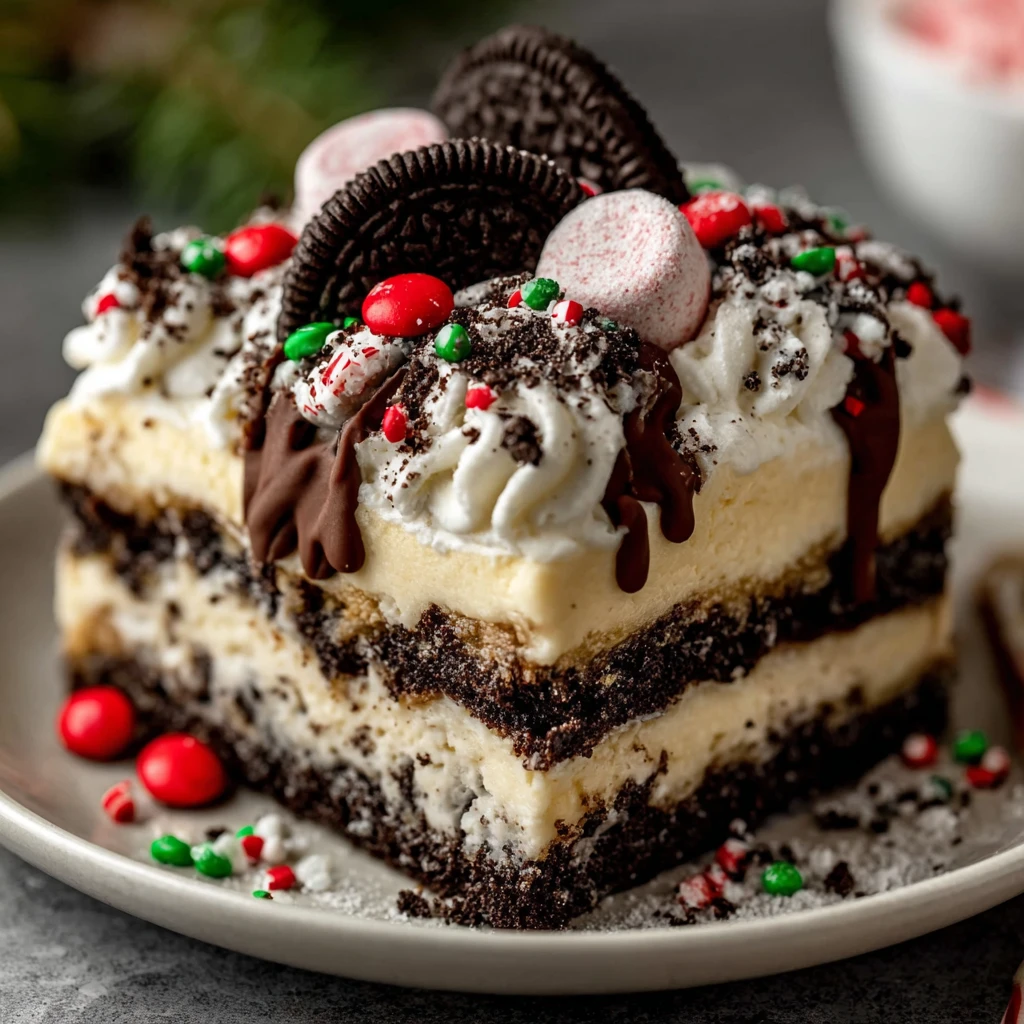
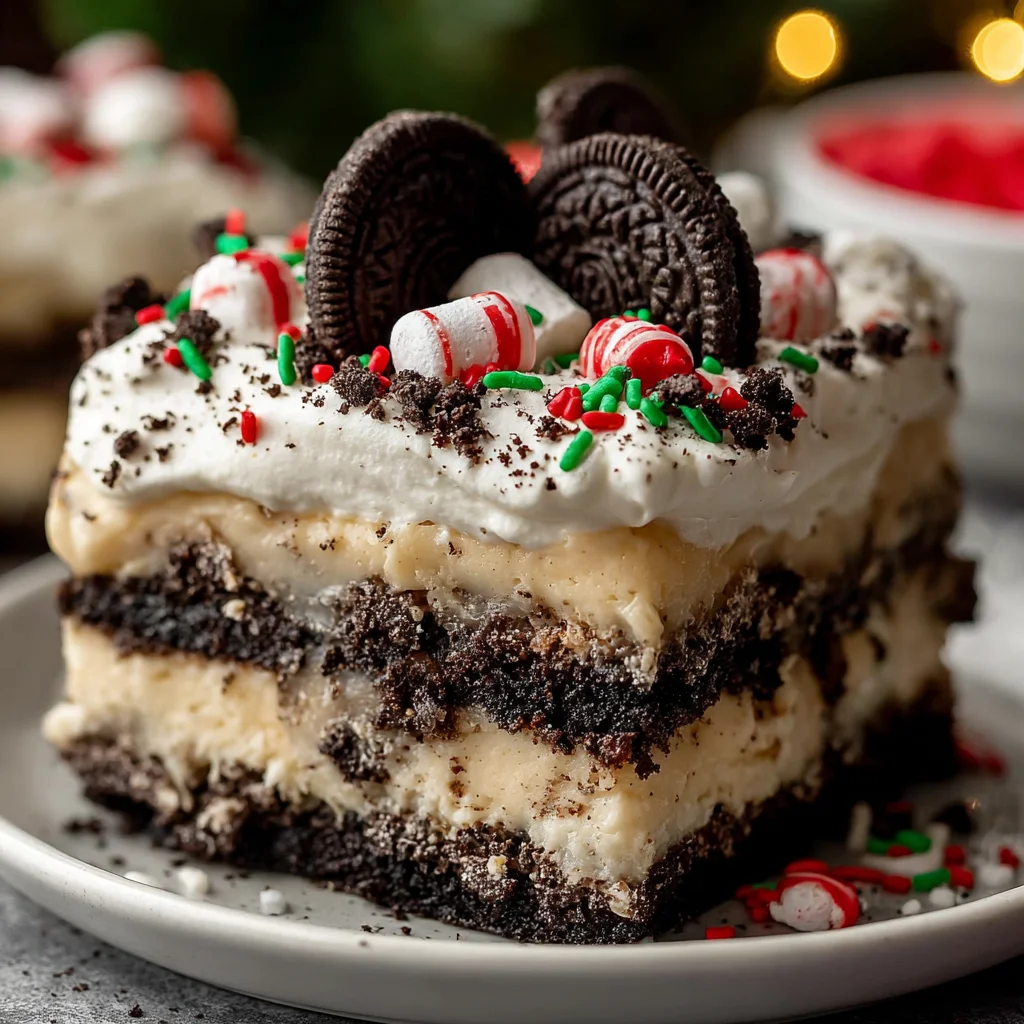
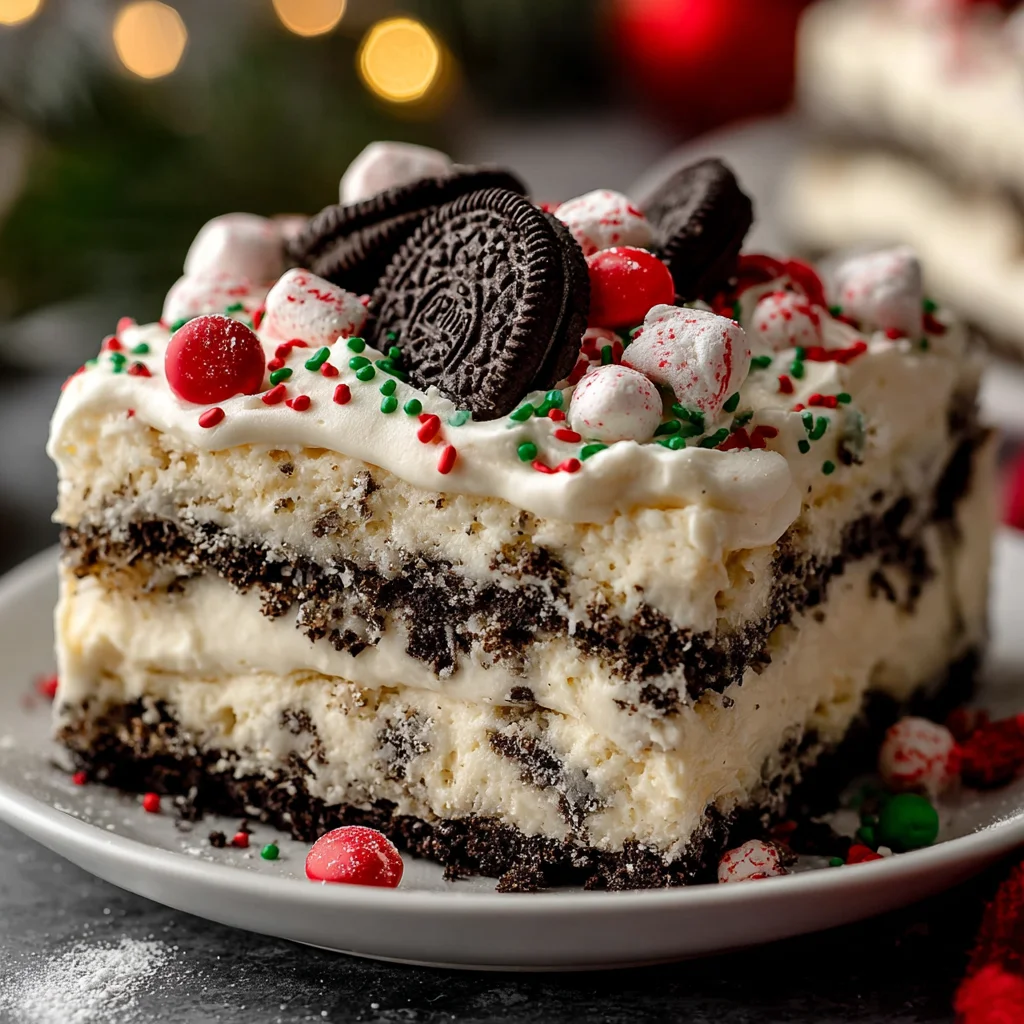
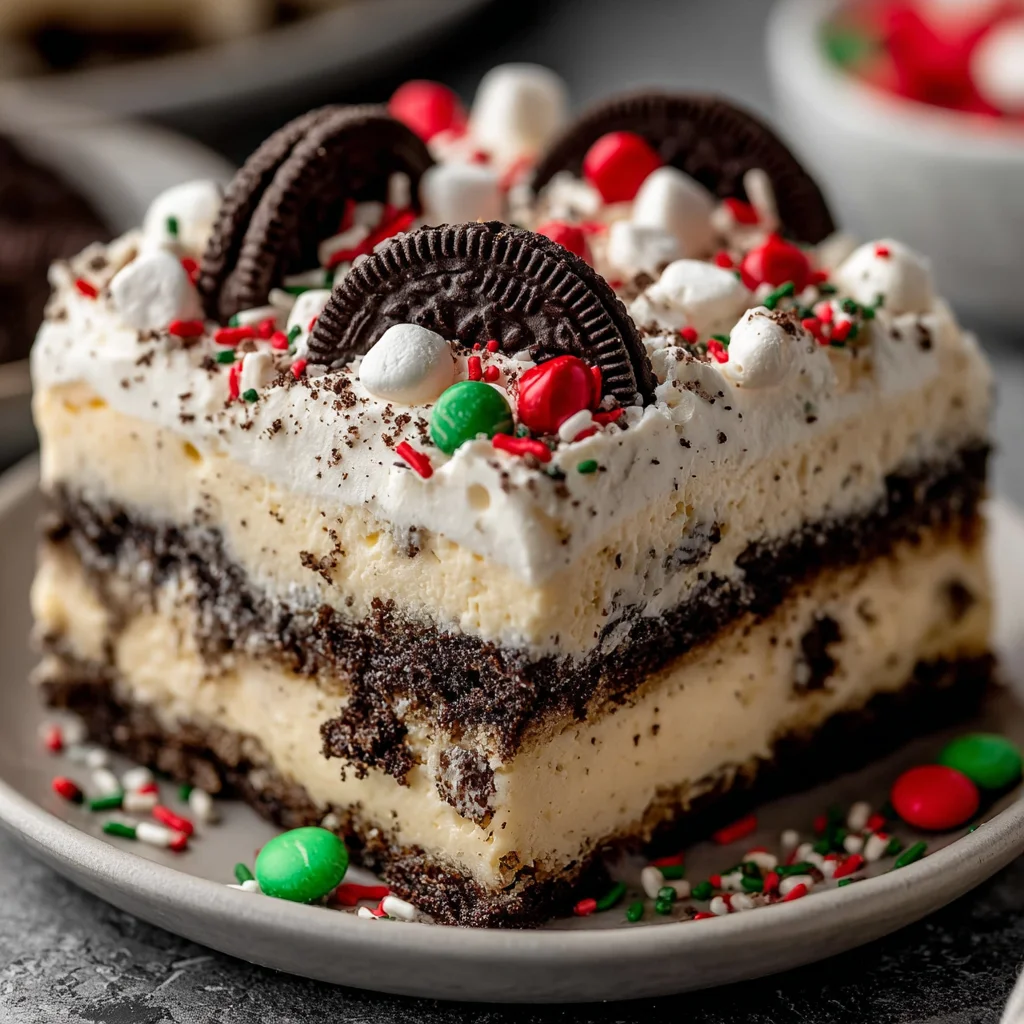
No-Bake Christmas Oreo Lasagna
This festive No-Bake Christmas Oreo Lasagna is the quintessential holiday dessert, offering layers of delightful textures and flavors without ever needing to touch the oven. A crunchy Oreo crust forms the base, topped with a rich, velvety cream cheese layer, a creamy vanilla pudding, and a whimsical scattering of festive garnishes. It's an effortlessly elegant treat perfect for holiday gatherings, bringing a burst of Christmas cheer to every bite.
Prep Time
25 minutes
Cook Time
0 minutes
Total Time
3 hours 25 minutes
Servings
12-15 servings
Keywords
Why This Recipe Delivers
- Effortless Holiday Magic: No baking required, freeing up oven space during busy holiday seasons.
- Layers of Delight: Features a symphony of textures, from crunchy Oreo crust to creamy fillings.
- Crowd-Pleasing Flavor: Combines classic favorites like Oreos, cream cheese, and vanilla pudding.
- Festive Appearance: Easily customizable with holiday garnishes for a stunning presentation.
- Make-Ahead Convenience: Can be prepared hours or even a day in advance, perfect for entertaining.
Ingredients
- 1 package (435 grams / 15.35 oz) Oreo cookies (regular or holiday-themed), plus extra for topping
- 55 grams (1/4 cup) unsalted butter, melted
- 1 package (226 grams / 8 oz) cream cheese, softened to room temperature
- 30 grams (1/4 cup) powdered sugar (confectioners' sugar)
- 475 milliliters (2 cups) heavy whipping cream, very cold
- 5 milliliters (1 teaspoon) vanilla extract
- 1 package (96 grams / 3.4 oz) instant vanilla pudding mix
- 475 milliliters (2 cups) milk, cold (dairy or non-dairy equivalent)
- 25 grams (1 cup) mini marshmallows (optional, for extra fluffiness and texture)
- 60 grams (1/2 cup) crushed peppermint candies or mini M&Ms (for garnish)
- Red and green sprinkles (optional, for decoration)
Instructions
- Prepare the Oreo Crust. Begin by carefully separating about 6-8 whole Oreo cookies to reserve for the final garnish. Place the remaining Oreo cookies into a food processor and pulse until they are finely crushed into uniform crumbs. Transfer these crumbs to a medium-sized mixing bowl. Pour the melted unsalted butter over the crushed Oreos and mix thoroughly with a spoon or spatula until all the crumbs are evenly coated and resemble wet sand. Press this buttery Oreo mixture firmly and evenly into the bottom of a 23×33 cm (9×13-inch) baking dish. Use the bottom of a glass or your knuckles to ensure a compact, stable crust. Set the prepared crust aside to firm up slightly while you prepare the next layers.
- Create the Cream Cheese Layer. In a large mixing bowl, using an electric mixer, beat the softened cream cheese and powdered sugar together on medium speed until the mixture is completely smooth, creamy, and free of lumps, which typically takes 2-3 minutes. In a separate, chilled large bowl, pour the very cold heavy whipping cream along with the vanilla extract. Beat with clean electric mixer beaters on high speed until stiff peaks form. This means the cream will hold its shape firmly when the beaters are lifted. Gently fold the freshly whipped cream into the cream cheese and sugar mixture using a rubber spatula. Use an upward motion from the bottom of the bowl, rotating as you go, until the two mixtures are just combined and appear light and airy. Carefully spread this luscious cream cheese mixture evenly over the compacted Oreo crust in the baking dish.
- Prepare the Pudding Layer. In another clean bowl, combine the instant vanilla pudding mix with the cold milk. Whisk vigorously for about 2 minutes until the mixture begins to thicken. It's crucial to whisk well to avoid lumps and ensure proper setting. Allow the pudding to sit for an additional 2-3 minutes to fully set and achieve a spoonable consistency. Once thickened, gently spread the vanilla pudding layer evenly over the cream cheese layer in the baking dish, taking care not to disturb the layer beneath.
- Add Optional Marshmallow Fluffiness. If desired, and for an extra festive and soft texture, evenly sprinkle the mini marshmallows over the top of the vanilla pudding layer. This adds a delightful chewiness and a touch of whimsy to the dessert.
- Chill to Perfection. Cover the baking dish loosely with plastic wrap or aluminum foil. Transfer the lasagna to the refrigerator and chill for a minimum of 3 hours. For the best results and easiest slicing, chilling overnight is highly recommended. This allows all the layers to firm up properly and meld their flavors beautifully.
- Garnish and Serve. Just before serving, remove the chilled lasagna from the refrigerator. Arrange the reserved whole Oreo cookies on top of the dessert. Evenly sprinkle the crushed peppermint candies or mini M&Ms over the entire surface, followed by a scattering of red and green sprinkles for a vibrant, festive look. Slice the No-Bake Christmas Oreo Lasagna into neat squares using a sharp knife dipped in hot water for clean cuts, wiping the blade between each slice. Serve immediately and enjoy the holiday magic!
Tools You’ll Need
- 9×13-inch (23×33 cm) baking dish
- Food processor or large zip-top bag and rolling pin
- Large mixing bowls (2-3)
- Electric mixer (handheld or stand mixer)
- Rubber spatula
- Whisk
- Measuring cups and spoons
- Plastic wrap or aluminum foil
Essential Success Tips
- Ensure cream cheese is truly softened to room temperature for a smooth, lump-free cream cheese layer.
- Use very cold heavy whipping cream for optimal whipping and stiff peak formation. Chilling your mixing bowl and beaters beforehand can also help.
- Don't rush the chilling process; at least 3 hours (preferably overnight) is essential for the lasagna to set properly and slice cleanly.
- For the cleanest slices, dip your knife in hot water and wipe it clean between each cut.
- Customize your toppings! While peppermint and M&Ms are festive, feel free to experiment with chocolate shavings, mini chocolate chips, or even a drizzle of chocolate sauce.
Professional Cooking Secrets
- For an even richer Oreo crust, add a pinch of espresso powder to the crushed cookies before mixing with butter; it subtly enhances the chocolate flavor without tasting like coffee.
- To prevent the cream cheese layer from becoming too dense, gently fold in the whipped cream in two additions, taking care not to overmix and deflate the air.
- If you're making this for a truly elegant affair, consider using a springform pan for easier unmolding and a more polished presentation, though a baking dish works perfectly for casual serving.
Notes
- Storage: Store any leftover No-Bake Christmas Oreo Lasagna covered tightly in the refrigerator for up to 3-4 days.
- Variations: Experiment with different pudding flavors like chocolate or cheesecake. For a minty twist, add a few drops of peppermint extract to the cream cheese layer.
- Make it Gluten-Free: Use gluten-free Oreo-style cookies for the crust.
Frequently Asked Questions
Can I make this dessert ahead of time?
Absolutely! This No-Bake Christmas Oreo Lasagna is an excellent make-ahead dessert. It needs a minimum of 3 hours to chill and set, but preparing it the day before serving allows the flavors to meld beautifully and the layers to firm up perfectly, making it even easier to slice.
What if I don't have a food processor for the Oreo crust?
No problem! You can place the Oreo cookies in a large zip-top bag, seal it, and then use a rolling pin or the bottom of a heavy pan to crush them into fine crumbs. Ensure the crumbs are as fine as possible for a cohesive crust.
Can I use sugar-free ingredients for a lighter version?
Yes, you can certainly adapt this recipe. Opt for sugar-free instant vanilla pudding mix and a sugar substitute for the powdered sugar in the cream cheese layer. Just ensure the heavy whipping cream is still dairy-based for proper whipping, or use a suitable plant-based whipping cream alternative.
Nutrition Facts (Per Serving)
Calories: 480, Protein: 6g, Fat: 32g, Saturated Fat: 18g, Cholesterol: 95mg, Sodium: 310mg, Carbohydrates: 45g, Sugars: 35g, Fiber: 1g
Allergy Information
Contains dairy (milk, cream cheese, heavy whipping cream) and gluten (Oreo cookies). For a gluten-free version, use certified gluten-free chocolate sandwich cookies. For a dairy-free option, explore plant-based cream cheese, dairy-free whipped topping, and plant-based milk and pudding mixes, though the texture may vary slightly.

No comment