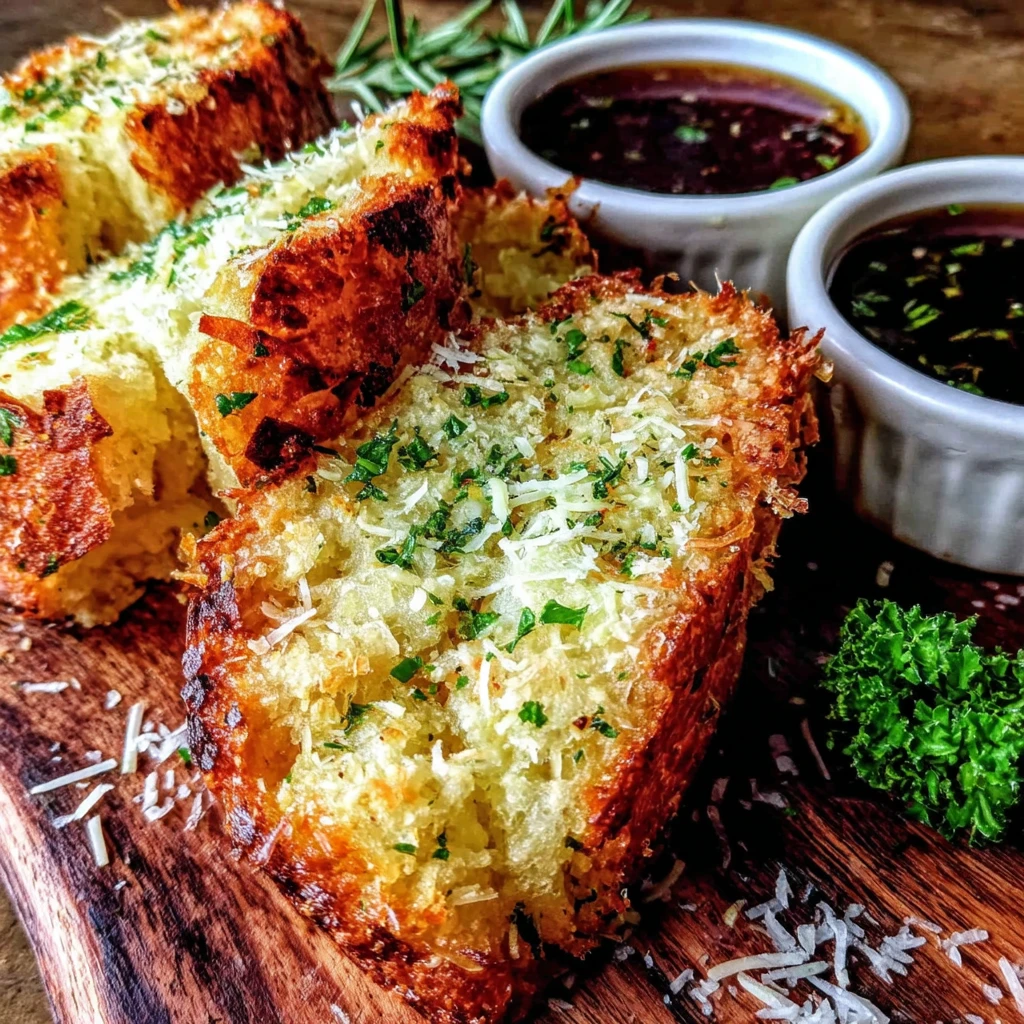
Perfect Parmesan Garlic Bread Recipe Easy Artisan Style
Unlock the secrets to truly exceptional garlic bread with this artisan-inspired, no-knead recipe. Boasting a wonderfully crisp crust and a delightfully airy, chewy interior, each slice is bursting with the savory notes of freshly grated Parmesan and aromatic garlic. This simple yet sophisticated loaf brings rustic charm and incredible flavor to any meal.
Prep Time
20 minutes (active)
Cook Time
45 minutes
Total Time
Approximately 15-19 hours (including overnight proofing and cooling)
Servings
1 medium loaf (approx. 12-16 slices)
Keywords
Why This Recipe Delivers
- Achieves a stunning, golden-brown crust and a soft, airy interior, rivaling bakery-quality bread.
- Infused with robust garlic and savory Parmesan, creating an irresistible aroma and flavor profile.
- Utilizes a simple no-knead method, making it surprisingly easy for home bakers of all skill levels.
- Perfect as a flavorful accompaniment to pasta, soups, salads, or simply enjoyed on its own.
- The overnight proofing develops complex flavors, enhancing the overall depth of the bread.
Ingredients
- 3 1/4 cups (390g) all-purpose flour
- 2 teaspoons (10g) salt
- 1 teaspoon (5g) granulated sugar
- 2 teaspoons (7g) active dry yeast
- 1 1/2 cups (360ml) warm water (around 43°C/110°F)
- 2 tablespoons (30ml) olive oil
- 1 cup (100g) freshly grated parmesan cheese
- 2–3 cloves of minced garlic
- 1 tablespoon (15g) chopped fresh rosemary or parsley (optional)
Instructions
- In a large mixing bowl, combine 3 1/4 cups (390g) of all-purpose flour, 2 teaspoons (10g) of salt, and 1 teaspoon (5g) of granulated sugar. Whisk these dry ingredients together thoroughly to ensure even distribution.
- In a small bowl, dissolve 2 teaspoons (7g) of active dry yeast in 1 1/2 cups (360ml) of warm water (around 43°C/110°F). Stir gently and let it sit for about 5 minutes until it gets foamy, indicating the yeast is active and ready.
- Pour the activated yeast mixture into the dry ingredients. Add 2 tablespoons (30ml) of olive oil and mix everything together with a sturdy wooden spoon or spatula until just combined. The dough will be quite sticky and shaggy—this is the perfect consistency for a high-hydration, no-knead dough.
- Fold in 1 cup (100g) of freshly grated parmesan cheese and 2–3 cloves of finely minced garlic. If desired, incorporate 1 tablespoon (15g) of chopped fresh rosemary or parsley at this stage for added herbal notes.
- Cover the bowl with a clean kitchen towel or plastic wrap, ensuring it's airtight to prevent the dough from drying out. Let the dough rise in a warm, draft-free place for 12–18 hours, or ideally overnight. It should significantly double in size, becoming bubbly and airy.
- Once the dough has sufficiently risen, gently transfer it to a lightly floured surface. With floured hands, carefully shape it into a round loaf. The key here is to handle the dough minimally to maintain its airy, bubbly structure. Avoid excessive kneading or pressing.
- Place the shaped dough onto a piece of parchment paper and let it rest for another 30 minutes. During this time, preheat your oven to 230°C (450°F). If using a Dutch oven, place it inside the oven to preheat simultaneously, allowing it to get scorching hot.
- After resting, score the top of your dough with a very sharp knife, a razor blade, or a bread lame. This scoring allows the bread to expand predictably and beautifully while baking, preventing uncontrolled cracks.
- Carefully lift the parchment paper with the dough and place it into the scorching hot Dutch oven. Cover with the lid and bake for 30 minutes. The covered environment creates steam, which is crucial for a crisp, professional-looking crust.
- Remove the lid from the Dutch oven and continue to bake for an additional 15 minutes, or until the top of the bread is a deep golden brown and sounds hollow when tapped on the bottom. This final uncovered bake achieves that perfect artisanal crust.
- Let the bread cool on a wire rack for at least 30 minutes before slicing. This crucial cooling period allows the internal structure of the bread to set properly, preventing a gummy texture and ensuring a superior crumb.
Tools You’ll Need
- Large mixing bowl
- Small bowl (for yeast)
- Wooden spoon or sturdy spatula
- Clean kitchen towel or plastic wrap
- Measuring cups and spoons
- Parchment paper
- Dutch oven (5-6 liter capacity, with lid – highly recommended)
- Sharp knife, razor blade, or bread lame
- Wire cooling rack
Essential Success Tips
- Ensure your warm water is between 40-46°C (105-115°F) for optimal yeast activation; too hot will kill it, too cool won't activate it.
- Do not overmix the dough after adding wet ingredients; a shaggy, sticky consistency is desirable for a tender crumb.
- Give the dough ample time to rise, preferably in a warm spot, to develop flavor and airiness. An overnight rise is key.
- Avoid overworking the dough when shaping; gentle handling preserves the trapped gases that create the airy texture.
- Always allow the bread to cool completely on a wire rack before slicing. Slicing hot bread can result in a gummy texture.
Professional Cooking Secrets
- Use freshly grated Parmesan cheese for superior flavor and melt. Pre-grated varieties often contain anti-caking agents that can affect the dough's texture and flavor.
- For an extra crispy crust, you can spray a fine mist of water into the oven (not directly onto the bread) when you remove the lid for the final baking stage. This additional steam can enhance crust development.
- Consider adding a pinch of diastatic malt powder (approximately 1/4 teaspoon) to your flour mixture. It helps with yeast activity, browning, and contributes to a softer crumb over time.
Notes
- Storage: Store leftover bread in an airtight container or bread bag at room temperature for up to 3 days. Reheat slices in a toaster or oven for best results.
- Variations: Experiment with other fresh herbs like oregano, thyme, or a blend of Italian herbs. You can also add a pinch of red pepper flakes for a subtle kick.
- No Dutch Oven? You can bake the bread on a baking stone or heavy baking sheet. For the first 30 minutes, place a metal pan filled with hot water on the bottom rack of your oven to create steam, then remove it for the final 15 minutes.
Frequently Asked Questions
Can I make this bread without an overnight rise?
While the overnight rise is recommended for developing the best flavor and texture, you can do a shorter bulk fermentation. Let the dough rise in a warm spot for 2-4 hours, or until doubled, then proceed with shaping and baking. The flavor won't be as complex, but it will still be delicious.
What if my dough doesn't rise?
The most common reasons are inactive yeast (check the expiration date) or water that's too hot or cold. Ensure your water is within the 40-46°C (105-115°F) range, and your yeast is fresh. A warm, draft-free environment is also crucial for proofing.
Can I add more garlic or cheese?
Absolutely! Feel free to adjust the amount of minced garlic and Parmesan cheese to suit your taste preferences. For an even more intense garlic flavor, you could lightly roast the garlic before mincing.
Nutrition Facts (Per Serving)
Calories: approx. 280-320 per slice (based on 16 slices), Protein: 10g, Fat: 9g, Carbs: 45g, Fiber: 2g.
Allergy Information
Contains wheat (gluten) and dairy (Parmesan cheese). For a gluten-free version, a suitable gluten-free bread flour blend would be required, but the recipe proportions would need adjustment.


No comment