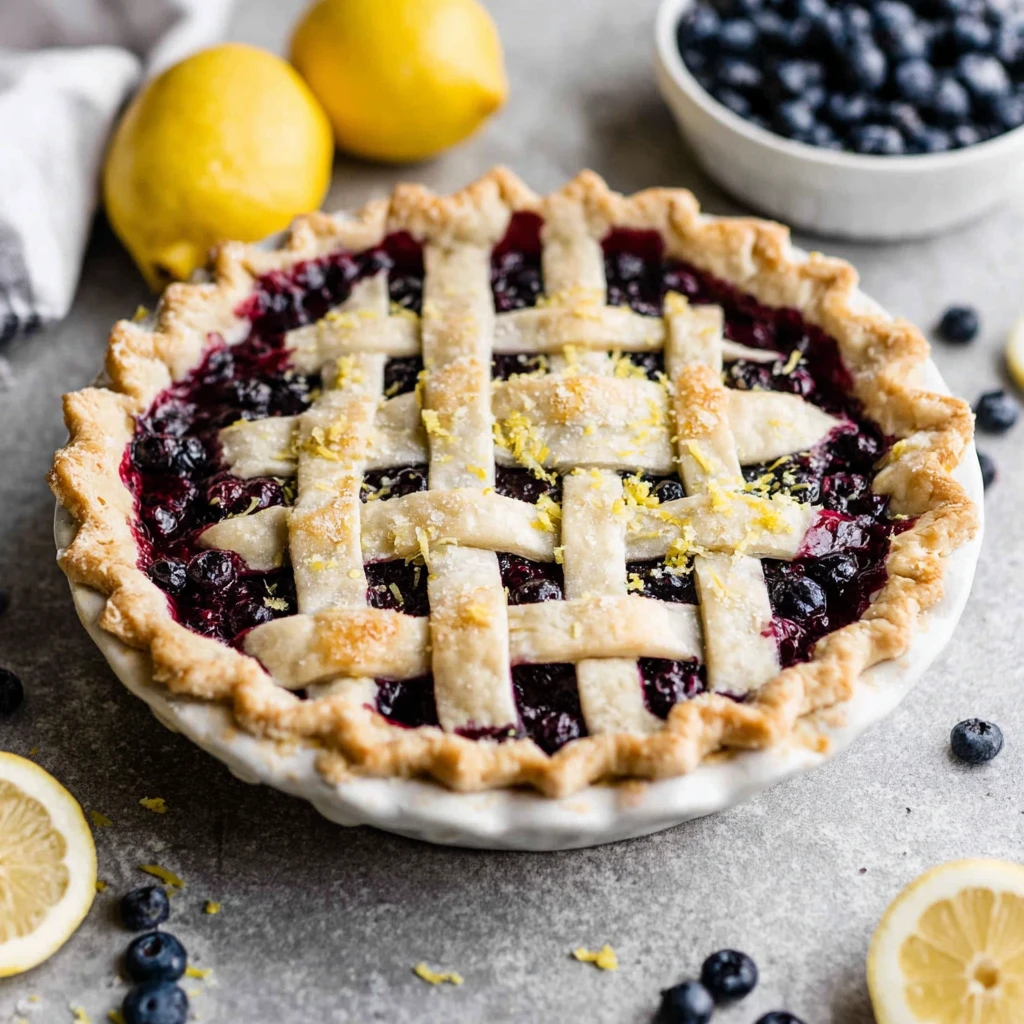
Homemade Fresh Blueberry Pie
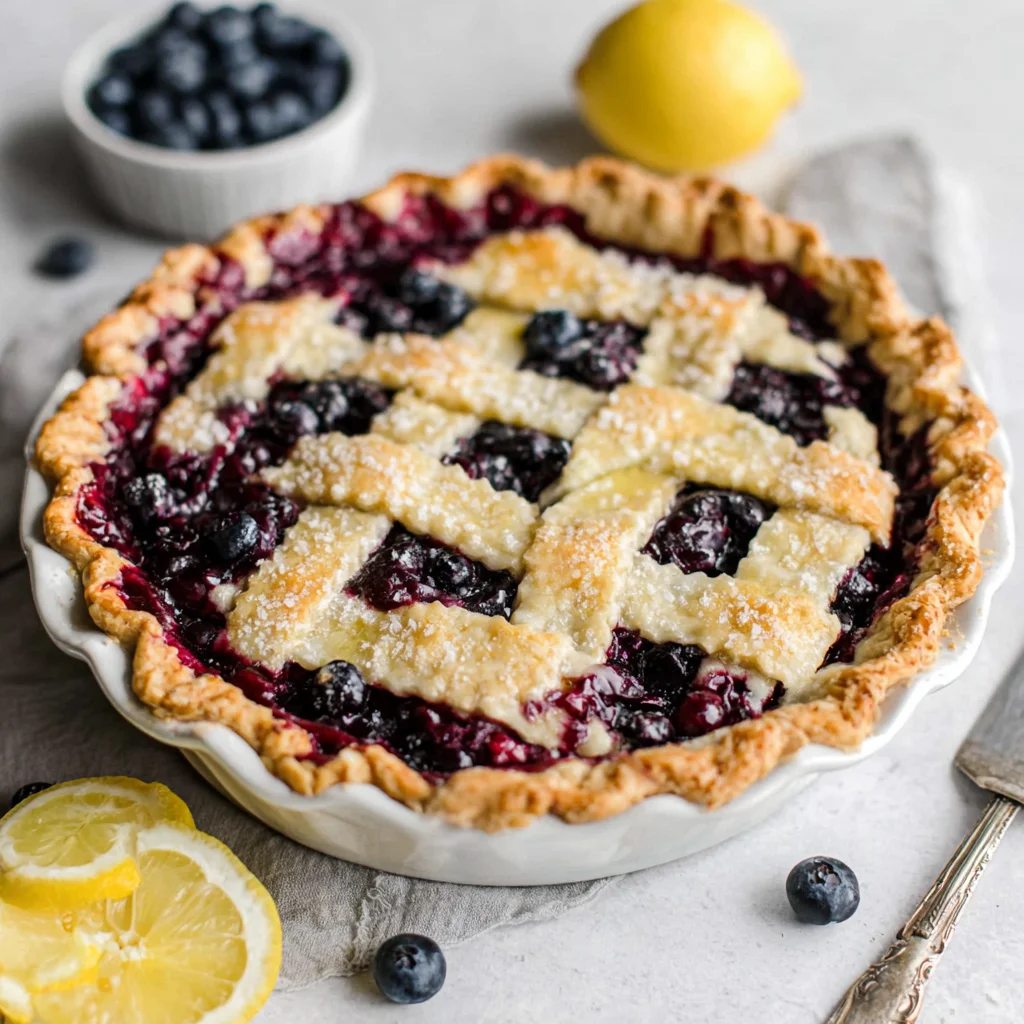
Indulge in the quintessential taste of summer with this exquisite Homemade Fresh Blueberry Pie. Each bite offers a burst of sweet, juicy blueberries nestled beneath a golden, buttery, and perfectly flaky lattice crust. This classic dessert is a true labor of love, promising a delightful treat that captures the essence of homemade comfort and seasonal freshness.
Prep Time
1 hour 45 minutes (includes 1 hour dough chilling)
Cook Time
45 minutes
Total Time
4 hours 30 minutes (includes 2-3 hours cooling time)
Servings
8 generous slices
Keywords
Why This Recipe Delivers
- Bursting with the vibrant, sweet-tart flavor of fresh summer blueberries.
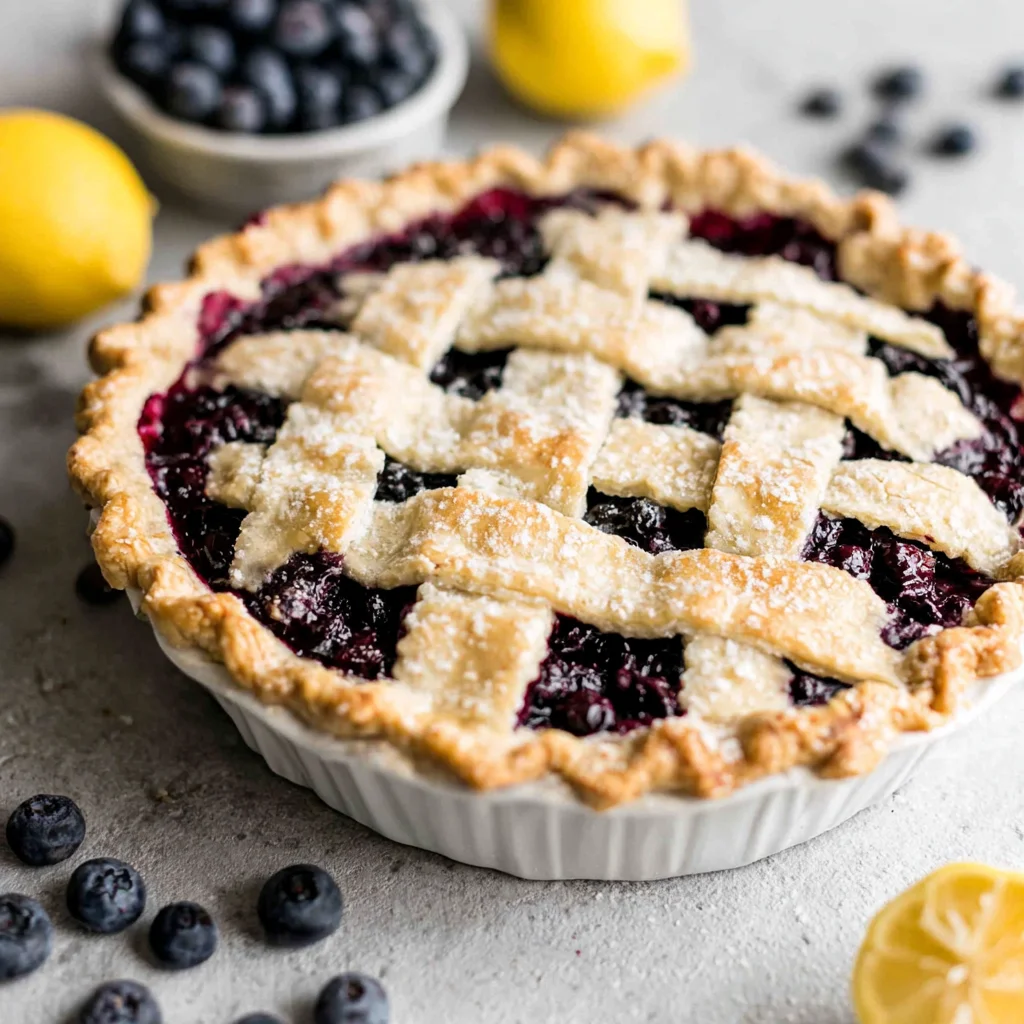
- Features a perfectly flaky, golden homemade crust that melts in your mouth.
- Impressive lattice top presentation makes it a showstopper for any occasion.
- A timeless, comforting dessert that evokes nostalgia and home.
- Crafted with simple, wholesome ingredients for an authentic taste.
Ingredients
- For the Flaky Pie Crust:
- 480 grams (4 cups) all-purpose flour
- 226 grams (2 sticks or 1 cup) unsalted butter, cut into 1.25 cm (1/2 inch) cubes, very cold
- 2 tablespoons fresh lemon zest
- 5 grams (1 teaspoon) fine sea salt
- 5 milliliters (1 teaspoon) apple cider vinegar
- 75 milliliters (5 tablespoons) ice-cold water (plus more if needed)
- For the Fresh Blueberry Pie Filling:
- 2 prepared pie crusts (from recipe above or store-bought)
- 900 grams (6 cups) fresh blueberries, rinsed and patted dry
- 200 grams (1 cup) granulated sugar
- 30 grams (1/4 cup) cornstarch
- 1.25 grams (1/4 teaspoon) fine sea salt
- 1 tablespoon fresh lemon zest
- 15 milliliters (1 tablespoon) fresh lemon juice
- For the Egg Wash and Topping:
- 1 large egg, beaten with 15 milliliters (1 tablespoon) water or milk
- 15 grams (1 tablespoon) coarse sanding sugar (optional)
Instructions
- To prepare the pie crust, in a food processor fitted with the regular blade, combine the all-purpose flour and fine sea salt. Pulse 3 times for a quick mix.
- Add the very cold, cubed unsalted butter to the flour mixture. Process in short pulses until the mixture resembles coarse crumbs, with some pea-sized pieces of butter remaining. This texture is crucial for a flaky crust.
- Introduce the apple cider vinegar and fresh lemon zest to the processor. Pulse briefly to combine.
- With the processor running, gradually add the ice-cold water, 1 tablespoon at a time. Stop processing as soon as the dough begins to come together into a shaggy ball. Avoid overmixing, as this can develop the gluten too much, leading to a tough crust.
- Turn the dough out onto a clean counter surface. Gently gather and form it into two uniform discs. Wrap each disc tightly in plastic wrap and refrigerate for at least 1 hour, or up to 2 days. This chilling period allows the gluten to relax and the butter to firm up, making the dough easier to roll.
- Once the dough has chilled, remove one disc from the refrigerator. On a lightly floured surface, roll it out into a 30 cm (12-inch) circle, about 3 mm (1/8 inch) thick. Carefully transfer the rolled dough to a 23 cm (9-inch) pie plate, gently pressing it into the bottom and sides without stretching. Trim any excess dough, leaving about a 1.25 cm (1/2 inch) overhang. Place the pie plate with the crust into the refrigerator while you prepare the filling.
- In a large mixing bowl, combine the fresh blueberries, granulated sugar, cornstarch, fine sea salt, fresh lemon zest, and fresh lemon juice. Gently toss the ingredients until the blueberries are evenly coated. The lemon juice brightens the flavor, and the cornstarch will thicken the juices during baking.
- Pour the prepared blueberry filling into the chilled pie crust in the pie plate. Distribute the berries evenly.
- Retrieve the second disc of pie dough from the refrigerator. Roll it out into another 30 cm (12-inch) circle. Using a pizza cutter, a pastry wheel, or a sharp knife, cut the dough into uniform strips, approximately 1.5-2.5 cm (1/2-1 inch) wide, for the lattice top.
- Create a lattice top: Place one strip of dough directly across the middle of the pie. Arrange three to four additional strips parallel to the first, spaced evenly, covering one half of the pie. Then, fold back every other strip from the middle. Place a new strip of dough perpendicularly over the unfolded strips. Unfold the original strips, creating a woven pattern. Repeat this weaving process from the center outwards on both sides until the entire pie is covered with a beautiful basket-weave design.
- Trim any excess dough from the lattice strips, aligning them with the edge of the bottom crust. Crimp the edges of the top and bottom crusts together to seal the pie and prevent the filling from bubbling out. You can use your fingers or a fork to create a decorative edge.
- In a small bowl, beat one large egg with 15 milliliters (1 tablespoon) of water or milk to create an egg wash. Using a basting brush, gently brush the egg wash over the entire pie crust, including the lattice strips and edges. If desired, sprinkle the coarse sanding sugar over the egg-washed crust for added sparkle and crunch.
- Thirteenth Step: Preheat your oven to 218°C (425°F). Place the prepared pie on a baking sheet to catch any potential drips. Bake in the preheated oven for 15 minutes. The initial high heat helps to set the crust and develop flakiness.
- Fourteenth Step: After 15 minutes, reduce the oven temperature to 190°C (375°F) without opening the oven door. Continue baking for an additional 30-40 minutes, or until the crust is golden brown and the filling is bubbling thickly. If the crust begins to brown too quickly, loosely tent the pie with aluminum foil to prevent burning.
- Fifteenth Step: Once baked, carefully remove the pie from the oven. This is the most crucial, yet challenging, step: allow the pie to cool completely on a wire rack for at least 2-3 hours, or until it reaches room temperature. Rushing this step will result in a runny, loose filling, as the cornstarch needs time to set properly and thicken the juices to their ideal consistency.
Tools You’ll Need
- Food processor
- Rolling pin
- 23 cm (9-inch) pie plate
- Large mixing bowls
- Whisk
- Pizza cutter or pastry wheel
- Basting brush
- Measuring cups and spoons
- Wire cooling rack
- Baking sheet
Essential Success Tips
- Keep your pie crust ingredients, especially the butter and water, as cold as possible to ensure a flaky crust.
- Avoid overworking the pie dough; too much handling develops gluten and can lead to a tough crust.
- Don't skip the chilling steps for the pie dough; it helps with flakiness and makes the dough easier to handle.
- Allow the pie to cool completely for at least 2-3 hours. This is essential for the filling to set properly, preventing a runny slice.
- If the crust browns too quickly during baking, loosely tent the pie with aluminum foil to protect it.
Professional Cooking Secrets
- For a more complex flavor, use a mix of different blueberry varieties (e.g., wild and cultivated) to add depth to the filling.
- After creating your lattice, place the entire pie (before egg wash) in the freezer for 15-20 minutes. This helps the butter in the crust firm up again, ensuring maximum flakiness and preventing shrinkage during baking.
- A tiny pinch of freshly grated nutmeg or 1/4 teaspoon of ground cinnamon can enhance the blueberry flavor without overpowering it. Add it to the fruit filling along with the other spices.

Notes
- Storage: This pie can be stored at room temperature, loosely covered, for up to 2 days. For longer storage, refrigerate for up to 4-5 days.
- Freezing: Unbaked pie can be frozen for up to 3 months. Wrap tightly in plastic wrap and then foil. Bake from frozen, adding about 20-30 minutes to the baking time and tenting with foil if needed. Baked pie can also be frozen for up to 3 months; thaw overnight in the refrigerator before serving.
- Variations: Feel free to add a touch of almond extract to the filling for a complementary flavor. You can also mix in a small amount of raspberries or blackberries with the blueberries.
Frequently Asked Questions
How do I prevent a soggy bottom crust in my blueberry pie?
To prevent a soggy bottom, ensure your pie crust is well-chilled before filling, and bake on a preheated baking sheet or pizza stone. Using cornstarch or tapioca as a thickener in the filling also helps absorb excess moisture. Blind baking the bottom crust (baking it partially before adding the filling) is another effective method, especially for very juicy fruits.
Can I use frozen blueberries instead of fresh ones?
Yes, you can absolutely use frozen blueberries. Do not thaw them before adding to the filling; use them directly from the freezer. You may need to add an extra tablespoon of cornstarch to account for the additional moisture released by frozen berries during baking. The baking time might also be slightly longer.
How long does homemade blueberry pie last?
Homemade blueberry pie, when properly stored, can last for 2-3 days at room temperature (loosely covered). If you want to extend its freshness, it can be refrigerated for up to 4-5 days. Always allow the pie to cool completely before covering or refrigerating to prevent condensation.
Nutrition Facts (Per Serving)
Per slice (estimated): Calories: 420, Protein: 5g, Fat: 22g, Saturated Fat: 13g, Carbohydrates: 55g, Fiber: 3g, Sugars: 30g.
Allergy Information
Contains wheat (gluten), dairy (butter), and egg (egg wash). For a gluten-free version, substitute with a high-quality gluten-free pie crust mix and ensure all other ingredients are certified gluten-free.


No comment