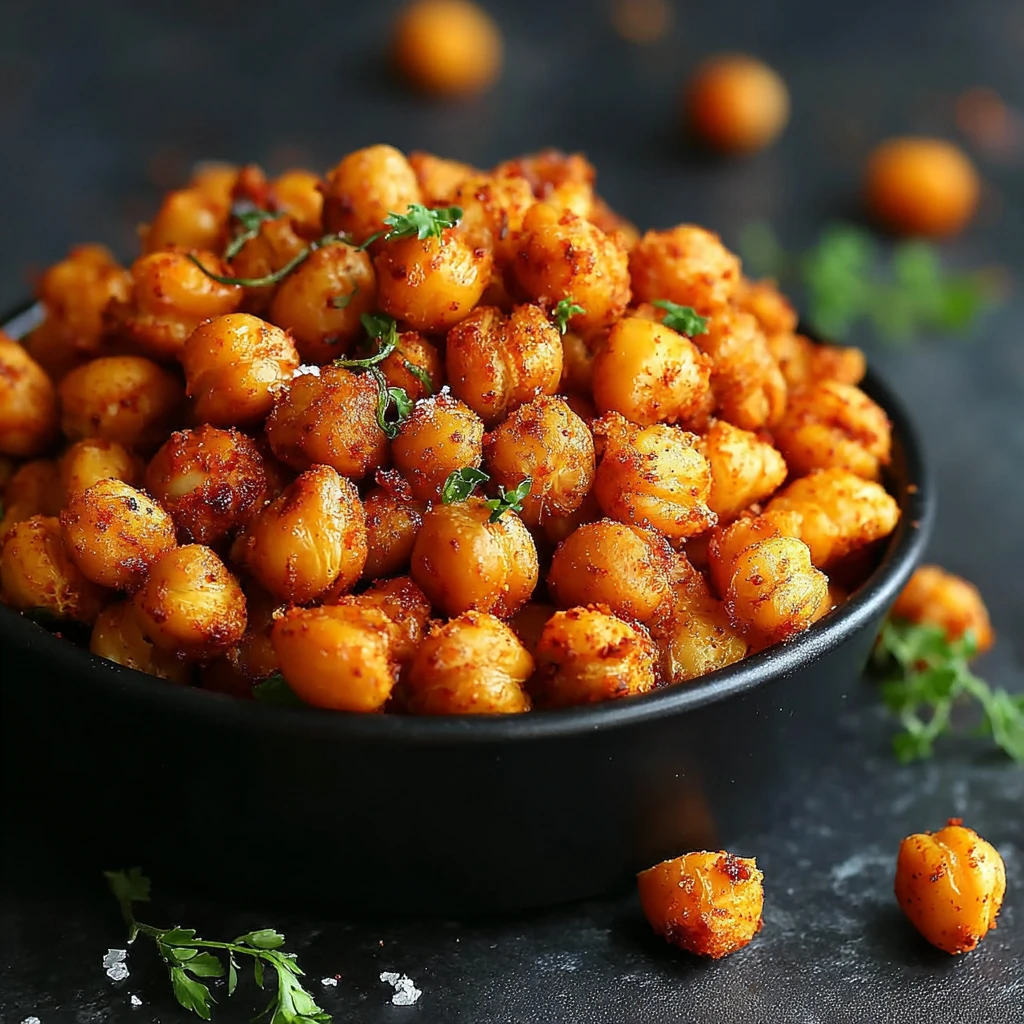
Crunchy Chickpea Snacks
These irresistible Crunchy Chickpea Snacks are a game-changer for healthy munching. Perfectly seasoned with earthy paprika and savory garlic, they are roasted to a golden crisp, offering a satisfying texture that makes them an ideal alternative to fried snacks. Quick to prepare and packed with plant-based protein and fiber, they are sure to become your new favorite guilt-free treat for any time of day.
Prep Time
10 minutes
Cook Time
30 minutes
Total Time
40 minutes
Servings
4 servings
Keywords
Why This Recipe Delivers
- Achieves an incredibly satisfying crunch without deep frying.
- Packed with plant-based protein and fiber, making it a truly nourishing snack.
- Requires minimal ingredients and is incredibly easy to prepare for any skill level.
- Highly versatile, allowing for endless customization with different spice blends.
- A fantastic gluten-free and vegan alternative to processed snacks.
Ingredients
- 425 g (15 oz) canned chickpeas, rinsed and thoroughly drained
- 15 ml (1 tablespoon) olive oil
- 5 ml (1 teaspoon) paprika
- 5 ml (1 teaspoon) garlic powder
- Salt, to taste
Instructions
- Preheat your oven to 200°C (400°F). Prepare a large baking sheet by lining it with parchment paper. This helps prevent sticking and ensures an even roast.
- Thoroughly rinse the canned chickpeas under cold running water. It is absolutely crucial to pat them extremely dry using a clean kitchen towel or paper towels. Removing as much moisture as possible is key to achieving that ultimate crispy texture.
- In a medium mixing bowl, combine the dried chickpeas with the olive oil, paprika, garlic powder, and salt. Toss vigorously until all the chickpeas are evenly coated with the oil and spices. Ensure no chickpea is left unseasoned for maximum flavor.
- Spread the seasoned chickpeas onto the prepared baking sheet in a single layer. Avoid overcrowding the pan, as this can steam the chickpeas instead of roasting them, hindering their crispiness. Use a second baking sheet if necessary.
- Roast the chickpeas in the preheated oven for approximately 30 minutes. Halfway through the cooking time, about 15 minutes in, shake the pan or gently stir the chickpeas to ensure even browning and crispness on all sides. Continue roasting until they are golden brown and crunchy.
- Once roasted to your desired crispness, remove the baking sheet from the oven. Allow the crunchy chickpea snacks to cool completely on the baking sheet. They will become even crispier as they cool. Serve immediately or store for later.
Tools You’ll Need
- Large baking sheet
- Parchment paper
- Mixing bowl
- Colander
- Clean kitchen towel or paper towels
Essential Success Tips
- Thoroughly dry your chickpeas: This is the most critical step for achieving true crispiness. Any residual moisture will lead to soft or chewy chickpeas.
- Don't overcrowd the pan: Give the chickpeas space to roast. If they're too close together, they'll steam instead of getting crispy.
- Roast until deeply golden: Don't pull them out too early! They should have a deep golden-brown color and feel firm and crunchy to the touch.
- Cool completely: The chickpeas will continue to crisp up as they cool down. Resist the urge to eat them all straight from the oven!
- Experiment with seasonings: While paprika and garlic powder are classic, try adding chili powder, cumin, onion powder, or a pinch of cayenne for a kick.
Professional Cooking Secrets
- For an extra layer of flavor and aroma, lightly toast the spices in a dry pan for 30 seconds before tossing with the chickpeas. This awakens their essential oils.
- Consider adding a tiny amount of baking soda (about 1/4 teaspoon) to the chickpeas during the rinsing phase, letting them sit for a few minutes before rinsing thoroughly. This can help tenderize the outer skin, promoting a crispier texture upon roasting.
- If you want a truly irresistible texture, after the initial roasting, you can turn off the oven and leave the chickpeas inside for another 10-15 minutes with the door slightly ajar. This allows them to dry out further and become even crunchier without burning.
Notes
- Storage: Store cooled crunchy chickpea snacks in an airtight container at room temperature for up to 5 days. For best results, avoid refrigeration as it can soften them.
- Flavor Variations: Get creative! Try a 'taco seasoning' blend, 'ranch' spices, 'curry' powder, or even a sweet version with cinnamon and a drizzle of maple syrup after roasting.
- Serving Suggestions: Enjoy them as a standalone snack, sprinkle them over salads for added crunch, or use them as a topping for soups and stews.
Frequently Asked Questions
Why aren't my chickpeas crispy?
The most common reason for non-crispy chickpeas is residual moisture. Ensure you pat them very dry before seasoning, and avoid overcrowding the baking sheet so they can roast, not steam.
Can I use an air fryer for this recipe?
Yes, absolutely! Air fry at 190°C (375°F) for 15-20 minutes, shaking the basket every 5 minutes, until they are golden and crispy. Cooking time may vary slightly depending on your air fryer model.
Can I make these ahead of time?
While they are best enjoyed fresh, you can make them a day or two in advance. Store them in an airtight container at room temperature. If they lose some crunch, you can re-crisp them in a 150°C (300°F) oven for 5-10 minutes.
Nutrition Facts (Per Serving)
Calories: 150, Protein: 7g, Fat: 6g, Carbs: 18g (per serving, estimated based on 4 servings for the given ingredients)
Allergy Information
This dish is naturally gluten-free and vegan. It does not contain common allergens like dairy, eggs, soy, nuts, or shellfish. Always check your spice brands for cross-contamination if severe allergies are a concern.

No comment