
Pumpkin Waffles
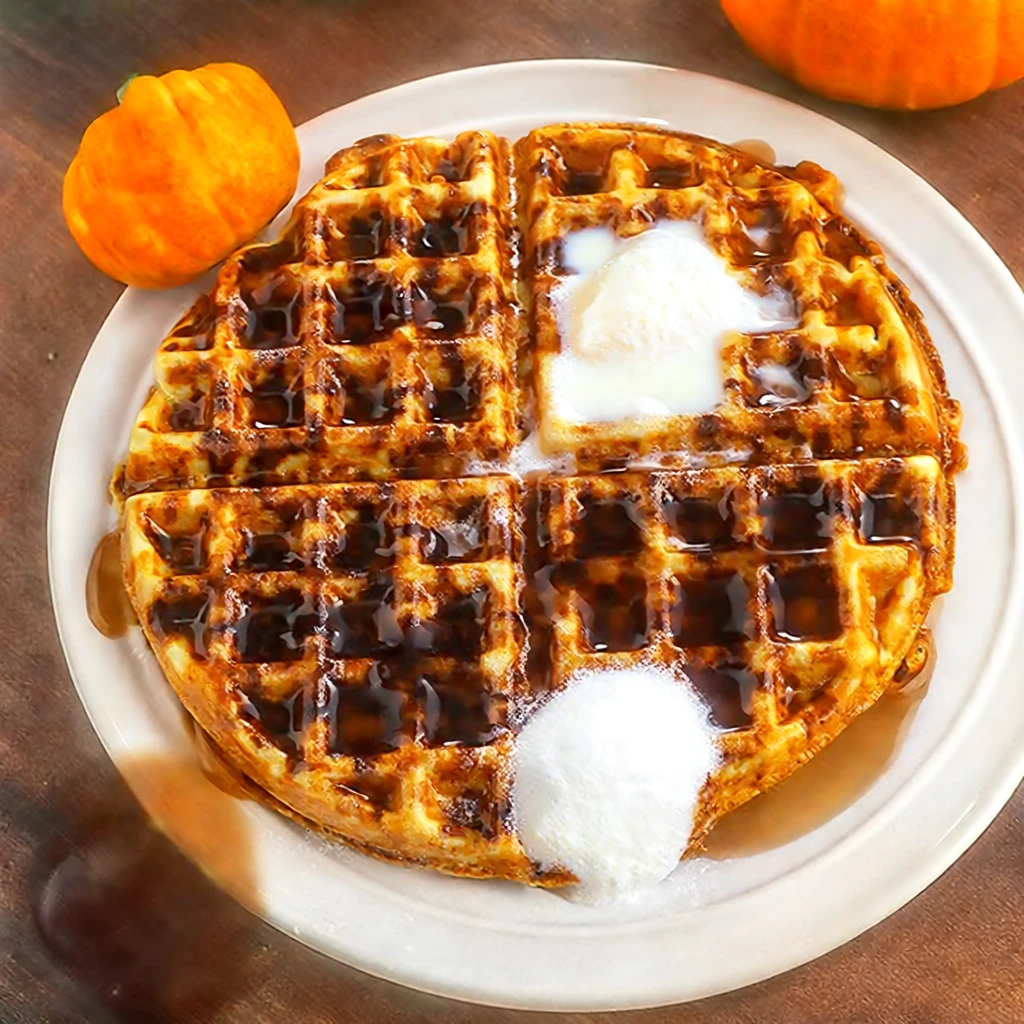
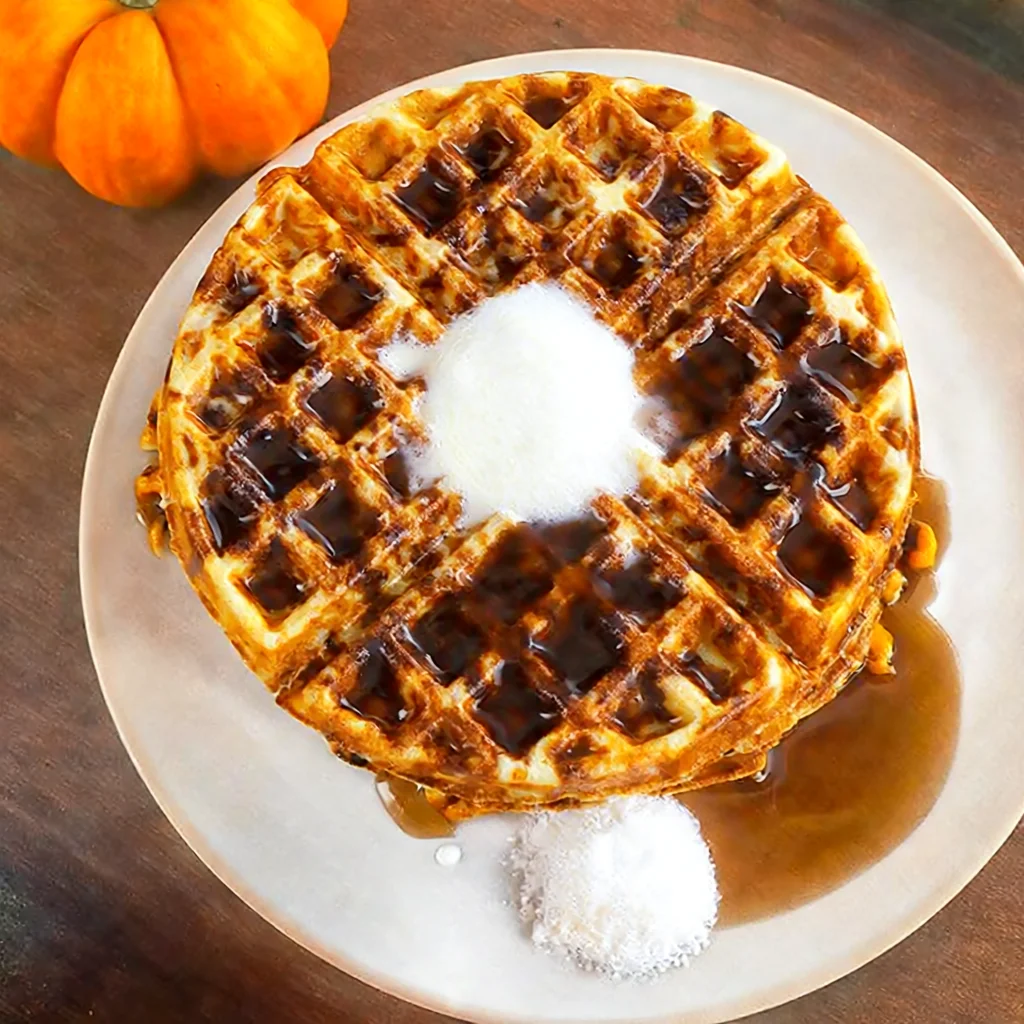
Embrace the cozy spirit of autumn with these delightful Pumpkin Waffles. Perfectly spiced and wonderfully fluffy, they offer a crisp exterior and a tender, warm interior, making them an ideal choice for a comforting breakfast or a festive brunch. This recipe infuses the classic waffle with the rich, earthy flavor of pumpkin and aromatic fall spices for an unforgettable morning treat.
Prep Time
15 minutes
Cook Time
25 minutes
Total Time
40 minutes
Servings
4-6 servings
Keywords
Why This Recipe Delivers
- Infused with the irresistible, cozy flavors of autumn, perfect for seasonal enjoyment.
- Achieves a perfect balance of a delightfully crisp exterior and a wonderfully fluffy interior.
- A comforting and elevated breakfast or brunch option that feels special yet is easy to make.
- Highly customizable with various toppings and mix-ins like chocolate chips or nuts.
- Relatively quick and straightforward to prepare, making it ideal for weekend mornings or even a weekday treat.
Ingredients
- 1 ¼ cups (165 grams) all-purpose flour
- 1 ½ teaspoons pumpkin pie spice (add an extra ½ teaspoon if desired)
- ½ cup (approximately 85 grams) chocolate chips (optional, or more if desired)
- 1 ½ teaspoons ground cinnamon
- 2 teaspoons baking powder
- ¼ cup (57 grams) melted unsalted butter (substitute with coconut or neutral vegetable oil if preferred)
- 1 teaspoon Kosher salt or ¾ teaspoon fine sea salt
- 1 cup (240 milliliters) milk or buttermilk
- 1 cup (240 grams) pumpkin puree (100% pure pumpkin, not pie filling)
- 2 large eggs
- 1 teaspoon vanilla extract
- 3 Tablespoons (45 grams) granulated sugar (or substitute with light brown sugar)
Instructions
- Prepare your waffle iron and oven for optimal cooking and serving. Preheat your waffle iron to a medium heat setting, typically between 3 and 4 for most models, ensuring it is fully hot before adding batter. If you plan to serve the waffles in batches and keep them warm, preheat your oven to 80°C (175°F) and place a wire rack on a baking sheet inside; this setup helps maintain crispness.
- In a large mixing bowl, combine the wet ingredients thoroughly. Whisk together the pumpkin puree, milk (or buttermilk for a slight tang and tender crumb), granulated sugar, eggs, and the melted butter (or chosen oil) along with the vanilla extract until the mixture is smooth and homogeneously combined.
- Incorporate the dry ingredients into the wet mixture. Gently fold in the all-purpose flour, baking powder, ground cinnamon, pumpkin pie spice, and salt. Mix until just combined. It is crucial not to overmix the batter; a few small lumps are perfectly acceptable and contribute to a light, tender waffle texture. If you're adding chocolate chips, stir them in briefly at this stage to distribute them evenly without overworking the batter.
- Cook the waffles to a golden perfection. Pour approximately 120 milliliters (½ cup) of the prepared batter onto the preheated and lightly greased waffle iron, spreading it gently to ensure it covers the grids. Close the lid and cook for about 2-4 minutes, or until your waffle maker indicates it's done, and the waffles are golden brown and crisp on the exterior, with steam no longer escaping vigorously.
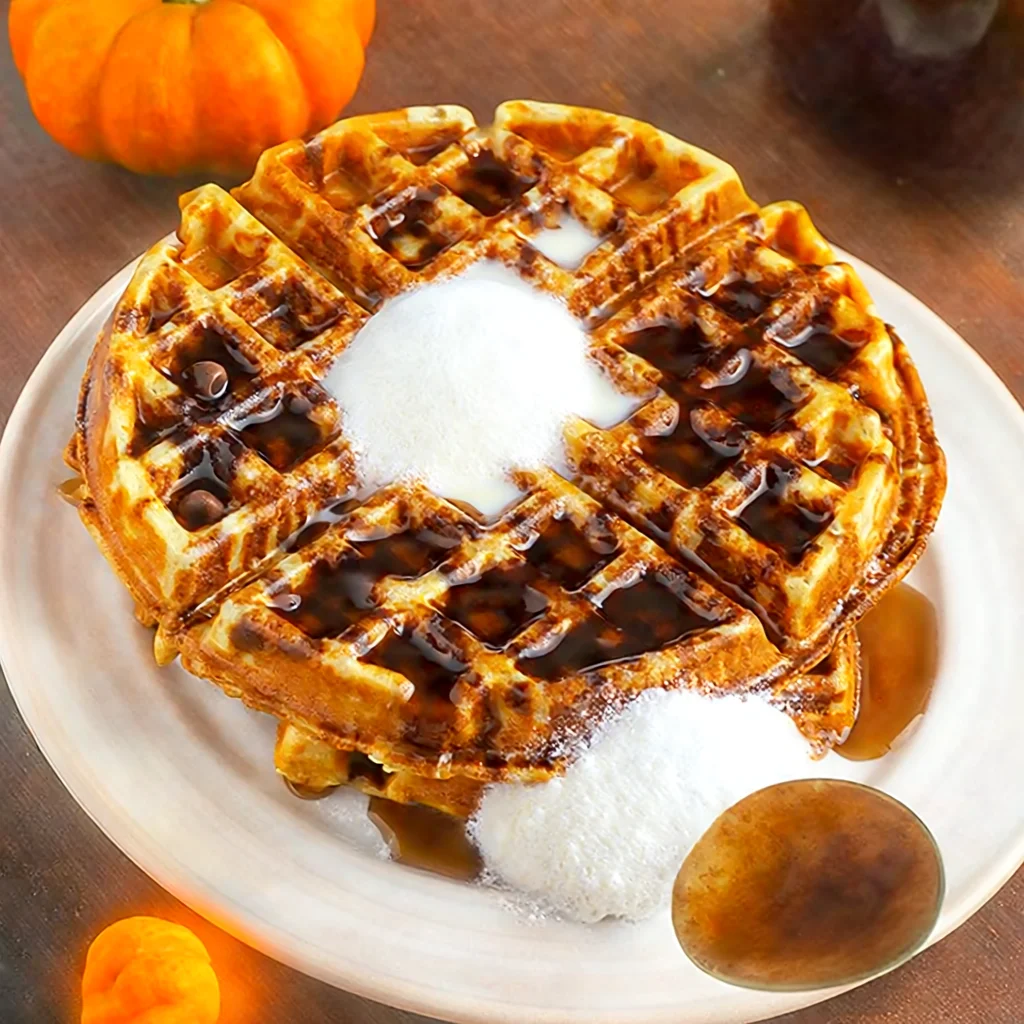
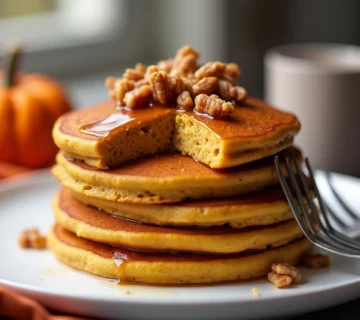
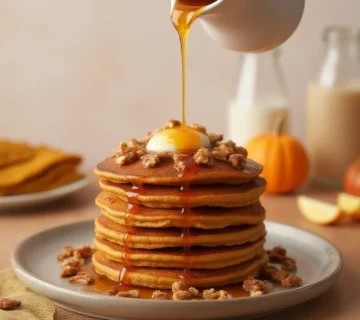
- Serve the warm, fluffy pumpkin waffles. Carefully remove the cooked waffle from the iron using a fork or tongs. If serving immediately, transfer directly to plates. If cooking in batches, place the finished waffles on the wire rack in the warm oven to keep them crisp and warm until all waffles are ready to be served. Present immediately with your favorite toppings such as a pat of softened butter, a generous drizzle of pure maple syrup, a dollop of whipped cream, or a sprinkle of toasted nuts.
- Clean your waffle iron. Allow the iron to cool completely before cleaning. Wipe down the non-stick plates with a damp cloth to remove any leftover batter or crumbs. Avoid using abrasive scrubbers or submerging the iron in water.

Tools You’ll Need
- Waffle iron
- Large mixing bowls
- Whisk
- Measuring cups and spoons
- Spatula or ladle for pouring batter
- Wire rack
- Baking sheet (optional, for keeping warm)
Essential Success Tips
- Do not overmix the batter; this can overdevelop the gluten, resulting in tough, chewy waffles instead of light, fluffy ones. Mix only until the dry ingredients are just incorporated.
- Ensure your waffle iron is fully preheated before adding batter. This is key for achieving an even cook, a beautiful golden crust, and preventing sticking.
- For an extra-crisp exterior, cook the waffles for an additional minute beyond what your iron typically suggests, monitoring closely to avoid burning.
- Always use fresh baking powder. Its leavening power diminishes over time, which can lead to flat, dense waffles.
- Allow cold milk and eggs to come to room temperature before mixing. This helps them combine more smoothly with other ingredients and contributes to a more uniform batter.
Professional Cooking Secrets
- For an exceptionally light and airy texture, separate the egg yolks and whites. Beat the egg whites to stiff peaks, then gently fold them into the batter as the very last step. This incorporates more air, creating an incredibly delicate and crisp waffle.
- To elevate the flavor profile, lightly toast some chopped pecans or walnuts before folding them into the batter alongside the chocolate chips. The toasting brings out a deeper nutty aroma and adds a delightful textural contrast.
- A tiny pinch of freshly grated nutmeg or ground ginger added to the spice blend can provide an additional layer of warmth and complexity, complementing the pumpkin pie spice beautifully.
- For a truly rich and deep flavor, consider browning your butter slightly before melting. The nutty notes of brown butter will add an extra dimension to the waffles.
Notes
- Leftover pumpkin waffles can be stored in an airtight container in the refrigerator for up to 3 days. For best reheating results, pop them into a toaster or toaster oven until crisp and warm.
- For a dairy-free variation, substitute traditional milk with a plant-based milk (such as almond or oat milk) and use coconut oil or a neutral vegetable oil in place of butter.
- Cooled waffles can be frozen in a single layer on a baking sheet until solid, then transferred to a freezer-safe bag or container for up to 1 month. Reheat directly from frozen in a toaster for a quick breakfast.
- Experiment with different toppings such as candied pecans, a dusting of powdered sugar, or a dollop of cinnamon whipped cream.
- If you prefer less spice, reduce the amount of pumpkin pie spice and cinnamon by ¼ teaspoon each.
Frequently Asked Questions
Can I make the pumpkin waffle batter ahead of time?
While it is generally best to cook waffles immediately after mixing the batter to achieve maximum rise and a light texture, you can prepare the wet ingredients (pumpkin puree, milk, sugar, eggs, butter, vanilla) the night before. Store this mixture in the refrigerator, then combine it with the dry ingredients just before you are ready to cook.
How do I prevent my waffles from sticking to the iron?
Even if your waffle iron boasts non-stick properties, it's a good practice to lightly grease the plates before adding the first batch of batter. A light spray of cooking oil or a brush of melted butter can help immensely in preventing sticking and ensuring easy release.
What kind of pumpkin puree should I use for this recipe?
Always use 100% pure pumpkin puree from a can, not pumpkin pie filling. Pumpkin pie filling contains added sugars and spices, which will alter the flavor and sweetness of your waffles significantly.
Nutrition Facts (Per Serving)
Calories: 380, Protein: 9g, Fat: 18g, Carbs: 45g, Sugars: 15g (per serving, estimated without additional toppings)
Allergy Information
Contains wheat, dairy (if using milk and butter), and eggs. For a dairy-free version, substitute milk with a plant-based alternative and butter with coconut or vegetable oil. To make it gluten-free, use a certified gluten-free all-purpose flour blend.



No comment