
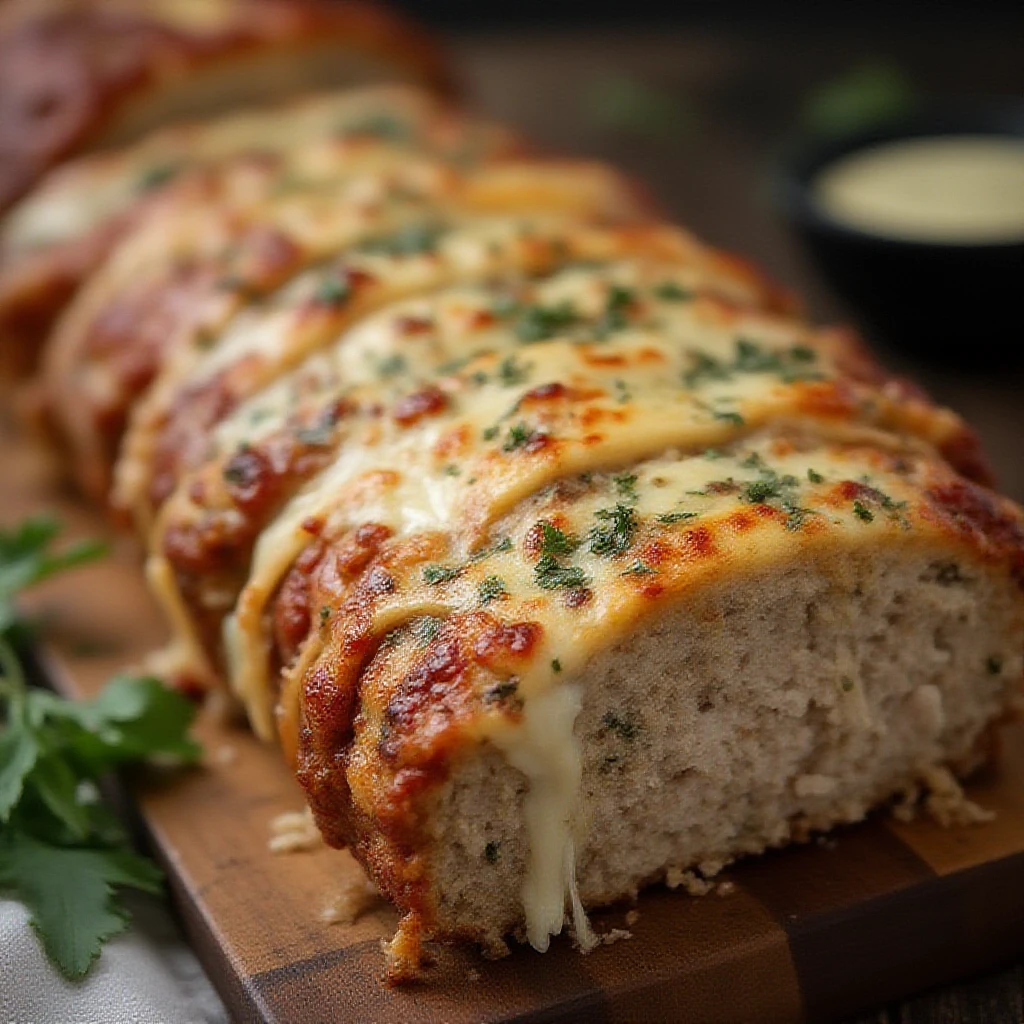
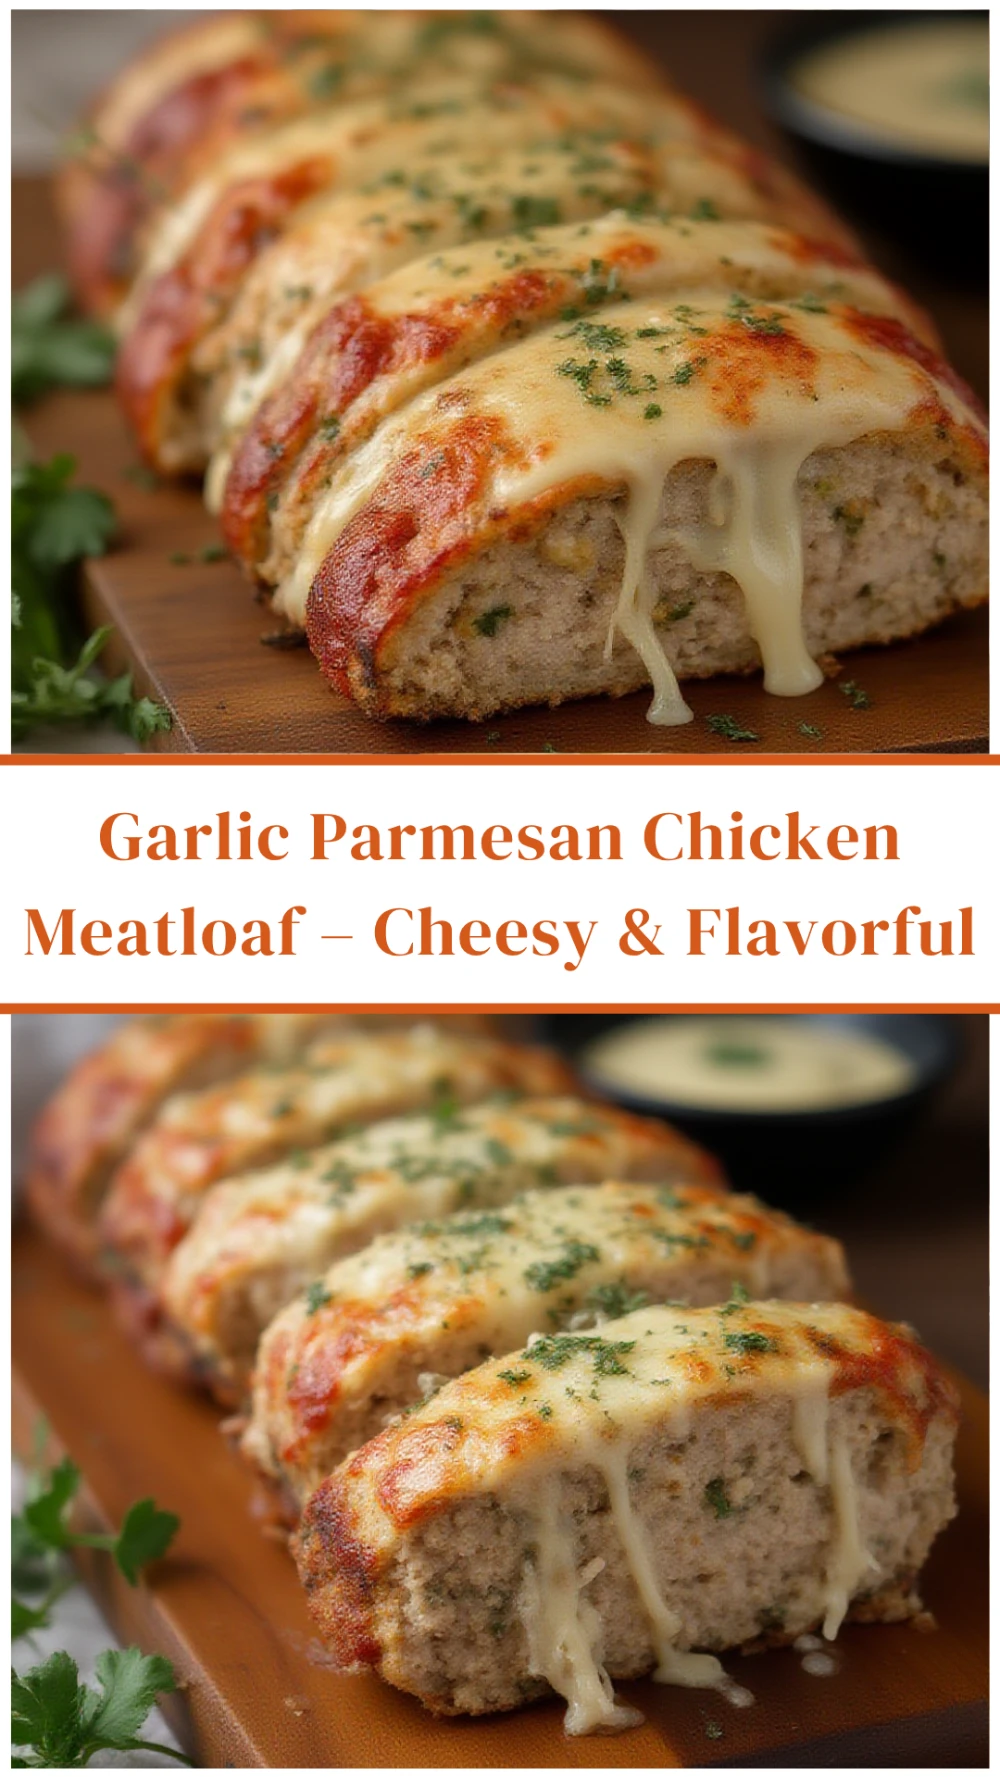
Garlic Parmesan Chicken Meatloaf – Cheesy & Flavorful
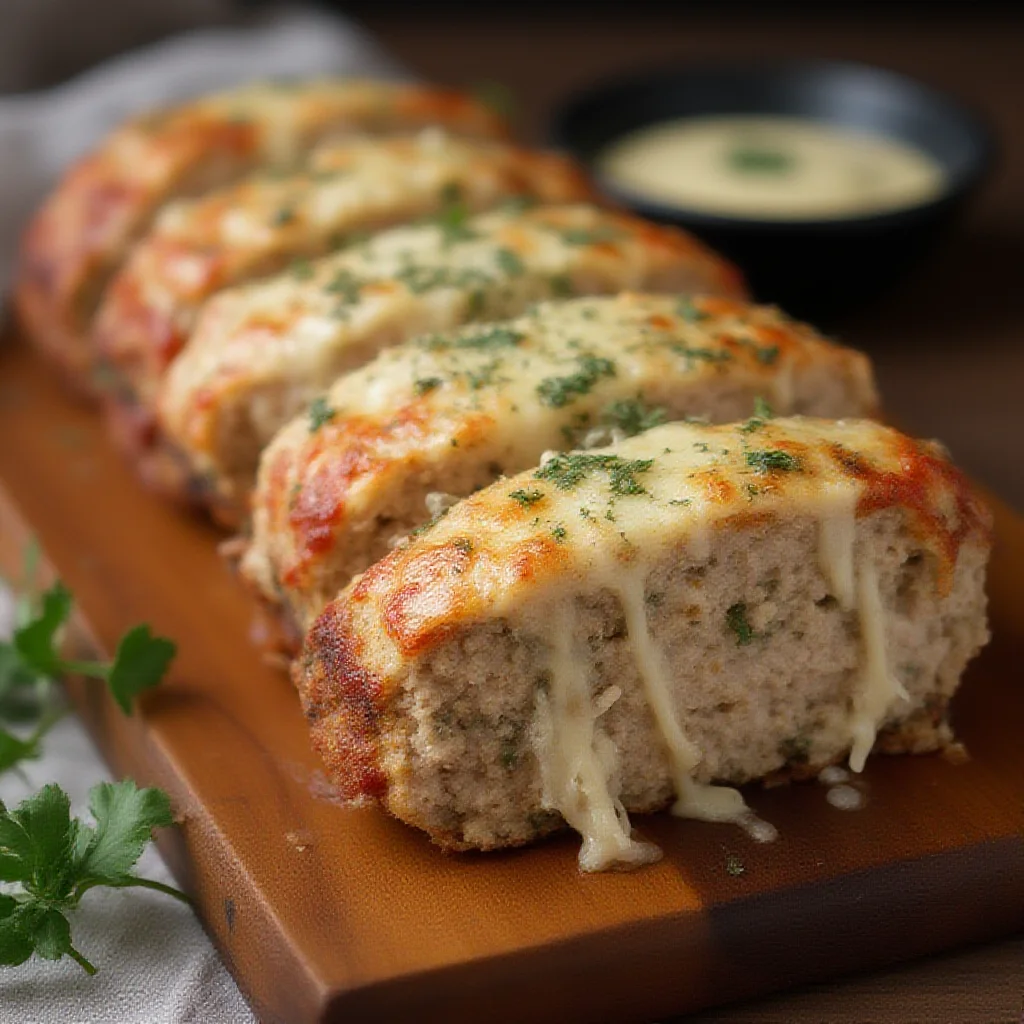
This isn't your grandmother's meatloaf! Our Garlic Parmesan Chicken Meatloaf delivers an explosion of savory flavors, featuring succulent ground chicken infused with aromatic garlic, Italian herbs, and two types of rich Parmesan cheese. A secret layer of melted mozzarella inside makes every slice a cheesy delight, perfect for a comforting family meal.
Prep Time
20 minutes
Cook Time
40-45 minutes
Total Time
1 hour 5 minutes
Servings
6-8 servings
Keywords
Why This Recipe Delivers
- Bursting with Flavor: A harmonious blend of garlic, Parmesan, and Italian herbs ensures every bite is incredibly savory and satisfying.
- Cheesy Heart: The optional mozzarella center adds a delightful, gooey surprise that kids and adults will love.
- Weeknight Winner: Despite its gourmet taste, this dish is surprisingly straightforward to prepare, making it ideal for busy evenings.
- Lighter Comfort Food: Using ground chicken instead of beef makes it a lighter take on classic comfort food, without sacrificing flavor.
- Impressive Presentation: The golden, garlic-Parmesan crust and fresh parsley garnish make this a beautiful centerpiece.
Ingredients
- 680 grams (1 ½ pounds) lean ground chicken
- 120 milliliters (½ cup) freshly grated Parmesan cheese, plus extra for topping
- 3 large cloves garlic, finely minced
- 120 milliliters (½ cup) plain or Italian-seasoned breadcrumbs
- 1 large egg, lightly beaten
- 15 milliliters (1 tablespoon) Italian seasoning blend
- 2.5 milliliters (½ teaspoon) fine sea salt
- 2.5 milliliters (½ teaspoon) freshly ground black pepper
- 120 milliliters (½ cup) shredded mozzarella cheese, for a gooey, cheesy center (optional)
- 30 milliliters (2 tablespoons) fresh parsley, chopped, for garnish
- For the Topping:
- 60 milliliters (¼ cup) freshly grated Parmesan cheese
- 30 milliliters (2 tablespoons) unsalted butter, melted
- 5 milliliters (1 teaspoon) garlic, finely minced
Instructions
- Preheat your oven to 190°C (375°F). Prepare a standard loaf pan (approximately 23 x 13 cm or 9 x 5 inches) by lightly greasing it with cooking spray or butter, or lining it with parchment paper, leaving an overhang on the longer sides to facilitate easy removal. This ensures the meatloaf doesn't stick and makes cleanup simpler.
- In a large mixing bowl, combine the ground chicken, 120 ml (½ cup) grated Parmesan cheese, the 3 finely minced garlic cloves, breadcrumbs, the lightly beaten large egg, Italian seasoning, salt, and black pepper. Use your hands to gently mix all the ingredients until they are just combined. Overmixing can lead to a tough meatloaf, so stop as soon as everything is incorporated.
- Transfer exactly half of the chicken mixture into the prepared loaf pan. Press it down evenly into the bottom to form a firm base. If you're adding mozzarella for a cheesy surprise, sprinkle the 120 ml (½ cup) shredded mozzarella cheese evenly over this layer, ensuring you leave a small border around the edges to help seal it in later. Then, carefully top with the remaining chicken mixture and gently press it down to seal the mozzarella layer completely. This prevents the cheese from oozing out excessively during baking.
- In a small separate bowl, prepare the savory topping. Combine the 60 ml (¼ cup) freshly grated Parmesan cheese, the 30 ml (2 tablespoons) of melted butter, and the 5 ml (1 teaspoon) of finely minced garlic. Stir well until it forms a spreadable mixture. Evenly spread this aromatic topping over the entire surface of the shaped meatloaf in the pan. This creates a delicious, golden crust.
- Carefully place the loaf pan in your preheated oven. Bake for approximately 40 to 45 minutes, or until the internal temperature of the meatloaf, measured with a meat thermometer inserted into the thickest part, reaches a safe 74°C (165°F). The topping should be golden brown and slightly crisp.
- Once baked, remove the meatloaf from the oven. It's crucial to let it rest in the pan for 5 to 10 minutes before slicing. This resting period allows the juices to redistribute throughout the meatloaf, resulting in a more tender and moist texture. After resting, carefully lift the meatloaf out of the pan using the parchment paper overhang or invert it onto a cutting board.
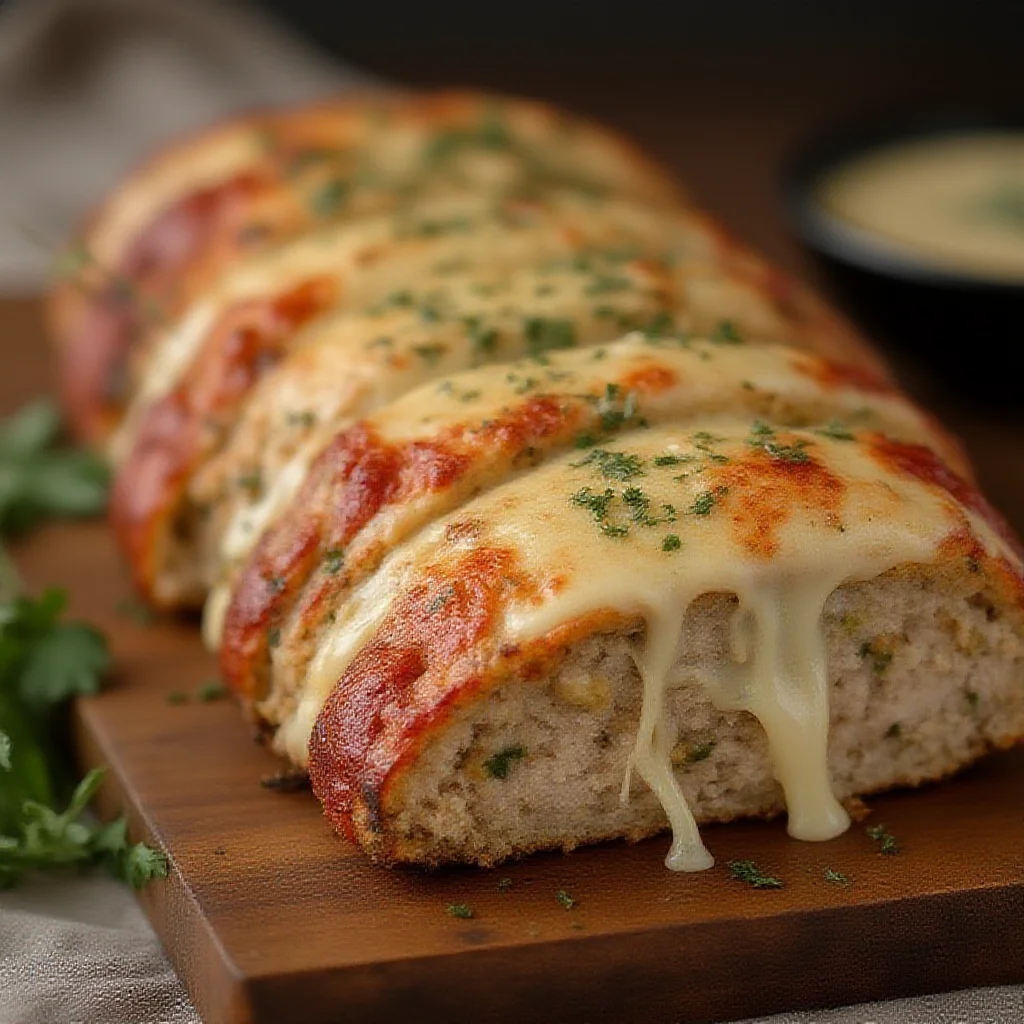
- Slice the meatloaf into desired portions, typically 2.5 cm (1 inch) thick slices. Garnish generously with the 30 ml (2 tablespoons) of fresh chopped parsley just before serving for a vibrant color and a burst of fresh flavor.
Tools You’ll Need
- Large mixing bowl
- Loaf pan (standard 23 x 13 cm or 9 x 5 inch)
- Small mixing bowl (for topping)
- Measuring cups and spoons
- Garlic press or sharp knife
- Meat thermometer
- Parchment paper (optional, but recommended)
- Cutting board
- Sharp knife for slicing
Essential Success Tips
- Do Not Overmix: Gently combine the meatloaf ingredients until just incorporated to ensure a tender, rather than tough, result.
- Use Freshly Grated Parmesan: While pre-grated works, freshly grated Parmesan melts better and offers a superior, more pungent flavor.
- Resting is Key: Allowing the meatloaf to rest after baking lets the juices redistribute, making it moister and easier to slice without crumbling.
- Internal Temperature: Always use a meat thermometer to ensure the chicken meatloaf reaches a safe internal temperature of 74°C (165°F).
- Even Thickness: When shaping, try to keep the meatloaf's thickness as even as possible for uniform cooking.
Professional Cooking Secrets
- For an Extra Juicy Meatloaf: Add 30 ml (2 tablespoons) of milk or chicken broth to the meatloaf mixture. This helps keep the chicken incredibly moist as it bakes.
- Infuse Garlic Flavor: Instead of just mixing minced garlic into the topping, gently sauté half of the garlic for the topping in a tiny bit of olive oil before mixing it with butter and Parmesan. This mellows the raw garlic intensity and brings out a deeper, sweeter garlic flavor.
- Elevated Crust: For an even crispier, more flavorful crust, broil the meatloaf for the last 2-3 minutes of cooking, keeping a close eye on it to prevent burning.
Notes
- Storage: Leftover meatloaf can be stored in an airtight container in the refrigerator for up to 3-4 days. It reheats beautifully in the microwave or oven.
- Freezing: Cooked and cooled meatloaf slices can be wrapped individually and frozen for up to 3 months. Thaw in the refrigerator overnight before reheating.
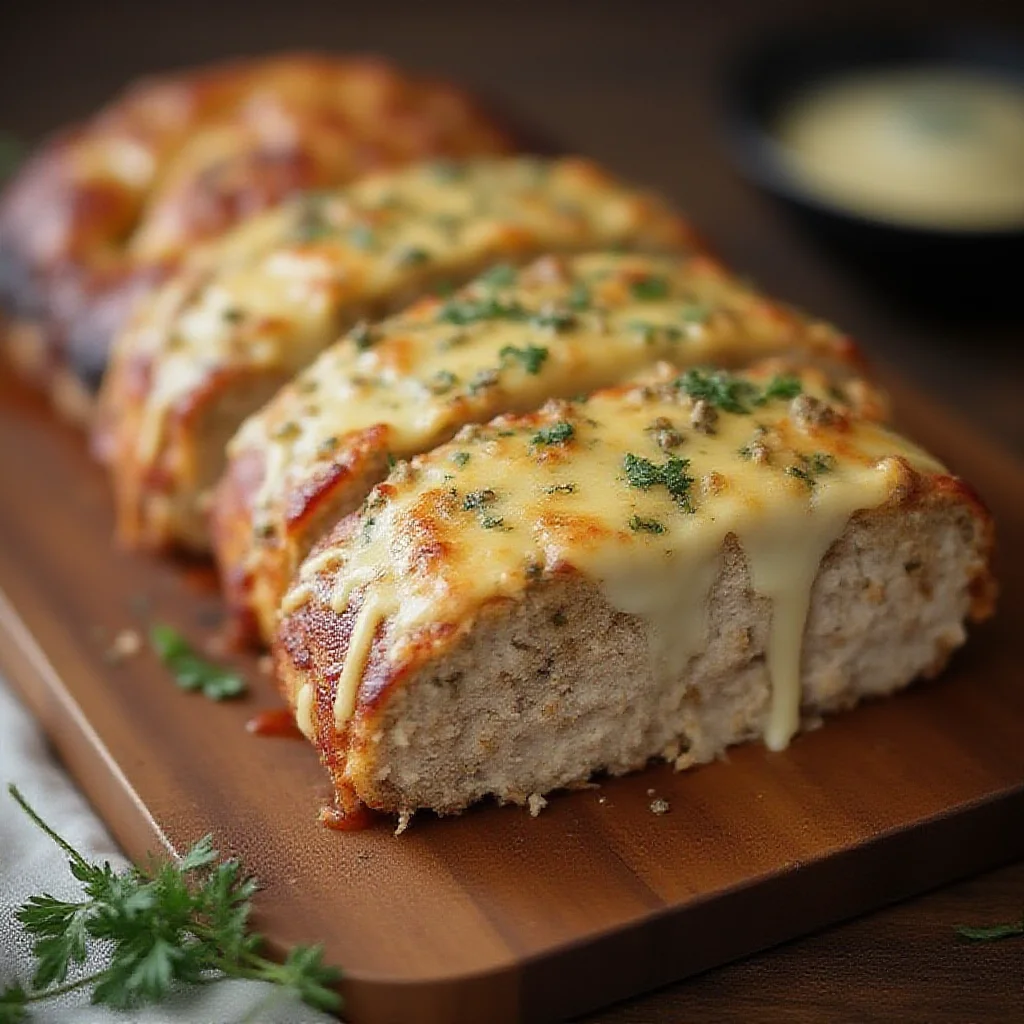
- Serving Suggestions: This meatloaf pairs wonderfully with mashed potatoes, roasted vegetables, a fresh green salad, or a side of buttered egg noodles.
Frequently Asked Questions
Can I use ground turkey instead of ground chicken?
Yes, ground turkey is an excellent substitute. Opt for ground turkey with a slightly higher fat content (e.g., 93% lean) to prevent the meatloaf from drying out, as turkey can be leaner than chicken.
How do I know if my meatloaf is cooked through without a thermometer?
While a thermometer is highly recommended for safety, a visual cue is that the internal juices should run clear when pierced with a knife, and the meat should no longer appear pink. However, a thermometer is the most reliable method.
Can I add vegetables to the meatloaf mixture?
Absolutely! Finely diced vegetables like bell peppers, carrots, or spinach can be sautéed and added to the mixture for extra flavor and nutrients. Just be sure they are finely diced so they cook evenly within the meatloaf.
Nutrition Facts (Per Serving)
Calories: 380, Protein: 40g, Fat: 20g, Carbs: 10g (approximate per serving, 8 servings)
Allergy Information
Contains dairy (Parmesan, mozzarella, butter) and gluten (breadcrumbs). For a gluten-free version, use gluten-free breadcrumbs. For a dairy-free version, omit cheeses and butter, using a dairy-free substitute for butter in the topping, though the flavor profile will significantly change.





No comment