

Strawberries and Cream Scones
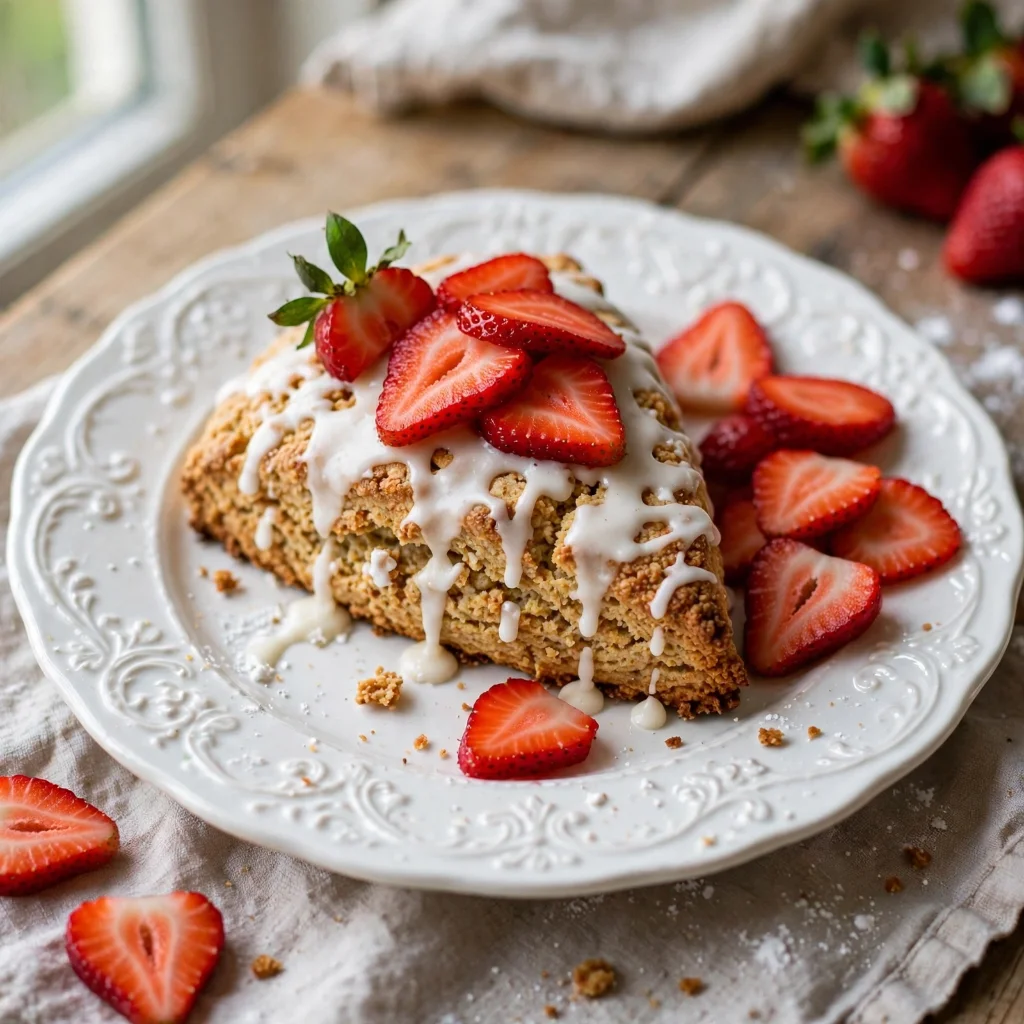
These delightful Strawberries and Cream Scones are a quintessential treat, bursting with the sweet, tart flavor of fresh strawberries enveloped in a tender, rich crumb. Perfect for a leisurely breakfast, an elegant afternoon tea, or a special brunch, they offer a taste of pure indulgence that’s surprisingly simple to achieve.
Prep Time
20 minutes
Cook Time
18 minutes
Total Time
38 minutes
Servings
Makes 8 scones
Keywords

Why This Recipe Delivers
- Bursting with fresh, seasonal strawberry flavor in every bite.
- Achieves a perfectly tender, flaky interior and a crisp, golden exterior.
- A remarkably quick and straightforward recipe, ideal for bakers of all skill levels.
- Elevates any breakfast, brunch, or afternoon tea occasion with a touch of elegance.
- Customizable with different berries or citrus zests for year-round enjoyment.
Ingredients
- 330 grams (2 and 3/4 cups) all-purpose flour
- 2.5 grams (1/2 teaspoon) salt
- 8 grams (2 teaspoons) baking powder
- 2.5 grams (1/2 teaspoon) baking soda
- 67 grams (1/3 cup) granulated sugar
- 113 grams (1 stick / 4 ounces) unsalted butter, VERY cold and cut into tiny pieces
- 1 large egg
- 120 milliliters (1/2 cup) whole milk
- 30 milliliters (2 tablespoons) heavy cream
- 150 grams (1 cup) fresh strawberries, hulled and quartered
- For the egg wash:
- 1 large egg, beaten
- 5 milliliters (1 teaspoon) water
- 25 grams (2 tablespoons) granulated sugar, for sprinkling
- For the glaze:
- 30 milliliters (2 tablespoons) heavy cream
- 90 grams (3/4 cup) confectioners’ sugar
- 5 milliliters (1 teaspoon) vanilla extract
- 0.5 grams (tiny pinch / 1/8 teaspoon or less) salt
Instructions
- Preheat your oven to 200°C (400°F). Line a large baking sheet with parchment paper to prevent sticking; set this aside for later.
- In a spacious mixing bowl, combine the all-purpose flour, salt, baking powder, baking soda, and granulated sugar. Whisk these dry ingredients thoroughly to ensure they are evenly distributed.
- Add the very cold, cubed butter to the dry mixture. Using your fingertips, two forks, or a pastry cutter, work the butter into the flour mixture until it resembles a coarse meal with pea-sized pieces of butter remaining. The key here is to keep the butter as cold as possible to achieve flaky scones.
- In a separate small bowl, whisk together the large egg, whole milk, and heavy cream until well combined. Pour this wet mixture into the flour and butter mixture. Use a fork to gently stir everything together until just moistened and a shaggy dough begins to form. Be careful not to overmix.
- Incorporate the fresh, quartered strawberries. Using a rubber spatula, gently fold the berries into the dough. Don’t worry if some of the berries break up a bit; this will distribute their lovely flavor throughout the scones.
- Turn the loose dough out onto a clean, lightly floured work surface. Gently gather and press the dough together, shaping it into an 20-centimeter (8-inch) round circle about 2.5 centimeters (1 inch) thick. You may need to knead the mixture a few times very lightly to get it to a workable texture, but avoid excessive handling.
- Using a sharp knife or a bench scraper, cut the dough circle into 8 equal wedges, similar to slicing a pizza. Carefully transfer these wedges to your prepared baking sheet, ensuring they are spaced approximately 5 centimeters (2 inches) apart.
- Prepare the egg wash by beating the large egg with 5 milliliters (1 teaspoon) of water in a small bowl. Lightly brush the tops of each scone with this egg wash, then generously sprinkle them with the remaining 25 grams (2 tablespoons) of granulated sugar.
- Bake the scones in the preheated oven for 18 minutes, or until their tops are beautifully light golden brown and they sound hollow when tapped lightly on the bottom. The rich aroma will fill your kitchen.
- Remove the scones from the oven and allow them to cool for 10 minutes on the baking sheet. While they are cooling, prepare the glaze.
- For the glaze, in a small bowl, whisk together the 30 milliliters (2 tablespoons) heavy cream, 90 grams (3/4 cup) confectioners’ sugar, 5 milliliters (1 teaspoon) vanilla extract, and tiny pinch of salt until smooth and creamy. Adjust consistency with a few more drops of cream or a pinch more sugar if needed.
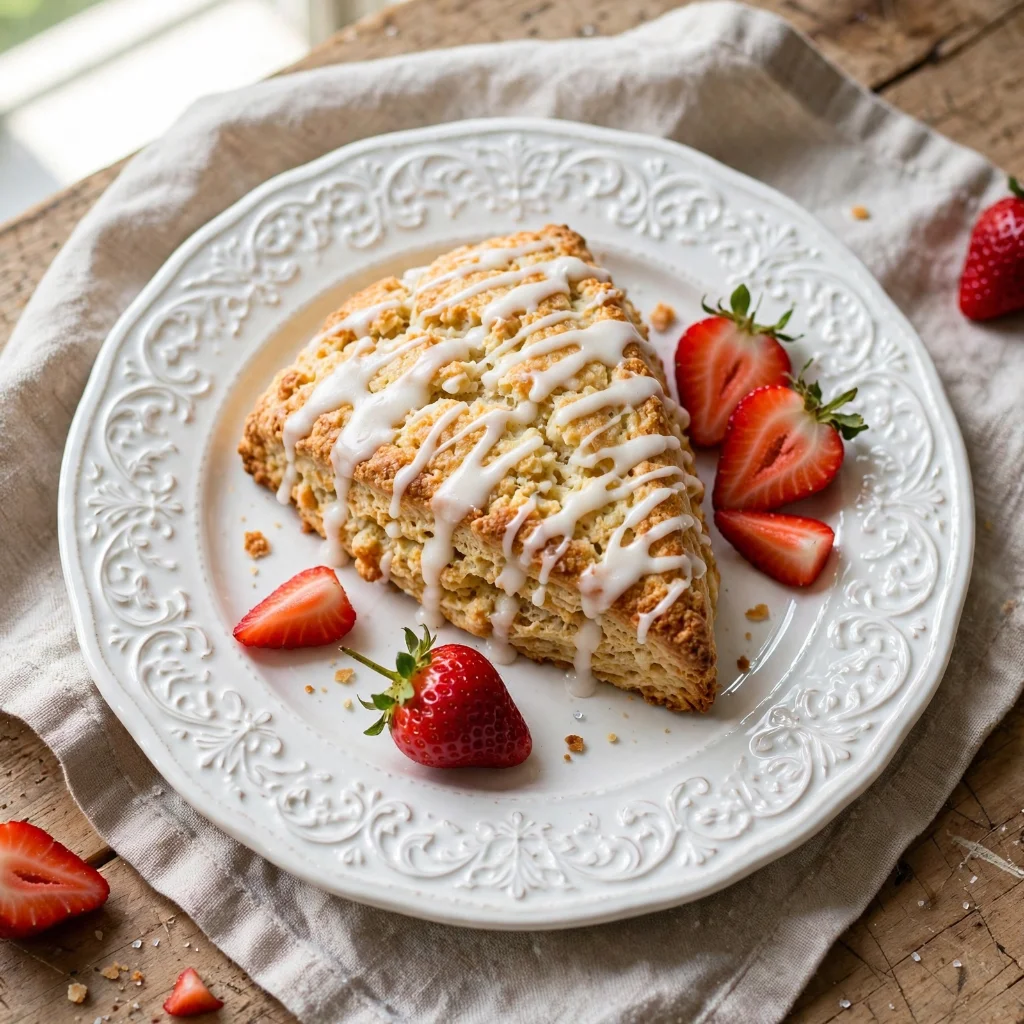
- Drizzle the prepared glaze generously over the semi-warm scones. Serve them at once, ideally with an extra dollop of clotted cream or butter.
- Thirteenth Step: These scones are best enjoyed fresh, but any leftovers can be stored as per the notes section below.
Tools You’ll Need
- Large mixing bowl
- Small mixing bowls
- Whisk
- Pastry cutter or two forks
- Rubber spatula
- Baking sheet
- Parchment paper
- Measuring cups and spoons
- Sharp knife or bench scraper
- Pastry brush
Essential Success Tips
- Keep your butter extremely cold: This is crucial for creating those coveted flaky layers in the scones. If the butter warms up, the texture will be dense.
- Do not overmix the dough: Overmixing develops the gluten in the flour, resulting in tough scones. Mix only until the ingredients are just combined.
- Handle the dough minimally: The less you handle the dough, the more tender your scones will be. Work quickly and gently.
- Use fresh, ripe strawberries: The quality of your berries directly impacts the flavor of the scones. Hull and quarter them consistently for even distribution.
- Avoid twisting the cutter: If using a round cutter instead of cutting wedges, press straight down and lift straight up. Twisting seals the edges of the scone, preventing a proper rise.
Professional Cooking Secrets
- Pre-chill your dry ingredients: For an extra flaky result, place your bowl of dry ingredients and even your pastry cutter in the freezer for 10-15 minutes before adding the cold butter.
- High-fat dairy for richness: Opt for whole milk and a heavy cream with a higher fat percentage (35% or more) to ensure maximum richness and a tender crumb.
- Lightly flour, don't drench: When shaping the dough, use just enough flour on your work surface and hands to prevent sticking, but avoid adding too much as it can dry out the scones.
Notes
- Storage: Store cooled scones in an airtight container at room temperature for up to 2 days. For longer storage, freeze unglazed scones for up to 1 month. Thaw at room temperature and warm gently in an oven before serving.
- Variations: Feel free to experiment with other fruits like raspberries or blueberries. A teaspoon of lemon zest can also be added to the dry ingredients for a brighter flavor.
Frequently Asked Questions
Can I make these scones ahead of time?
Yes, you can prepare the scone dough, cut the wedges, and then freeze them on the baking sheet until solid. Transfer the frozen scones to an airtight freezer bag and bake them from frozen, adding a few extra minutes to the baking time, whenever you're ready for a fresh treat.
What can I substitute for heavy cream?
For the dough, you can use an equal amount of full-fat sour cream or Greek yogurt for a slightly tangier scone, though it will alter the texture slightly. For the glaze, a combination of milk and melted butter can work in a pinch, but heavy cream provides the best richness and shine.
My scones turned out dry/tough, what went wrong?
The most common reasons for dry or tough scones are overmixing the dough, using too much flour during shaping, or not using sufficiently cold butter. Ensure you mix only until just combined and handle the dough as little as possible.
Nutrition Facts (Per Serving)
Calories: Approximately 380 per scone, Protein: 6g, Fat: 20g, Carbs: 45g (Estimates based on ingredients, does not account for specific brands or exact portion sizes).
Allergy Information
Contains dairy (butter, milk, cream), gluten (wheat flour), and egg. May contain traces of other allergens if prepared in a shared kitchen. For a gluten-free version, use a 1:1 gluten-free flour blend designed for baking.








No comment