
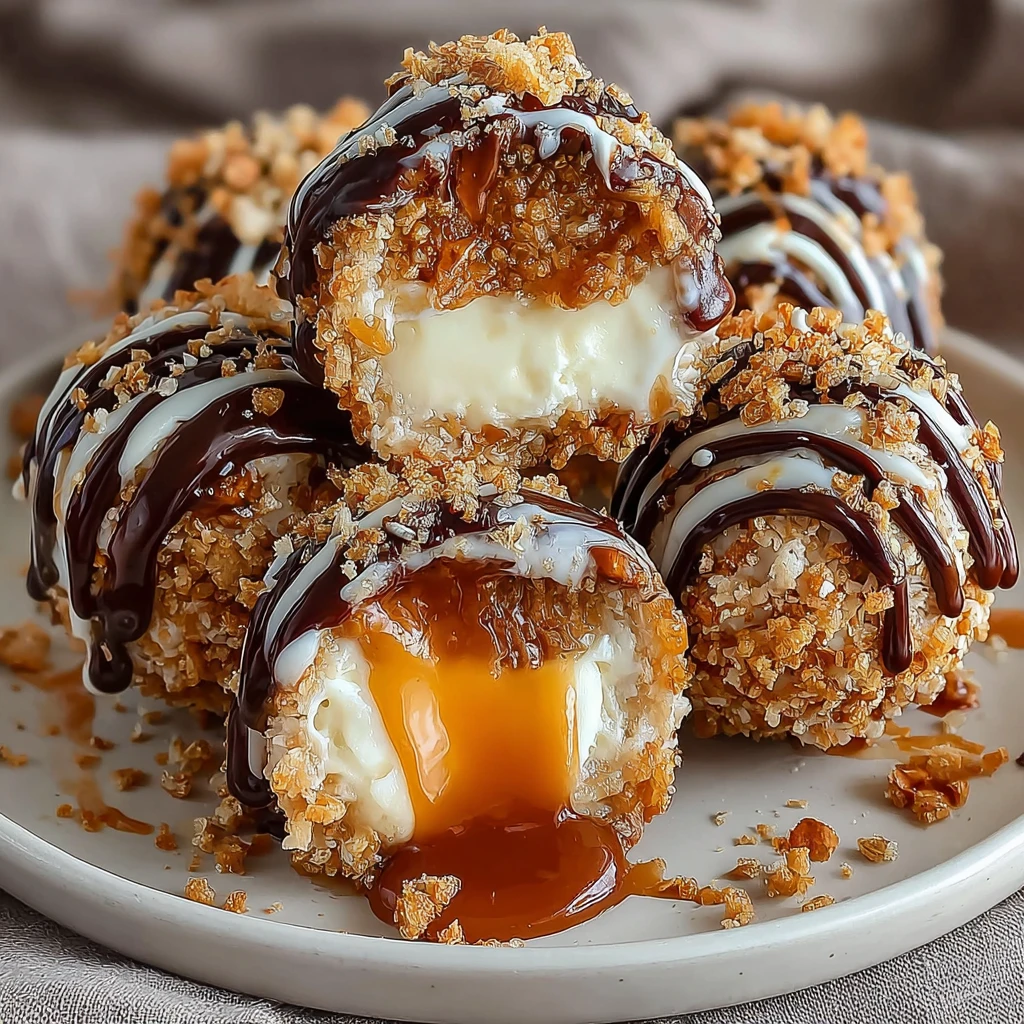
Salted Caramel Pretzel Cheesecake Balls
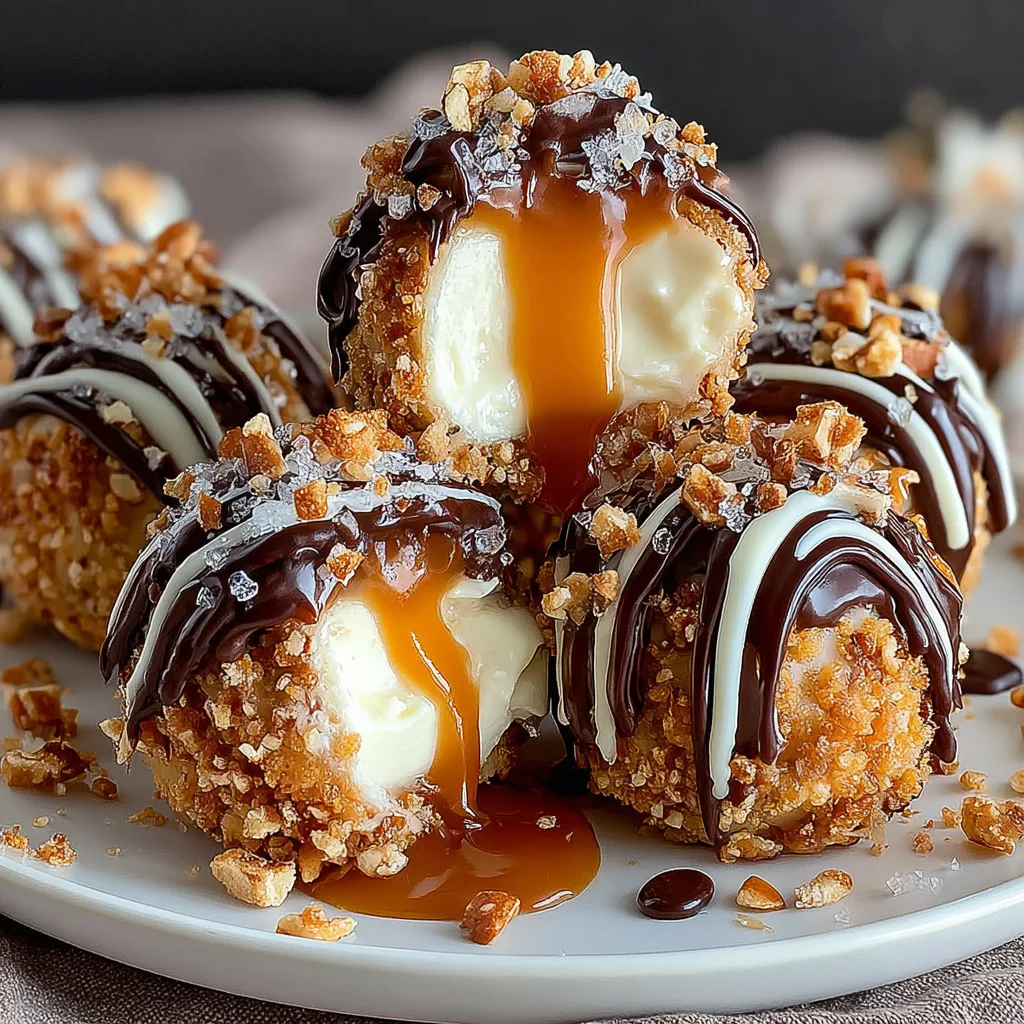
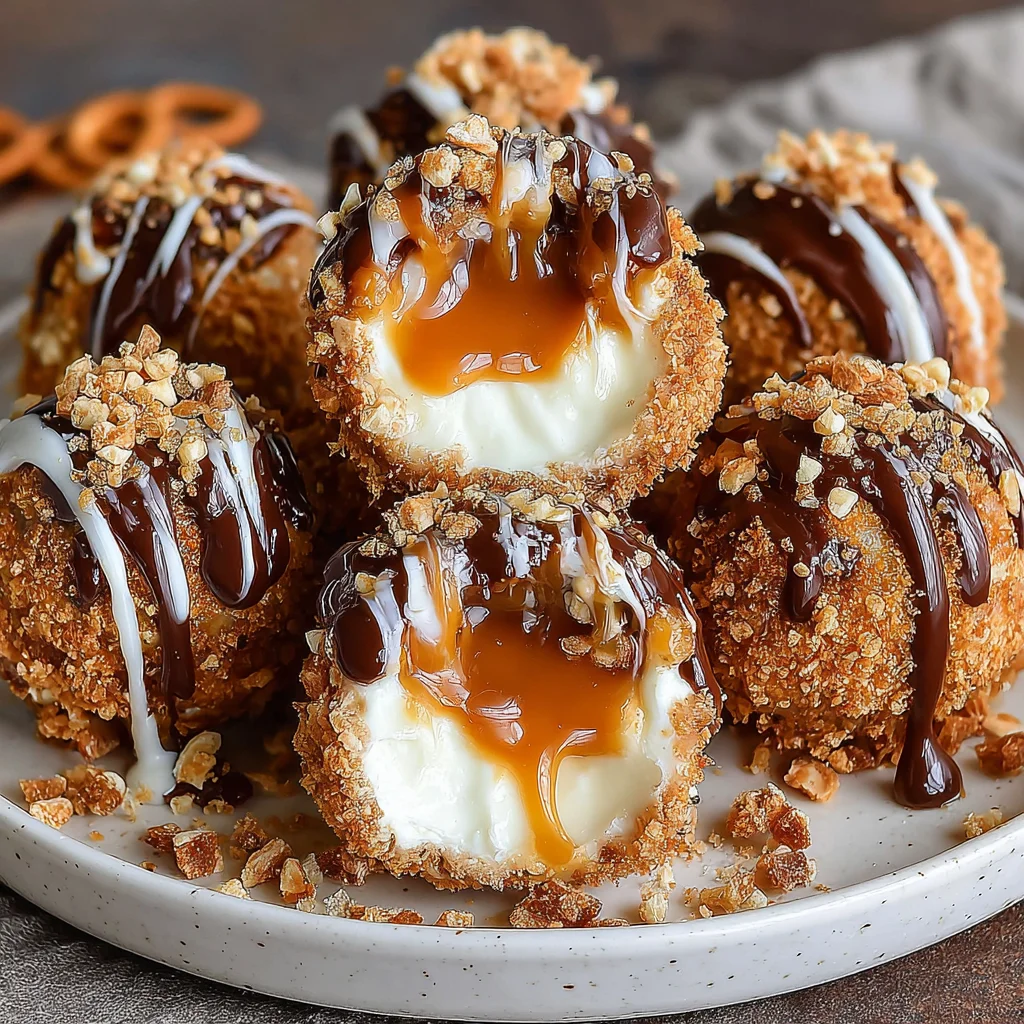
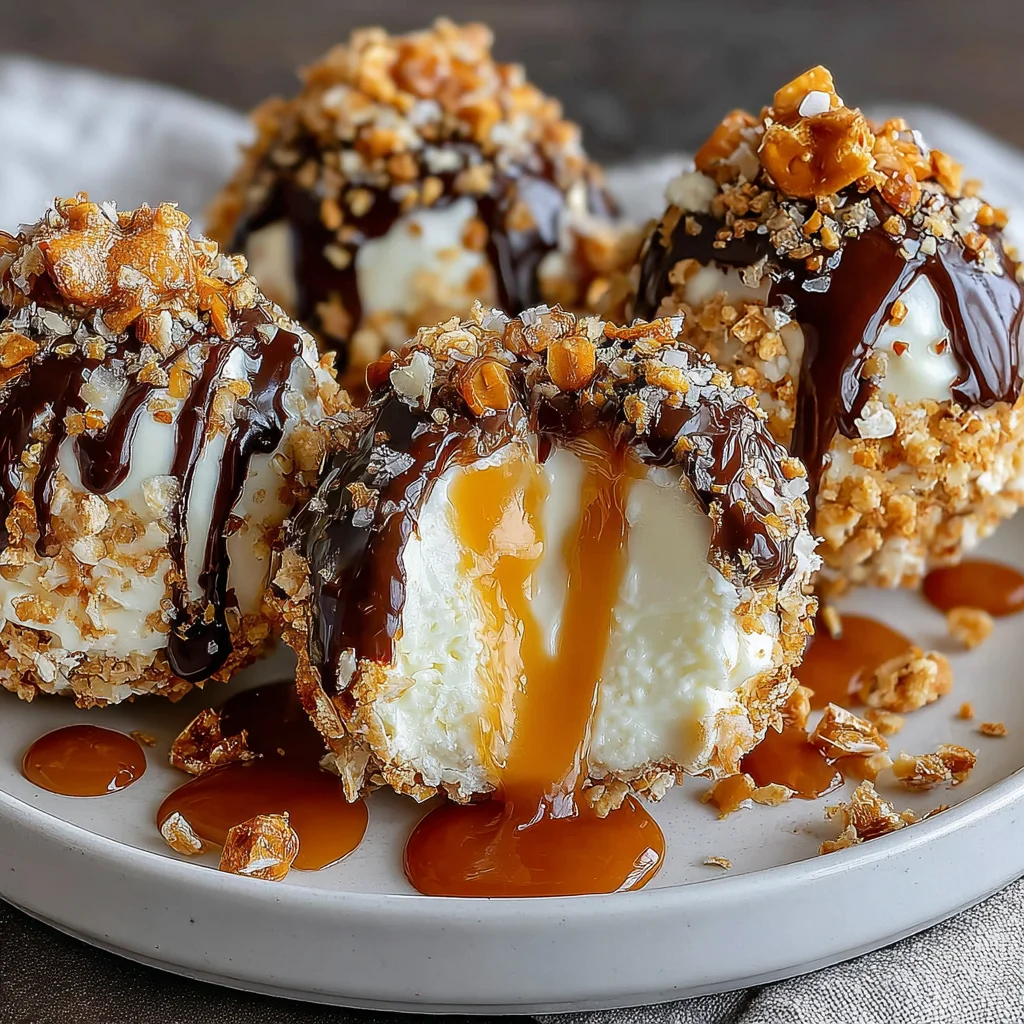
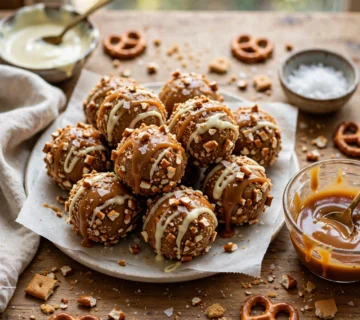
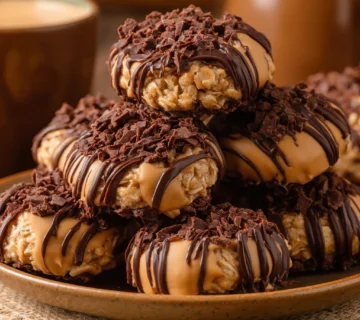
Indulge in these irresistible no-bake cheesecake balls, a perfect symphony of sweet, salty, and crunchy textures. Each bite delivers a luscious, creamy cheesecake center enrobing a surprise burst of gooey salted caramel, all coated in a crisp pretzel crust. These delightful treats are easy to prepare and an absolute showstopper for any gathering or a decadent personal treat.
Prep Time
45 minutes
Cook Time
0 minutes
Total Time
1 hour 45 minutes, including chilling time
Servings
Makes about 20-24 cheesecake balls
Keywords
Why This Recipe Delivers
- A perfect balance of sweet, salty, and crunchy flavors in every bite.
- No-bake convenience makes it easy to prepare without an oven.
- Ideal for parties, potlucks, or a sophisticated sweet craving.
- Visually stunning with chocolate and caramel drizzles.
- Can be made ahead of time for stress-free entertaining.
Ingredients
- 450 g (16 oz) cream cheese, softened
- 120 g (1 cup) powdered sugar
- 5 ml (1 tsp) vanilla extract
- 120 g (1 cup) graham cracker crumbs
- 180 ml (3/4 cup) salted caramel sauce, divided
- 100 g (1 1/2 cups) crushed pretzels
- 30 ml (2 tbsp) unsalted butter, melted
- 85 g (1/2 cup) dark chocolate, melted
- 85 g (1/2 cup) white chocolate, melted
- 2.5 g (1/2 tsp) flaky sea salt
Instructions
- In a large mixing bowl, beat the softened cream cheese using an electric mixer on medium speed until it is completely smooth and free of any lumps. Ensuring the cream cheese is at room temperature is crucial for a lump-free base.
- Add the powdered sugar and vanilla extract to the cream cheese mixture. Continue beating on medium speed until the mixture is light, creamy, and beautifully fluffy, which typically takes about 2-3 minutes. This incorporates air, giving the cheesecake filling a delightful texture.
- Gently fold in the graham cracker crumbs with a spatula until they are fully incorporated and the mixture becomes notably thick and pliable, making it easy to scoop and shape later.
- If the cheesecake filling feels too soft or sticky to handle comfortably, cover the bowl and chill it in the refrigerator for 15 to 20 minutes. This will help it firm up, making the rolling process much smoother.
- Scoop approximately 25-30 g (about 1 1/2 tablespoons) of the cheesecake filling. Gently flatten this portion into a disc shape in the palm of your hand, creating a small well in the center.
- Place a small spoonful (about 5 ml or 1 teaspoon) of the reserved salted caramel sauce directly into the center of the flattened cheesecake filling disc.
- Carefully gather the edges of the cheesecake filling around the caramel, completely enclosing it. Then, gently roll the filling between your palms to form a smooth, uniform ball.
- As you form each ball, place it onto a parchment-lined baking tray. Once all balls are formed, refrigerate them for at least 30 minutes, or until they are firm enough to be easily handled for coating.
- In a shallow bowl, thoroughly combine the crushed pretzels with the melted butter. Mix well until all the pretzel pieces are evenly coated, creating a delicious and crunchy coating mixture.
- Remove the chilled cheesecake balls from the refrigerator. One by one, roll each ball in the pretzel mixture, pressing gently to ensure a generous and even layer of the crunchy coating adheres to the entire surface.
- In separate small bowls, melt the dark chocolate and white chocolate according to package directions. Using a fork or a small spoon, artfully drizzle both the melted dark chocolate and then the melted white chocolate over the coated cheesecake balls.
- Take the remaining salted caramel sauce and either spoon it directly or drizzle it gracefully over the tops of the decorated cheesecake balls, adding another layer of rich caramel flavor and visual appeal.
- Thirteenth Step: Finish the decorated balls by sprinkling a delicate touch of flaky sea salt over each one. This final flourish accentuates the salted caramel and provides a beautiful textural contrast.
- Fourteenth Step: Return the decorated cheesecake balls to the refrigerator for an additional 15 minutes. This allows the chocolate and caramel drizzles to set properly before serving, ensuring a clean and delightful presentation.
Tools You’ll Need
- Large mixing bowl
- Electric mixer (handheld or stand mixer)
- Rubber spatula
- Measuring cups and spoons
- Parchment paper
- Baking tray
- Shallow bowl for pretzel coating
- Small bowls for melting chocolate
Essential Success Tips
- Ensure your cream cheese is completely softened to room temperature for a truly smooth and lump-free cheesecake base.
- Don't overmix the graham cracker crumbs; mix just until combined to prevent the mixture from becoming too tough.
- Chilling the cheesecake filling adequately before rolling is key to preventing stickiness and maintaining shape.
- When adding the caramel, use a small amount to prevent it from oozing out, and ensure it's fully encased before rolling.
- For the best pretzel coating adherence, make sure the balls are firm and cold, and press gently but firmly as you roll.
Professional Cooking Secrets
- To achieve perfectly smooth melted chocolate for drizzling, use a double boiler or microwave in 15-second intervals, stirring vigorously after each, and add a tiny amount of neutral oil (like coconut or vegetable) to thin it slightly for easier drizzling.
- For an extra layer of flavor and texture, lightly toast your graham cracker crumbs in a dry pan for a few minutes before mixing, which deepens their nutty notes.
- Consider making your own salted caramel sauce from scratch; it offers a depth of flavor far superior to store-bought varieties and is surprisingly simple to prepare.
Notes
- Storage: Store these cheesecake balls in an airtight container in the refrigerator for up to 5 days. They are best enjoyed chilled.
- Freezing: These balls can be frozen for up to 1 month. Place them on a parchment-lined tray to freeze solid, then transfer to a freezer-safe bag or container.
- Variations: Experiment with different crushed cookie coatings, such as chocolate wafers or shortbread. You can also vary the chocolate drizzle types or add a sprinkle of toasted nuts.
Frequently Asked Questions
Can I make these cheesecake balls gluten-free?
Absolutely! To make these gluten-free, simply substitute regular graham cracker crumbs with gluten-free graham cracker crumbs and ensure your pretzels are certified gluten-free. All other ingredients are typically gluten-free, but always check labels.
What if my salted caramel sauce is too thick to drizzle?
If your salted caramel sauce is too thick, you can gently warm it in a microwave-safe bowl for 10-15 seconds or over a very low heat on the stovetop, stirring until it reaches a pourable consistency. Be careful not to overheat it.
Can I skip the chilling steps?
While it might be tempting to skip, the chilling steps are crucial for the structure and ease of handling these cheesecake balls. They help the filling firm up, prevent stickiness, and ensure the final product holds its shape beautifully. We recommend following the chilling times for the best results.
Nutrition Facts (Per Serving)
Calories: Approximately 380 per ball, Protein: 4g, Fat: 25g, Carbs: 35g. (Note: Nutritional values are estimates and can vary based on specific brands and exact quantities used.)
Allergy Information
Contains dairy (cream cheese, butter), gluten (graham crackers, pretzels), and soy (chocolate). May contain traces of nuts if prepared in a facility with nut products. For a gluten-free version, use gluten-free graham crackers and pretzels.


No comment