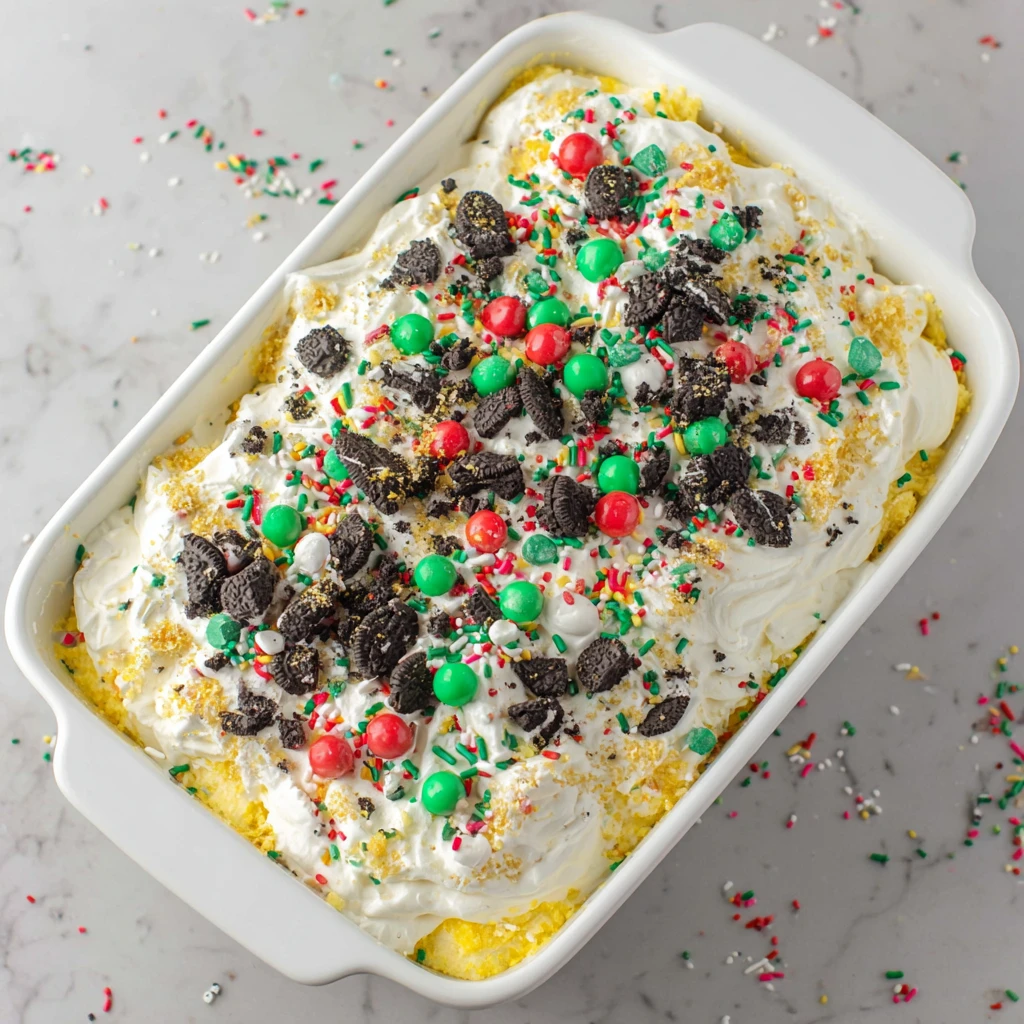
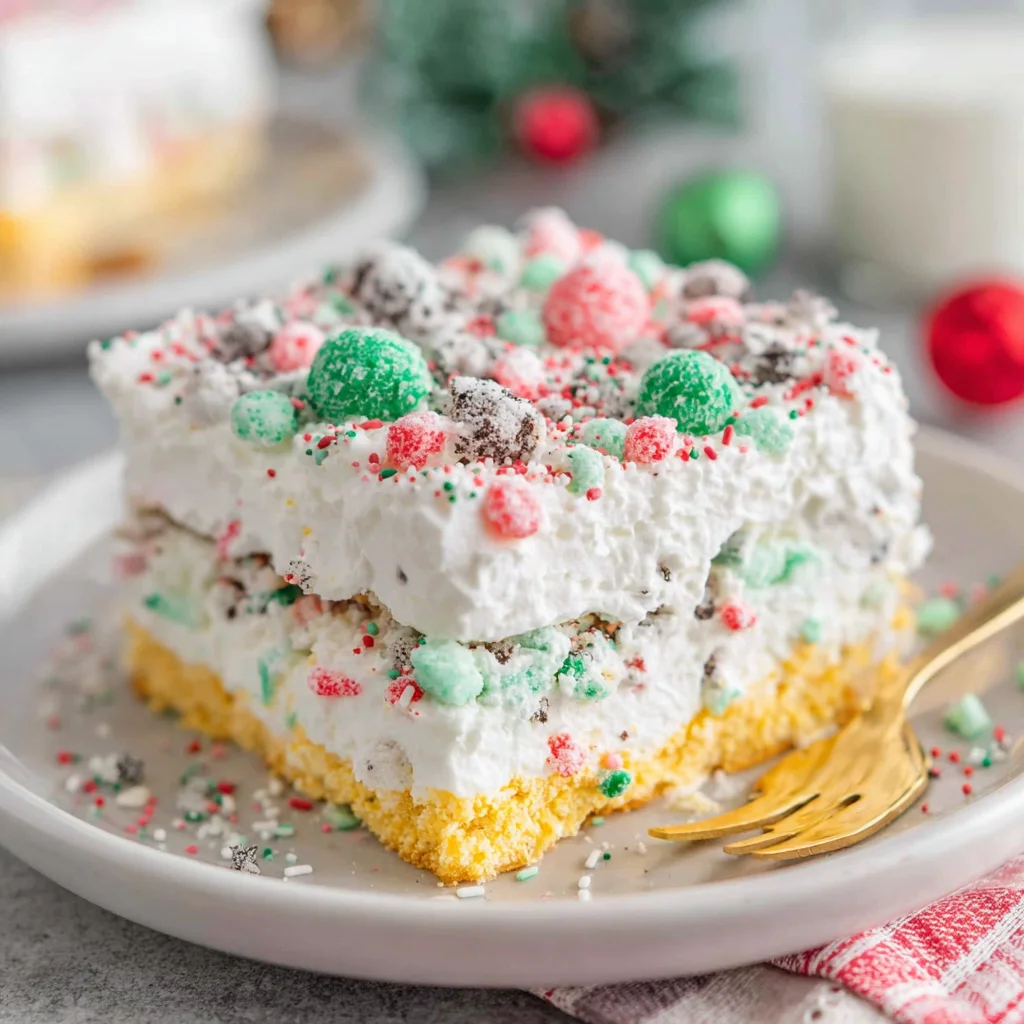
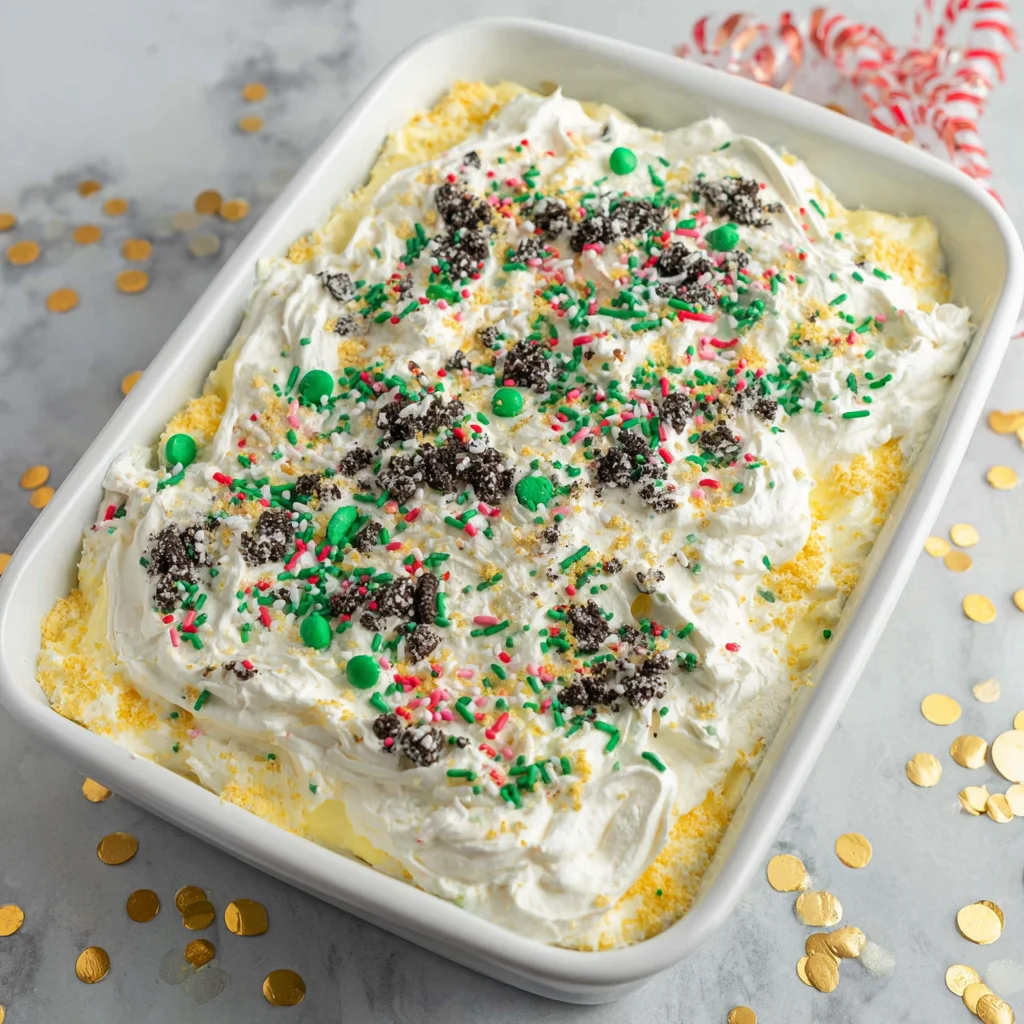
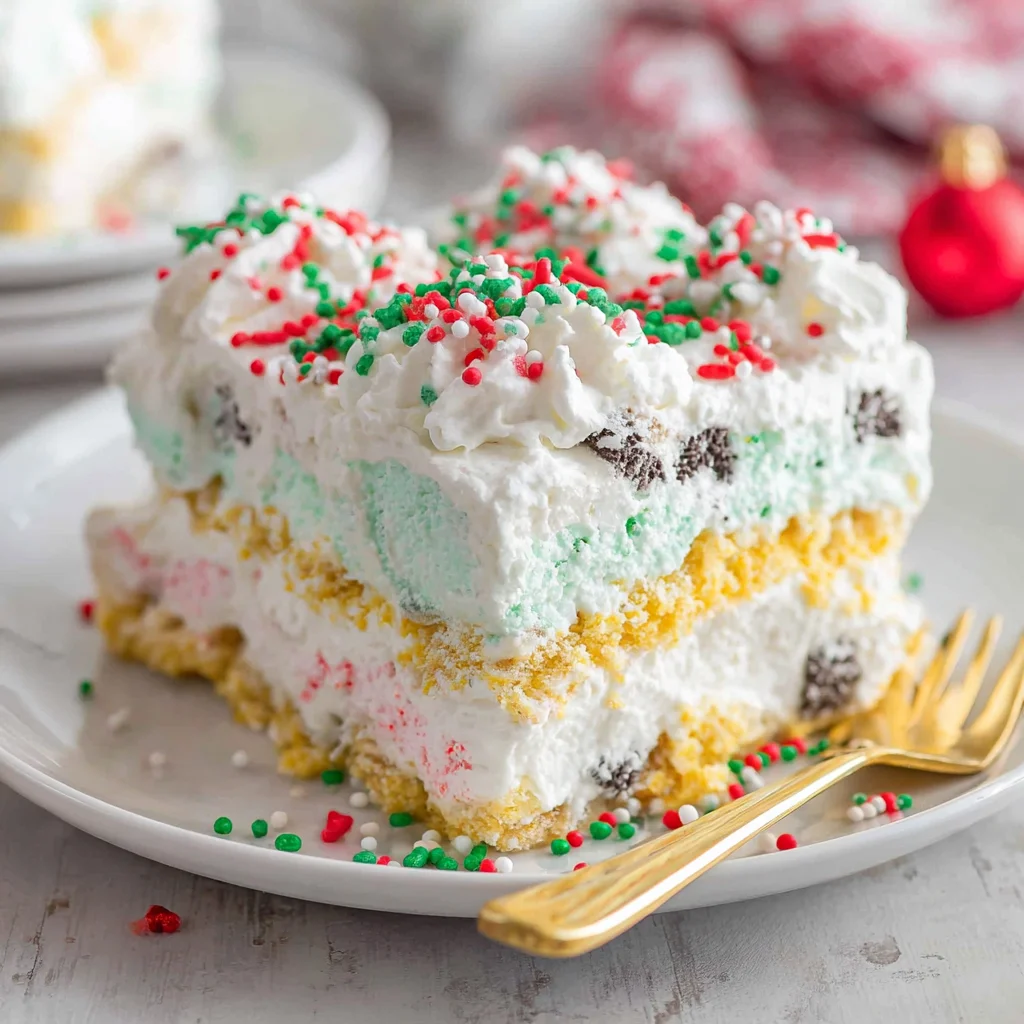
No Bake Christmas Cookie Lush
Indulge in the festive spirit with this delightful No Bake Christmas Cookie Lush, a layered dessert that's as easy to make as it is delicious. Featuring a rich Oreo crust, a creamy, peppermint-infused cheesecake layer, a smooth pudding middle, and a cloud of whipped topping, it's a holiday showstopper without turning on the oven. Perfect for family gatherings or a quick treat, this lush brings joy to every bite.
Prep Time
30 minutes
Cook Time
0 minutes
Total Time
4 hours 30 minutes (including chilling)
Servings
12-16 servings
Keywords
Why This Recipe Delivers
- Effortless Elegance: No baking required, making it perfect for busy holiday schedules.
- Festive Flavors: A delightful combination of vanilla Oreo, creamy cheesecake, and a hint of peppermint captures the essence of Christmas.
- Crowd-Pleaser: Its beautiful layers and appealing taste make it a guaranteed hit at any holiday gathering.
- Quick Assembly: Most of the time is chilling, allowing for quick hands-on preparation.
- Customizable Charm: Easy to adapt with different sprinkles or cookie types for various occasions.
Ingredients
- 48 vanilla Oreo cookies (approximately 540g), divided
- 6 tablespoons (85g) unsalted butter, melted
- 1 package (226g) cream cheese, softened
- 1 cup (120g) powdered sugar
- 1 teaspoon (5ml) peppermint extract
- 2 tablespoons (30g) holiday sprinkles, divided
- 2 tubs (each 226g) whipped topping, thawed
- 1 box (96g) cheesecake instant pudding mix
- 2 cups (470ml) cold milk
Instructions
- Begin by preparing your baking dish. Line a 23×33 cm (9×13 inch) baking dish with parchment paper, allowing some overhang on the longer sides. This step is optional but highly recommended as it makes lifting the lush out for clean slicing significantly easier.
- Prepare the cookie crust. Take 36 of the vanilla Oreo cookies and crush them into very fine crumbs. You can achieve this using a food processor for a uniform texture or by placing them in a sturdy zip-top bag and crushing them with a rolling pin until no large pieces remain.
- In a medium bowl, combine the finely crushed Oreo crumbs with the 6 tablespoons (85g) of melted butter and approximately 1/2 tablespoon of the holiday sprinkles. Mix thoroughly until the crumbs are evenly moistened by the butter.
- Press the cookie mixture firmly and evenly into the bottom of the prepared baking dish. Use the back of a spoon or your knuckles to ensure a compact and level crust. Place the dish in the refrigerator while you prepare the next layer.
- For the creamy cheesecake layer, combine the softened cream cheese, peppermint extract, and powdered sugar in a large mixing bowl. Beat with an electric mixer on medium speed until the mixture is smooth, light, and completely free of lumps. Ensure the cream cheese is fully softened for the best texture.
- Gently fold in one tub (226g) of whipped topping and another 1/2 tablespoon of holiday sprinkles into the cream cheese mixture until just combined. Be careful not to overmix, as this can deflate the whipped topping.
- Carefully spread the cream cheese mixture evenly over the chilled Oreo crust. Use an offset spatula or the back of a spoon to create a smooth, consistent layer. Return the dish to the refrigerator.
- In a separate bowl, whisk together the instant cheesecake pudding mix with 2 cups (470ml) of cold milk for about 2 minutes, or until the mixture begins to thicken. It will continue to firm up as it chills. Stir in another 1/2 tablespoon of holiday sprinkles.
- Gently spread the thickened pudding mixture over the cream cheese layer in the baking dish. Work quickly, as the pudding sets relatively fast. Ensure an even coating across the entire surface.
- Top the pudding layer with the remaining tub (226g) of whipped topping, spreading it smoothly to cover the entire dessert.
- Take the remaining 12 vanilla Oreo cookies and crush them into coarse crumbs. Sprinkle these crushed cookies generously over the top whipped topping layer. Finish by scattering the remaining holiday sprinkles over the dessert for a festive presentation.
- Place the baking dish in the refrigerator and chill for at least 4 hours to allow all the layers to set properly and for the flavors to meld. For firmer slices, you can also place it in the freezer for about an hour before serving, or freeze for longer if preferred.
- Thirteenth Step: Once thoroughly chilled and set, lift the dessert out of the baking dish using the parchment paper overhangs. Slice into squares and serve immediately. Enjoy your festive No Bake Christmas Cookie Lush!
Tools You’ll Need
- 9×13 inch (23×33 cm) baking dish
- Parchment paper
- Food processor or zip-top bag and rolling pin
- Large mixing bowls
- Electric mixer (handheld or stand mixer)
- Whisk
- Rubber spatula or offset spatula
- Measuring cups and spoons
Essential Success Tips
- Ensure cream cheese is truly at room temperature: This is crucial for a smooth, lump-free cheesecake layer. If it's too cold, it won't blend properly.
- Don't overmix the whipped topping: When folding in the whipped topping to the cream cheese, mix just until combined to maintain its airy texture. Overmixing can cause it to deflate.
- Chill thoroughly: The long chilling time is essential for the layers to set firmly and for the flavors to fully develop. Resist the urge to cut corners on chilling.
- Use cold milk for pudding: For the instant pudding to set correctly, always use very cold milk. This helps activate the setting agents quickly.
- Parchment paper for easy serving: While optional, lining the dish with parchment paper with an overhang makes lifting the entire lush out incredibly easy, allowing for cleaner, more professional slices.
Professional Cooking Secrets
- Temperature Control for Layers: For a truly distinct layer separation, ensure each layer is adequately chilled before applying the next. This prevents bleeding and helps maintain structural integrity, especially important for the delicate whipped topping.
- Flavor Infusion: For an intensified peppermint flavor without overpowering, consider adding a tiny dash (1/8 teaspoon) of peppermint extract to the pudding layer as well. Taste and adjust to your preference.
- Uniform Crushing: Achieving a consistent crumb size for the crust is key. A food processor provides the most uniform texture, ensuring the butter binds evenly and the crust sets perfectly without crumbling.
Notes
- Storage: Store any leftover No Bake Christmas Cookie Lush tightly covered in the refrigerator for up to 3-4 days.
- Make Ahead: This dessert is perfect for making a day in advance, as the flavors deepen and the layers set even more beautifully with extended chilling.
- Variations: Feel free to experiment with different instant pudding flavors like chocolate or white chocolate for a different twist. You could also use gingerbread cookies for the crust for an extra festive touch.
Frequently Asked Questions
Can I use homemade whipped cream instead of whipped topping?
Yes, you absolutely can! For a richer flavor, use 2 cups (470ml) of heavy cream, whipped with 1/4 cup (30g) powdered sugar until stiff peaks form. However, store-bought whipped topping tends to be more stable for layered desserts, especially with longer chilling.
My pudding layer didn't set. What went wrong?
The most common reason for pudding not setting is using warm milk or not whisking long enough. Ensure your milk is very cold and whisk vigorously for the full 2 minutes until it visibly thickens. Humidity can also sometimes affect setting; if this happens, try chilling for an extra hour or two.
How can I cut clean slices?
For super clean slices, ensure the lush is thoroughly chilled. Use a sharp knife and wipe the blade clean with a damp paper towel after each cut. The parchment paper lift also helps immensely in getting the whole dessert out onto a cutting board.
Nutrition Facts (Per Serving)
Calories: 450, Protein: 6g, Fat: 28g, Carbs: 47g (per serving, estimated based on 16 servings)
Allergy Information
Contains dairy (cream cheese, milk, whipped topping) and gluten (Oreo cookies, pudding mix). For a gluten-free version, use gluten-free vanilla sandwich cookies and ensure your instant pudding mix is gluten-free. Always check product labels for specific allergen information.
No comment