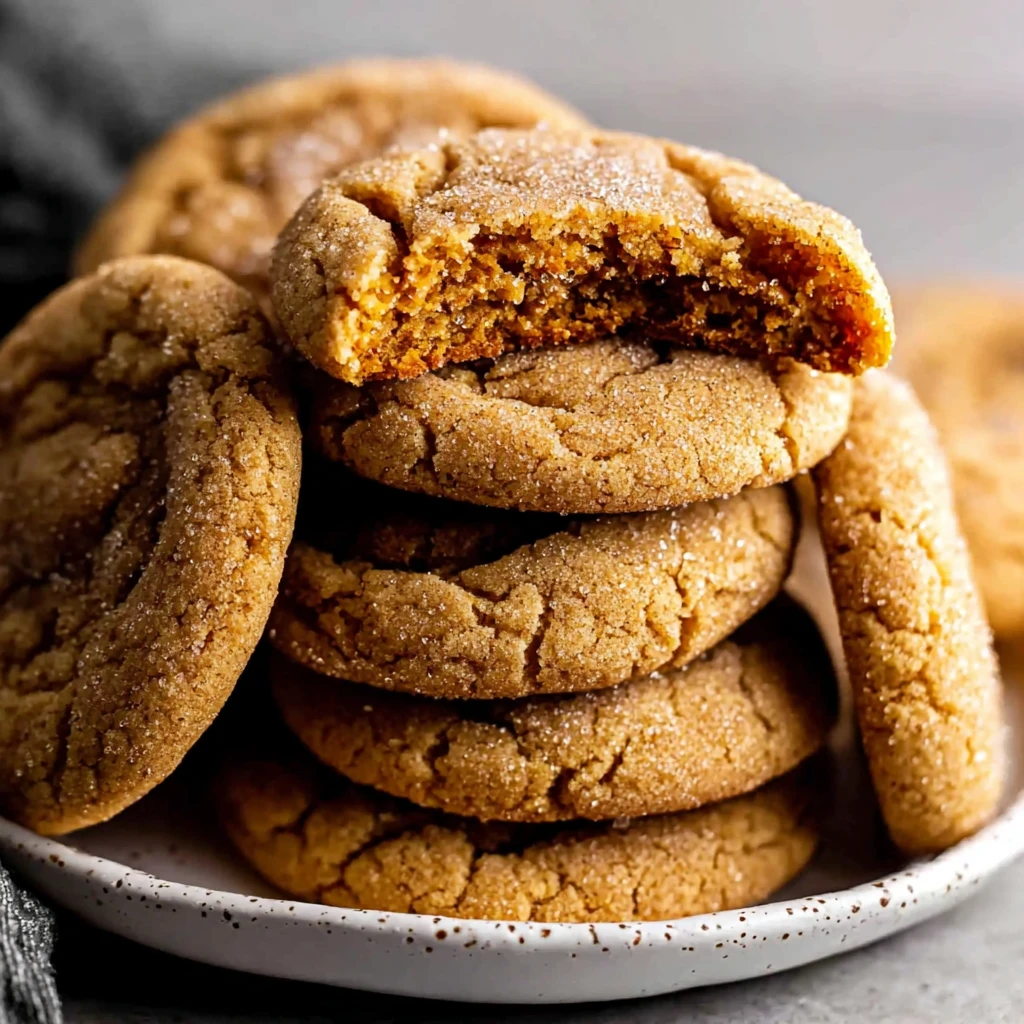
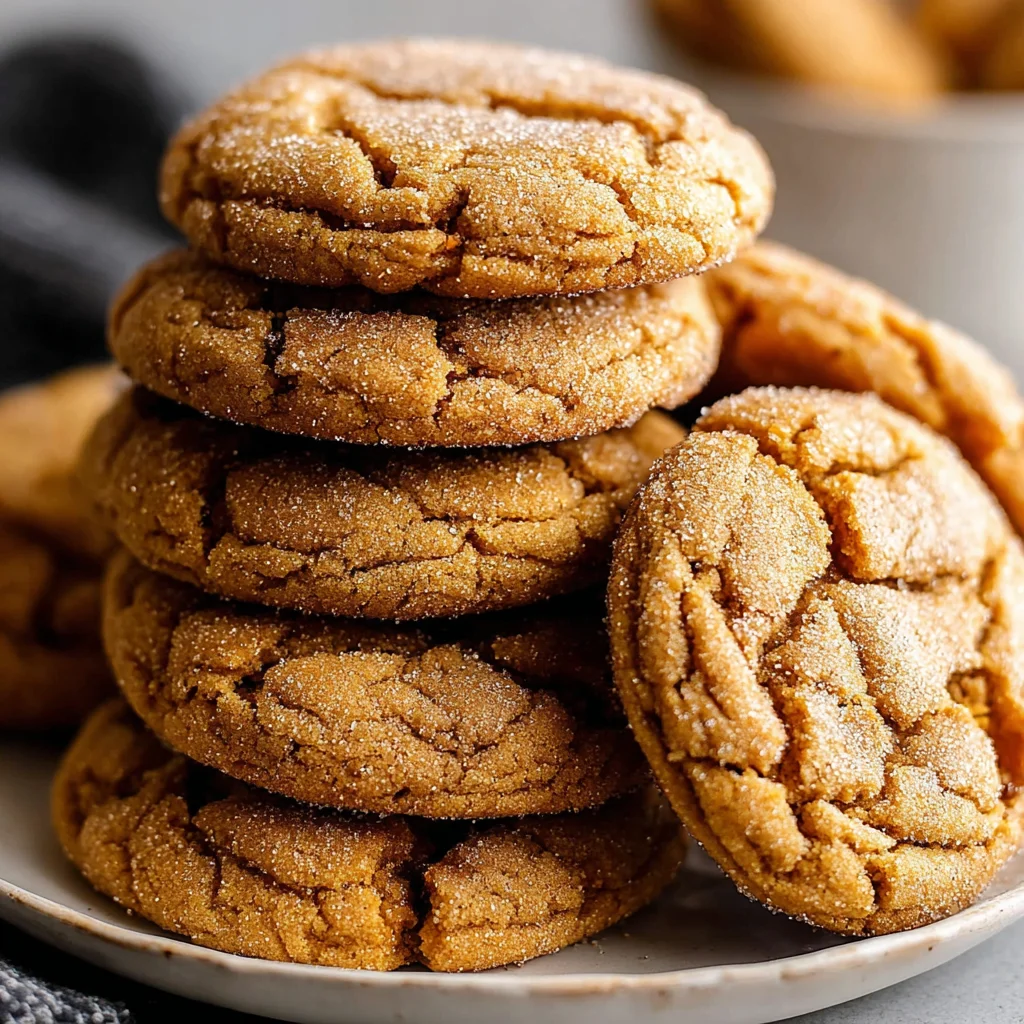
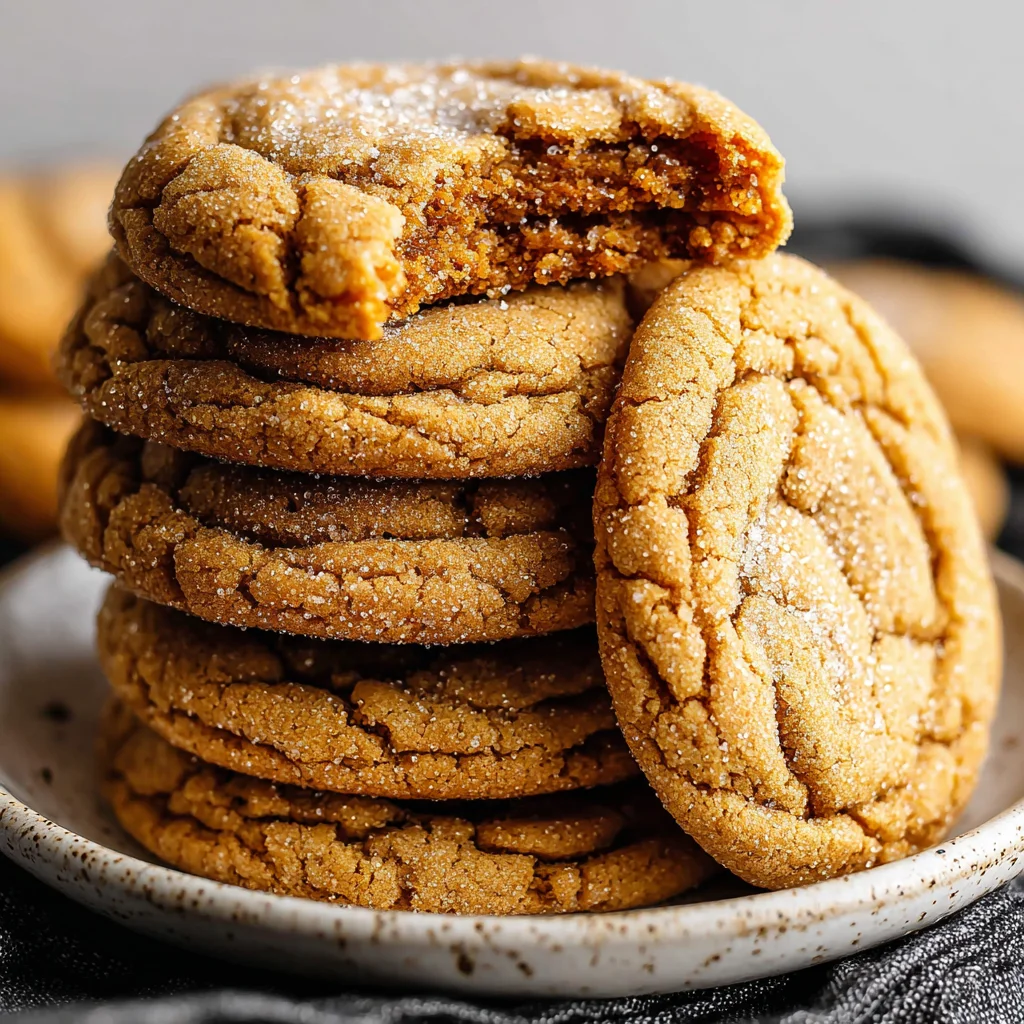
Chewy Brown Sugar Cookies
Indulge in the ultimate comfort with these Chewy Brown Sugar Cookies, a delightful treat that perfectly balances sweetness and a wonderfully soft, yielding texture. Each bite offers a rich, caramel-like flavor from the brown sugar, making them an instant classic and a guaranteed crowd-pleaser. They're surprisingly simple to make, yet deliver a sophisticated depth of flavor that will have everyone asking for the recipe.
Prep Time
20 minutes (plus 30 minutes chilling)
Cook Time
9-11 minutes
Total Time
Approximately 1 hour
Servings
Makes about 24 cookies
Keywords
Why This Recipe Delivers
- Achieves the perfect balance of crisp edges and a wonderfully chewy, soft center.
- Boasts a deep, rich, and comforting caramel-like flavor from the generous amount of brown sugar.
- Requires simple ingredients and straightforward steps, making it accessible for bakers of all skill levels.
- A versatile recipe that serves as a fantastic base for various additions like chocolate chips or nuts.
- Universally loved and a fantastic choice for any occasion, from casual snacking to special gatherings.
Ingredients
- 226 g (1 cup) Unsalted Butter, softened to room temperature
- 300 g (1 ½ cups) Light Brown Sugar, firmly packed
- 50 g (¼ cup) Granulated Sugar
- 1 Large Egg
- 1 Egg Yolk
- 10 ml (2 teaspoons) Vanilla Extract
- 240 g (2 cups) All-Purpose Flour
- 5 g (1 teaspoon) Baking Soda
- 2.5 g (½ teaspoon) Salt
Instructions
- Preheat your oven to 175°C (350°F). Prepare two large baking sheets by lining them with parchment paper, which helps prevent sticking and ensures even baking.
- In a spacious mixing bowl, combine the softened unsalted butter, packed light brown sugar, and granulated sugar. Using an electric mixer, cream these ingredients together on medium speed until the mixture becomes visibly light, fluffy, and pale in color, typically taking 2-3 minutes. This aeration is crucial for achieving a tender and chewy cookie texture.
- Incorporate the large egg into the creamed mixture, beating until it is fully combined. Next, add the single egg yolk and mix thoroughly again. The additional egg yolk contributes significantly to the cookie's signature chewy texture. Finally, stir in the vanilla extract until it is evenly dispersed, adding a fragrant depth of flavor.
- In a separate, medium-sized bowl, whisk together the all-purpose flour, baking soda, and salt. Whisking ensures that these dry ingredients are thoroughly combined and evenly distributed throughout the dough, preventing any pockets of leavening agents.
- Gradually add the whisked dry ingredients into the wet mixture. Mix on low speed or by hand until just combined. Be careful not to overmix, as excessive mixing can overdevelop the gluten in the flour, resulting in tough cookies. Stop mixing as soon as no streaks of flour remain visible.
- Cover the cookie dough with plastic wrap and chill it in the refrigerator for at least 30 minutes. This chilling period is vital as it allows the butter to firm up, which helps prevent the cookies from spreading too much in the oven, and also deepens the overall flavors of the dough.
- Using a 30 ml (1.5 tablespoon) cookie scoop or by hand, form rounded balls of dough. Arrange them on the prepared baking sheets, ensuring they are spaced approximately 5 cm (2 inches) apart to allow for proper spreading during baking.
- Bake the cookies in the preheated oven for 9-11 minutes. They are ready when the edges appear golden brown and set, but the centers still look slightly soft and gooey. A slight underbake is key to achieving that desired chewy center. Overbaking will result in a drier, crispier cookie rather than a chewy one.
- Once baked, remove the baking sheets from the oven and let the cookies cool directly on the sheets for 5 minutes. This crucial step allows them to set up and firm slightly before being moved. After 5 minutes, carefully transfer the cookies to a wire rack to cool completely.

Tools You’ll Need
- Large mixing bowls
- Electric mixer (stand or hand-held)
- Rubber spatula
- Parchment paper
- Baking sheets
- 30 ml (1.5 tablespoon) cookie scoop
- Wire cooling rack
Essential Success Tips
- Ensure your butter is truly at room temperature (soft enough to indent with a finger, but not melted) for optimal creaming with the sugars.
- Measure your flour by weight (grams) if possible, or use the 'spoon and level' method to avoid adding too much, which can make cookies tough.
- Do not overmix the dough once the flour is added; mix only until just combined to keep the cookies tender.
- Chilling the dough is a non-negotiable step for flavor development and to prevent excessive spreading, ensuring a thick, chewy cookie.
- Watch the cookies carefully during the last few minutes of baking; slight underbaking is key to their chewy texture, as they will continue to set as they cool.
Professional Cooking Secrets
- The inclusion of an extra egg yolk is a chef's trick to boost the fat content, resulting in an exceptionally chewy and rich cookie, while minimizing the spread.
- For an even deeper, more complex flavor, consider using dark brown sugar instead of light brown sugar. The extra molasses content will enhance the caramel notes.
- If you want perfectly round cookies, use a large round cookie cutter (just slightly larger than your baked cookies) and swirl it around the freshly baked, hot cookies on the baking sheet for a few seconds. This helps reshape any irregular edges while they're still pliable.
Notes
- Storage: Store cookies in an airtight container at room temperature for up to 5 days. For optimal freshness, place a slice of bread in the container to help maintain their softness.
- Freezing Dough: Unbaked cookie dough balls can be frozen for up to 3 months. Arrange them on a baking sheet until solid, then transfer to a freezer-safe bag. Bake from frozen, adding 2-4 minutes to the baking time.
- Variations: Feel free to add 170 g (1 cup) of chocolate chips, chopped nuts, or even a sprinkle of sea salt on top before baking for an extra flourish.
Frequently Asked Questions
Why did my cookies spread too much?
This is often due to butter being too warm, not chilling the dough sufficiently, or too much leavening agent. Ensure your butter is just softened, not melted, and always chill the dough for at least 30 minutes.
Can I make these cookies gluten-free?
Yes, you can substitute the all-purpose flour with a 1:1 gluten-free baking blend that contains xanthan gum. The texture might vary slightly but should still be delicious.
How do I achieve that perfect chewy texture?
The keys are using brown sugar (which retains more moisture), adding an extra egg yolk, and critically, not overbaking. Take them out when the edges are set but the centers are still soft.
Nutrition Facts (Per Serving)
Calories: 210, Protein: 2g, Fat: 11g, Saturated Fat: 7g, Carbohydrates: 27g, Sugars: 19g, Fiber: 0g, Cholesterol: 45mg, Sodium: 120mg (per cookie, estimated)
Allergy Information
Contains dairy (butter) and gluten (all-purpose flour) and egg. For a dairy-free version, use a plant-based butter substitute. A gluten-free flour blend can be used for gluten-sensitive individuals.


No comment