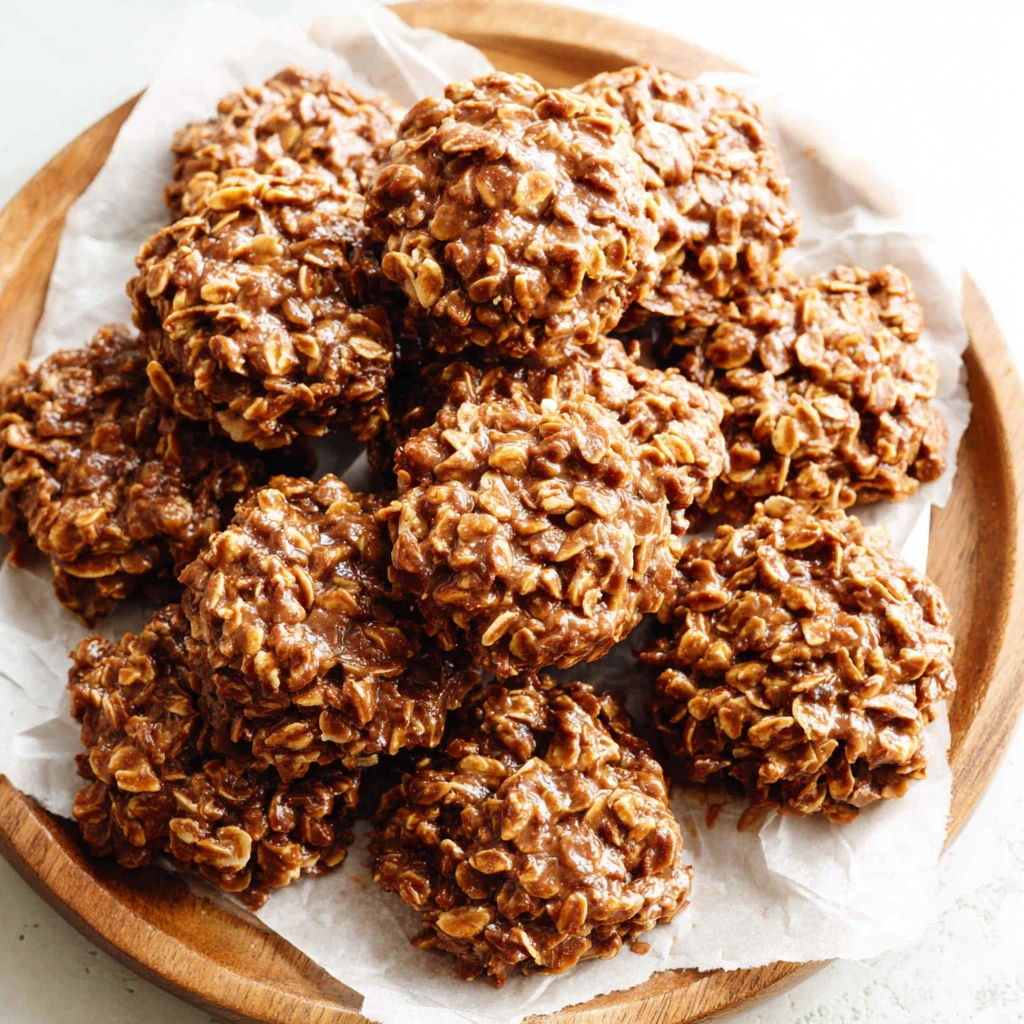
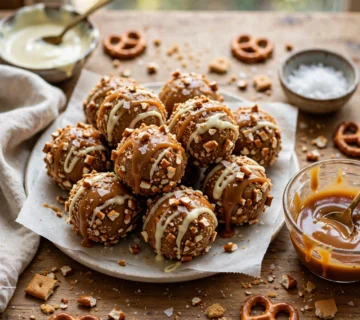
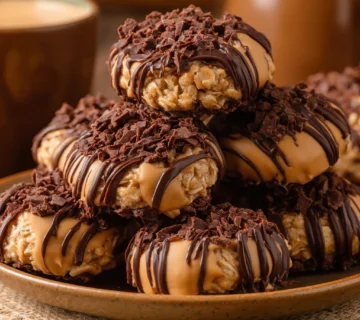
Classic No-Bake Peanut Butter Chocolate Cookies
Indulge in a beloved classic with these irresistibly easy No-Bake Peanut Butter Chocolate Cookies. This timeless treat offers the perfect harmony of rich cocoa and creamy peanut butter, all without ever needing to turn on your oven. They're incredibly simple to prepare, making them an ideal last-minute dessert or a delightful snack that's sure to bring a smile to everyone's face.
Prep Time
10 minutes
Cook Time
1 minute
Total Time
25-30 minutes (including cooling time)
Servings
Approximately 24-30 cookies
Keywords
Why This Recipe Delivers
- Effortlessly delicious: A classic flavor combination that always satisfies.
- No oven required: Perfect for hot days or when you need a quick dessert fix.
- Lightning-fast prep: From pantry to plate in under 30 minutes, including cooling.
- Crowd-pleasing: A nostalgic treat loved by all ages.
- Simple ingredients: Uses common pantry staples for convenience.
Ingredients
- 400g (2 cups) granulated sugar
- 25g (1/4 cup) unsweetened cocoa powder
- 113g (1/2 cup) unsalted butter, cut into pieces
- 120ml (1/2 cup) whole milk
- 15ml (1 tablespoon) pure vanilla extract
- 270g (3 cups) quick-cooking oats (also known as instant oats)
- 190g (3/4 cup) creamy peanut butter (do not use natural, oil-separated peanut butter)
Instructions
- Prepare your cooling surface by laying out two or three sheets of parchment paper directly onto a clean counter or baking sheets. This will provide a non-stick surface for the cookies to cool without sticking.
- In a medium-sized heavy-bottomed pot, combine the granulated sugar, unsweetened cocoa powder, butter pieces, whole milk, and pure vanilla extract. Place the pot over medium-high heat. Stir consistently as the butter melts and the mixture comes to a boil. Once it reaches a full, rolling boil that cannot be stirred down, continue cooking for exactly 1 minute. Timing this precisely is crucial for the cookies to set correctly.
- Immediately remove the pot from the heat. Stir in the creamy peanut butter vigorously until it is fully melted and smoothly incorporated into the chocolate mixture. Once the peanut butter is smooth, add the quick-cooking oats and stir quickly until all the oats are evenly coated and combined with the mixture.
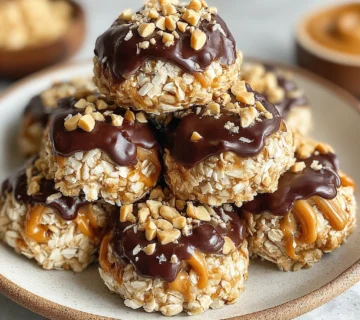
- Working very quickly, use a tablespoon or a small cookie scoop to drop rounded spoonfuls of the warm batter onto the prepared parchment paper. Try to work swiftly as the mixture will begin to set as it cools. Allow the cookies to cool undisturbed at room temperature for 10-15 minutes, or until they are firm to the touch and fully set.
Tools You’ll Need
- Medium heavy-bottomed pot
- Wooden spoon or heat-resistant spatula
- Measuring cups and spoons
- Parchment paper
- Cookie scoop or two spoons
Essential Success Tips
- Accurate Boil Time: Do not guess the boiling time. A full, rolling boil for exactly one minute is critical for the cookies to set properly. Too short, and they won't firm up; too long, and they may be crumbly.
- Work Quickly: Once the oats are added, the mixture starts to set rapidly. Have your parchment paper ready and scoop the cookies onto it as fast as possible.
- Use the Right Peanut Butter: Creamy, shelf-stable peanut butter works best. Natural peanut butters that separate oil will alter the texture and setting of the cookies significantly.
- Proper Cooling: Give the cookies ample time to cool completely and firm up at room temperature. Rushing this step can lead to messy, unset cookies.
- Correct Oats: Quick-cooking oats are essential here; old-fashioned rolled oats will result in a chewier, less cohesive cookie, while instant oatmeal packets often contain added sugars and flavorings that are not suitable.
Professional Cooking Secrets
- Temperature Control is Key: For a smoother, glossier cookie, ensure your butter is fully melted before the mixture comes to a boil. A consistent rolling boil for the full minute ensures the sugar reaches the correct stage for setting, preventing grainy or too-soft cookies.
- Customization with Add-ins: Elevate the basic recipe by folding in a handful of mini chocolate chips, chopped nuts (like pecans or walnuts), or even a pinch of sea salt with the oats for an extra layer of flavor and texture.
- Batch Cooling for Best Texture: If making a very large batch, consider dividing the mixture into two portions and working with one at a time. This prevents the entire batch from setting too quickly in the pot, allowing you more time to scoop perfectly formed cookies.
Notes
- Storage: Store the cooled cookies in an airtight container at room temperature for up to 3-5 days. They can also be frozen for up to 2 months; thaw at room temperature before serving.
- Flavor Variations: Experiment by adding a pinch of cinnamon or a dash of espresso powder to the mixture along with the cocoa for a subtle flavor boost.
- Dairy-Free Option: Use a plant-based milk (like almond or oat milk) and a dairy-free butter alternative to make this dish suitable for those avoiding dairy.
Frequently Asked Questions
Why are my no-bake cookies not setting?
The most common reason for unset no-bake cookies is not boiling the mixture long enough. Ensure you bring it to a full, rolling boil that can't be stirred down, and then boil for exactly one minute. This allows the sugar to reach the proper temperature to solidify when cooled.
Can I use old-fashioned rolled oats instead of quick oats?
It is strongly recommended to use quick-cooking oats. Old-fashioned rolled oats have a different texture and absorb liquids differently, which can result in a chewier, looser cookie that may not hold its shape as well.
How do I prevent my no-bake cookies from being grainy?
Graininess often occurs if the sugar doesn't fully dissolve during the boiling process or if the mixture cooks for too long. Ensure you stir continuously until the sugar is dissolved and the butter is melted before it reaches a boil, and stick to the precise one-minute boiling time.
Nutrition Facts (Per Serving)
Estimated per cookie (based on 24 cookies): Calories: 210, Protein: 4g, Fat: 10g, Carbs: 26g.
Allergy Information
Contains peanuts and dairy. For a dairy-free version, use plant-based milk and dairy-free butter substitute. This recipe does not contain gluten if certified gluten-free oats are used, but always check oat packaging for cross-contamination warnings if allergies are severe.

No comment