Twix Cookies
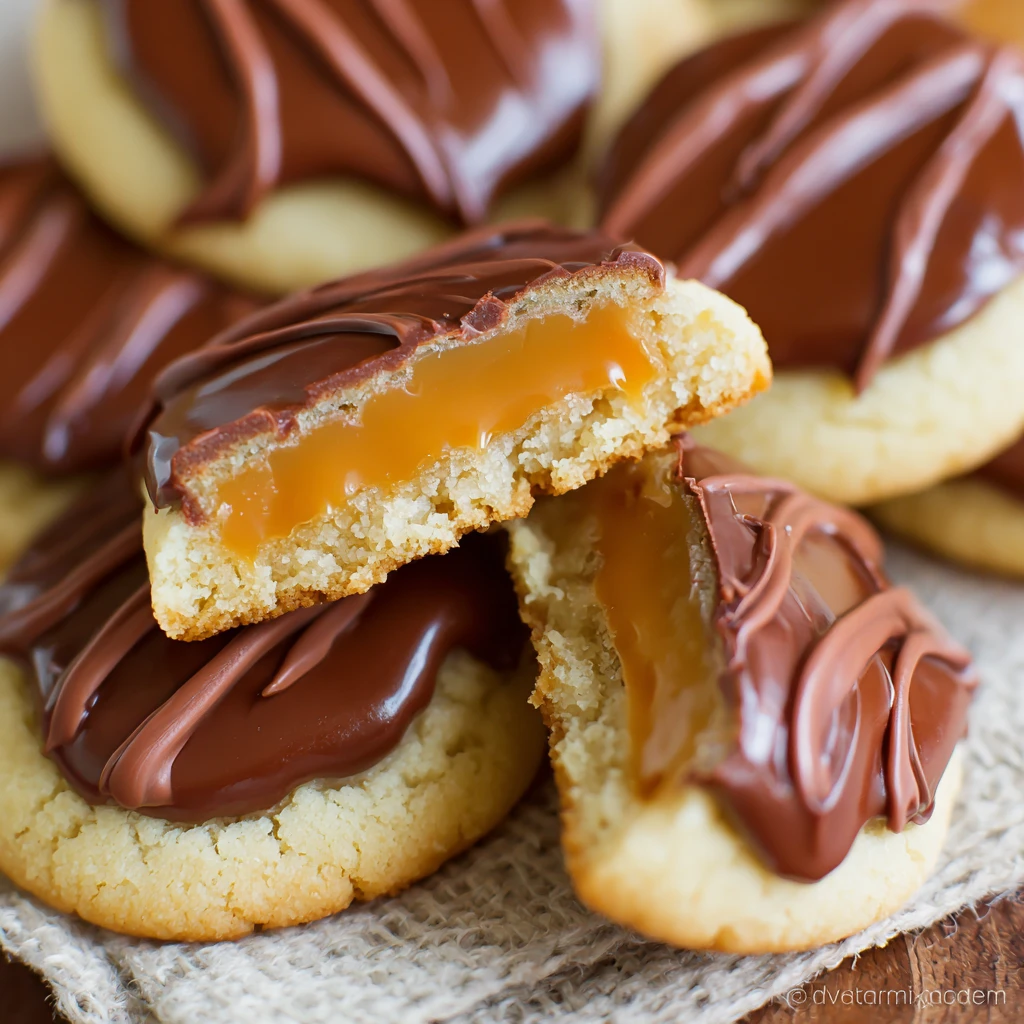
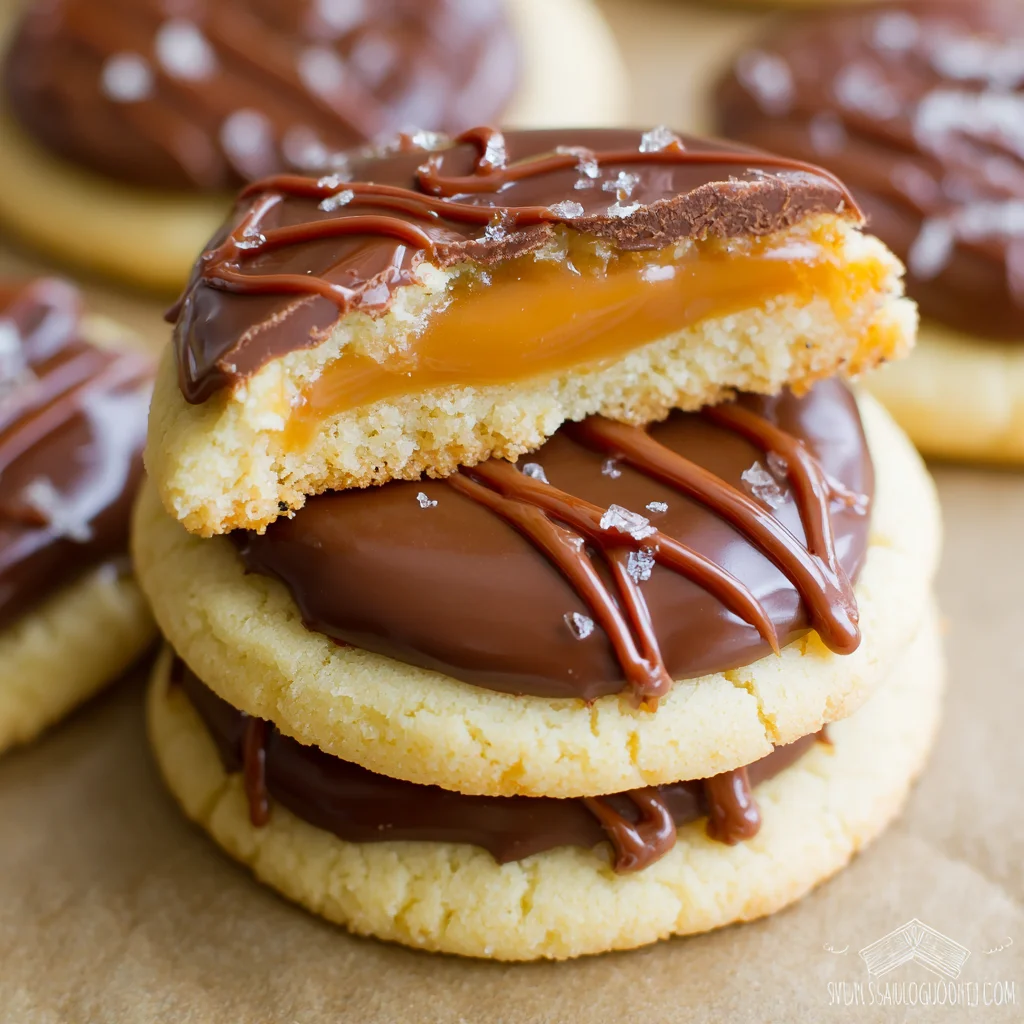
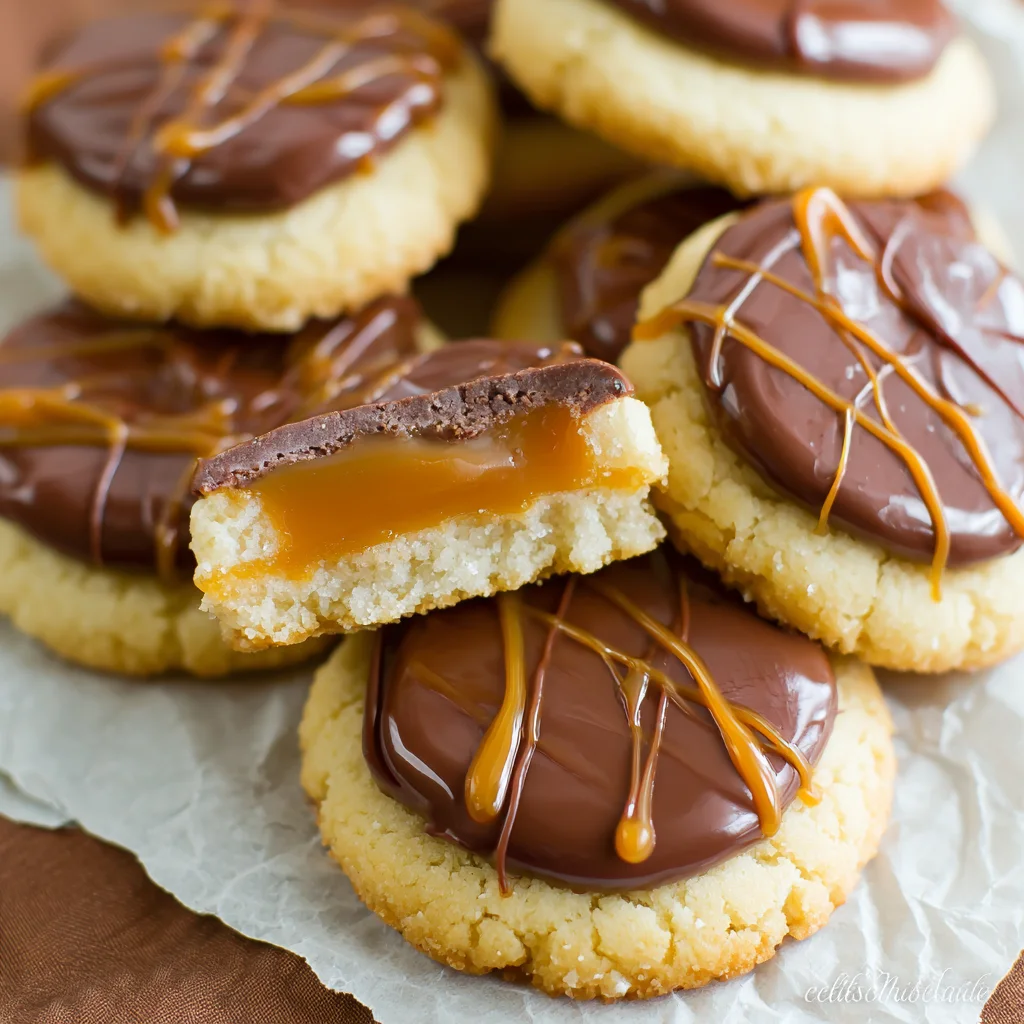
Indulge in the nostalgic delight of your favorite candy bar transformed into a soft, buttery cookie. These homemade Twix cookies feature a tender shortbread-like base, topped with a luscious, gooey caramel layer, all enrobed in a smooth coating of milk chocolate. They offer the perfect balance of sweet, chewy, and crunchy textures, making them an irresistible treat for any occasion.
Prep Time
45 minutes
Cook Time
8 minutes
Total Time
1 hour 30 minutes (including cooling and chilling)
Servings
Makes approximately 24 cookies
Keywords
Why This Recipe Delivers
- Recreates the beloved flavor and texture of a classic candy bar in cookie form.
- Features a delightful combination of buttery shortbread, gooey caramel, and rich milk chocolate.
- Perfect for special occasions, holiday platters, or simply a decadent everyday treat.
- Relatively straightforward to make with impressive results.
- Offers a satisfying balance of sweet and salty notes.
Ingredients
- 111g (1/2 cup) salted butter, softened
- 115g (1/2 cup) granulated sugar
- 5 mL (1 teaspoon) vanilla extract
- 1 large egg white
- 228g (1 1/2 cups) all-purpose flour
- 5 mL (1 teaspoon) baking powder
- 20 soft caramel candies, unwrapped (approximately 150g)
- 15 mL (1 tablespoon) milk
- 400g (2 cups) milk chocolate chips
Instructions
- Preheat your oven to 175°C (350°F). Prepare a baking sheet by lining it with parchment paper for easy removal, although the recipe states ungreased, parchment is often a good practice to prevent sticking.
- In a large mixing bowl, or the bowl of a stand mixer fitted with the paddle attachment, cream together the softened salted butter and granulated sugar until the mixture is light, fluffy, and pale in color. This process incorporates air, contributing to the cookies' tender texture.
- Add the egg white and vanilla extract to the creamed butter and sugar. Mix on medium speed until all ingredients are thoroughly combined and the mixture is smooth. Scrape down the sides of the bowl to ensure everything is incorporated.
- In a separate small bowl, whisk together the all-purpose flour and baking powder. Gradually add the dry ingredients to the wet ingredients, mixing on low speed until just combined and a soft, cohesive dough forms. Avoid overmixing, as this can lead to tough cookies.
- Lightly flour a clean work surface. Turn the dough out and roll it evenly until it is about 6 mm to 12 mm (1/4 to 1/2 inch) thick. Using a round cookie cutter (approximately 5-6 cm or 2-2.5 inches in diameter), cut out circles. Carefully transfer the cut dough circles to an ungreased baking pan, leaving a small space between each cookie.
- Bake in the preheated oven for 6 to 8 minutes. The cookies are ready when they appear slightly puffy, have lost their glossy sheen, and their edges are just beginning to turn a very light golden color. They should still be soft in the center.
- Once baked, remove the cookies from the oven and allow them to rest on the hot baking sheet for 2-3 minutes to firm up slightly. Then, carefully transfer them to a wire rack to cool completely. It is crucial they are fully cooled before adding the caramel.
- While the cookies are cooling, prepare the caramel layer. Place the unwrapped caramels and milk into a microwave-safe bowl. Microwave on high for 1 minute, stirring thoroughly at the 30-second mark to help the caramels melt evenly. Continue stirring until the mixture is completely smooth and creamy. If needed, microwave for an additional 15-30 seconds, stirring well after each interval, until the caramel is fluid.
- Carefully spoon a few teaspoons of the warm, smooth caramel onto the center of each cooled cookie. Gently spread the caramel using the back of the spoon or a small offset spatula until it almost covers the entire cookie, leaving a small border around the edge.
- Arrange the caramel-topped cookies on a baking sheet or tray. Place them into the refrigerator for 10 to 15 minutes, or until the caramel layer is completely cold and firm to the touch. This step prevents the chocolate from melting the caramel.
- For the chocolate coating, place the milk chocolate chips in a microwave-safe bowl. Microwave in 30-second intervals, stirring well after each interval, until the chocolate is completely melted and smooth. Be careful not to overheat the chocolate, as it can seize.
- One by one, or in small batches, spread a small amount of the melted milk chocolate onto the top of each chilled, caramel-covered cookie. You can use a spoon or a small offset spatula to achieve an even layer. Let the chocolate layer cool and set up completely at room temperature or in the refrigerator before serving.
Tools You’ll Need
- Large mixing bowl
- Electric mixer (stand or hand-held)
- Rubber spatula
- Measuring cups and spoons
- Rolling pin
- Round cookie cutter (approx. 5-6 cm / 2-2.5 inches)
- Baking sheets
- Parchment paper (optional, but recommended)
- Wire cooling rack
- Microwave-safe bowls
- Small spoon or offset spatula for spreading caramel and chocolate
Essential Success Tips
- Ensure your butter is truly softened for the creaming process; it should yield to gentle pressure but not be melted.
- Do not overmix the cookie dough once the flour is added; overmixing develops gluten, leading to tougher cookies.
- Allow the cookies to cool completely before adding the caramel to prevent the cookie from crumbling or the caramel melting excessively.
- Chill the caramel-topped cookies thoroughly before applying the chocolate. This creates a firm base and prevents the chocolate from becoming too runny or melting the caramel.
- When melting chocolate, use short intervals and stir frequently to avoid burning or seizing the chocolate. If the chocolate seems too thick, a tiny bit of neutral oil (like coconut oil or vegetable oil) can sometimes help thin it out, but generally, frequent stirring should suffice.
Professional Cooking Secrets
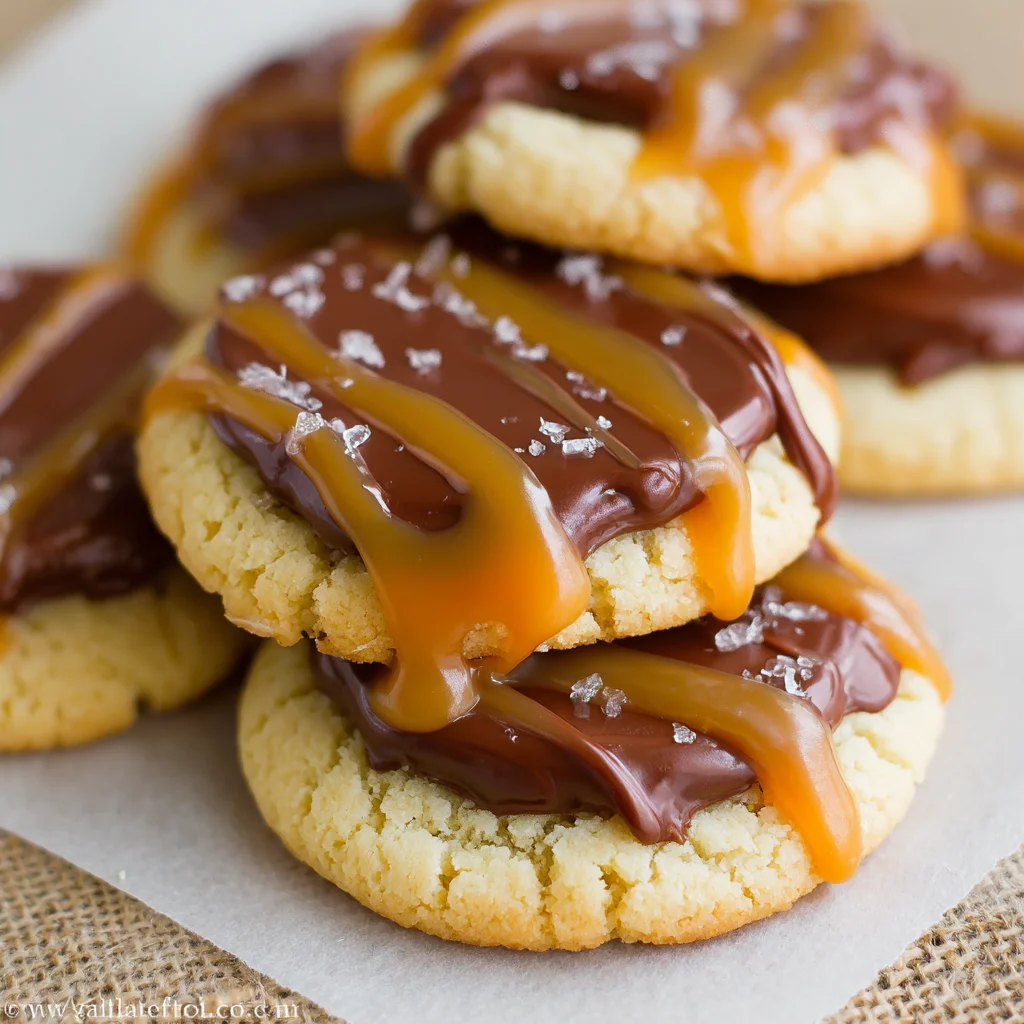
- For an extra layer of flavor and to enhance the 'shortbread' feel, a pinch of sea salt added to the cookie dough or sprinkled lightly over the caramel layer before chocolate application can elevate the taste profile significantly.
- To achieve a perfectly smooth chocolate coating, temper your chocolate. While not strictly necessary for this recipe, it results in a beautiful, glossy finish that resists melting at room temperature and has a satisfying snap. Alternatively, use good quality melting wafers or chocolate almond bark for easier coating.
- Consider a double-boiler method for melting chocolate if you prefer not to use a microwave, as it offers more controlled heat and reduces the risk of burning.
Notes
- Storage: Store the Twix cookies in an airtight container at room temperature for up to 3-4 days, or in the refrigerator for up to a week. For best results, separate layers with parchment paper.
- Freezing: These cookies freeze well! Once the chocolate is fully set, you can freeze them in a single layer on a baking sheet, then transfer to a freezer-safe bag or container for up to 3 months. Thaw at room temperature before serving.
- Variations: Experiment with dark chocolate or white chocolate for the coating. Add a sprinkle of flaky sea salt on top of the chocolate before it sets for a gourmet touch.
Frequently Asked Questions
My caramel is too stiff to spread. What should I do?
If your caramel becomes too stiff, return it to the microwave for another 10-15 seconds, then stir vigorously until it's smooth and spreadable. A tiny splash of milk can also help if it's very thick.
Can I use different types of chocolate?
Absolutely! While milk chocolate gives the authentic Twix experience, you can certainly use semi-sweet, dark chocolate, or even white chocolate for the coating, depending on your preference.
Why did my cookie dough turn out tough?
Overworking the dough after adding the flour is the most common reason for tough cookies. Mix only until the ingredients are just combined. Also, ensure your butter isn't too cold when creaming.
Nutrition Facts (Per Serving)
Calories: 250-280, Protein: 3g, Fat: 15-18g, Carbs: 25-30g (Estimated per cookie, actual values may vary.)
Allergy Information
Contains dairy (butter, milk, milk chocolate), gluten (all-purpose flour), and egg. For a gluten-free version, use a 1:1 gluten-free all-purpose flour blend. For a dairy-free version, use dairy-free butter, milk, caramels, and chocolate chips.


No comment