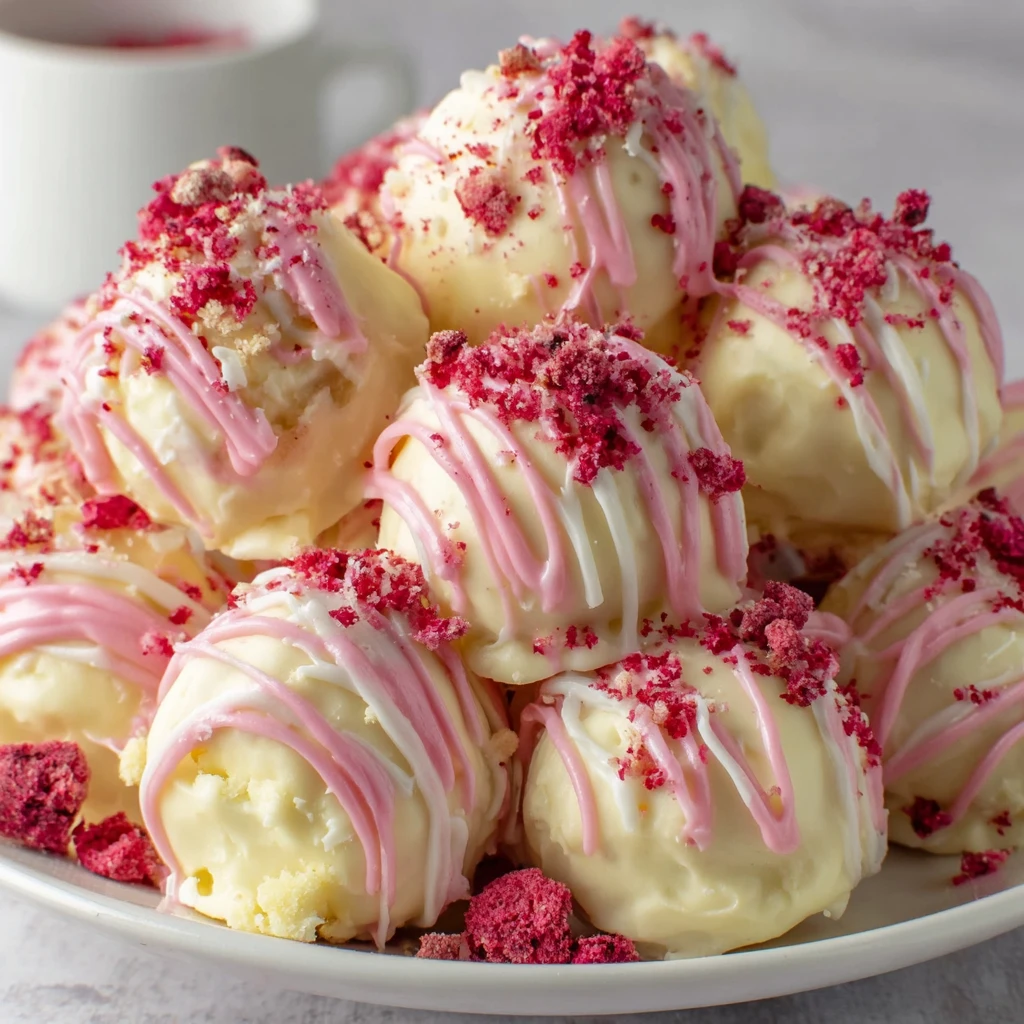
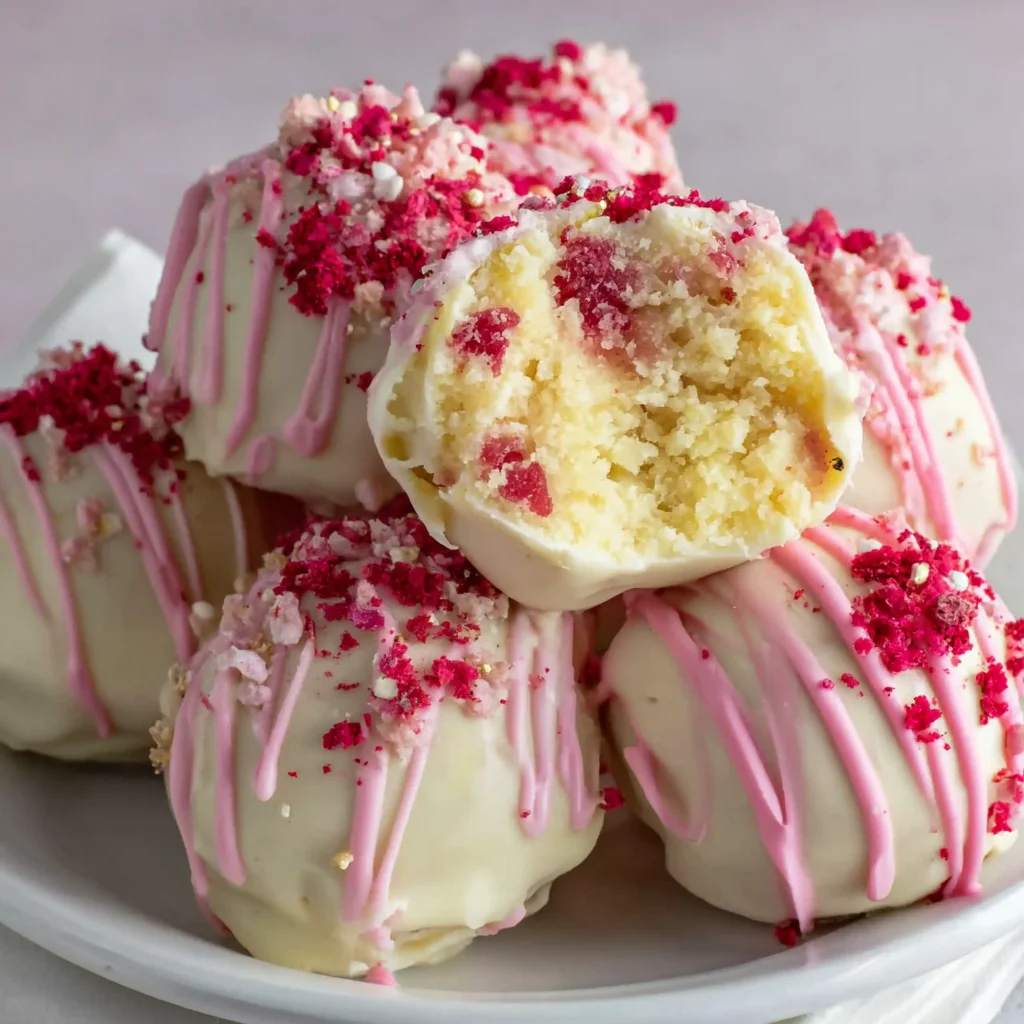
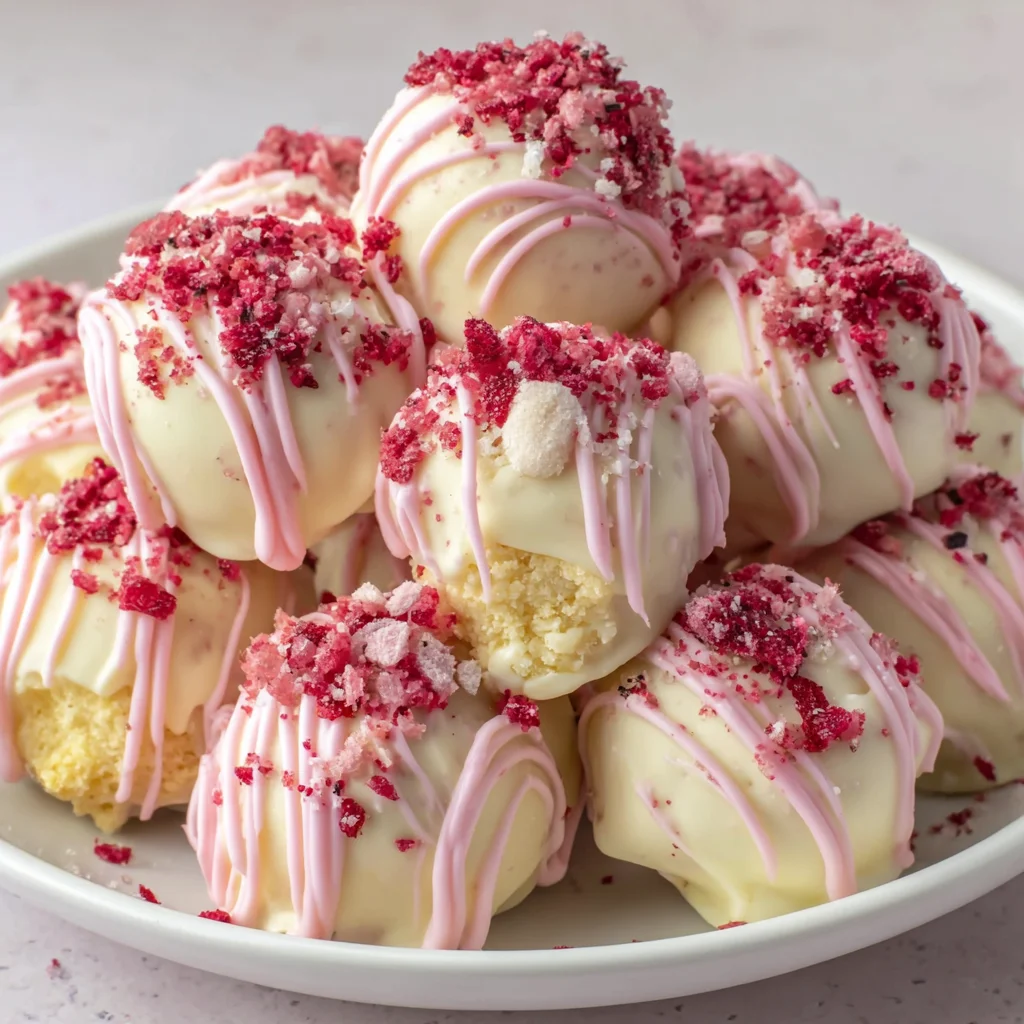
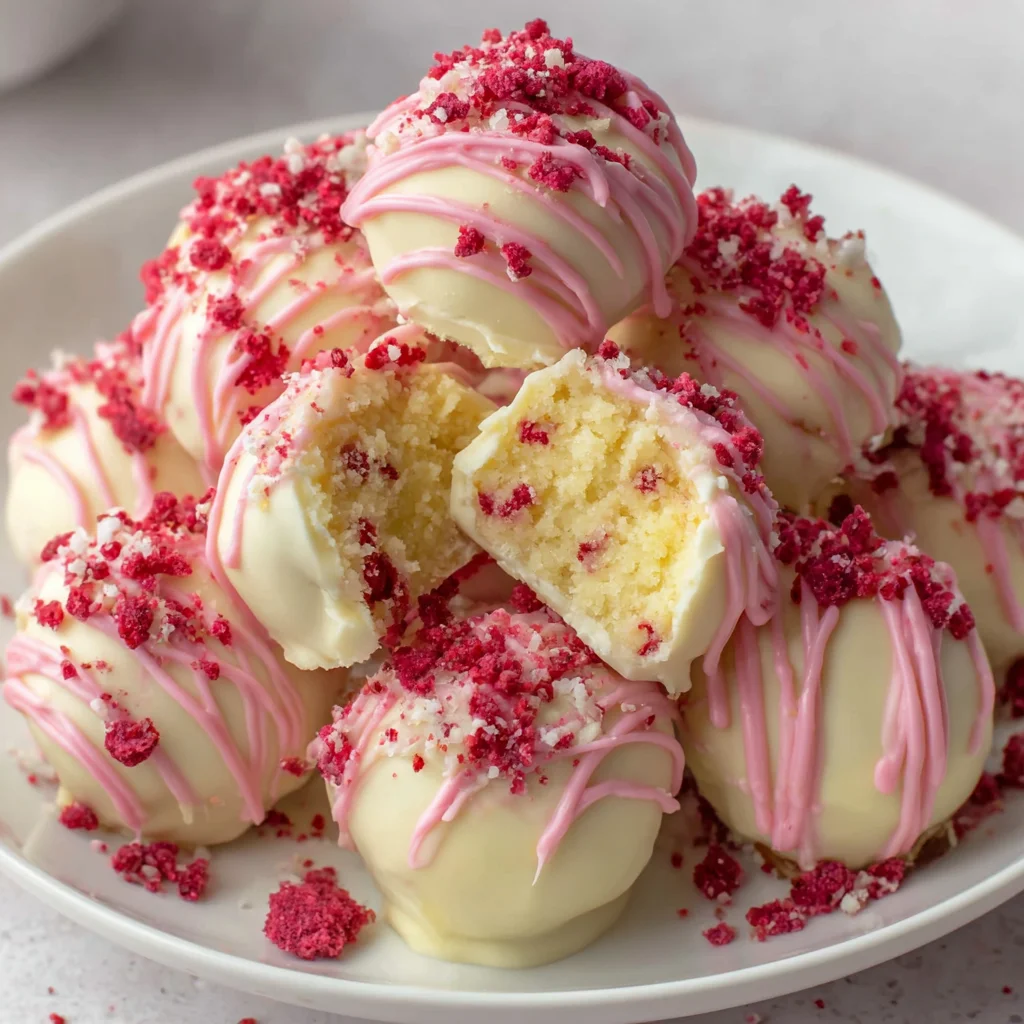
Strawberry Shortcake Truffles
Indulge in the nostalgic flavors of a classic strawberry shortcake reimagined into decadent, bite-sized truffles. These sweet treats feature a moist, crumbly vanilla cake base infused with luscious strawberry frosting, coated in a vibrant pink shell, and elegantly drizzled with white chocolate. Perfect for celebrations or a delightful everyday indulgence, they offer a burst of fruity sweetness and a wonderfully rich texture in every bite.
Prep Time
45 minutes
Cook Time
30-35 minutes
Total Time
2 hours 30 minutes (including chilling time)
Servings
Makes 24-30 truffles
Keywords
Why This Recipe Delivers
- Combines the beloved flavors of strawberry shortcake in a convenient, bite-sized form.
- Visually stunning with vibrant pink coating and elegant white chocolate drizzle, perfect for special occasions.
- Customizable with various toppings and optional texture add-ins like vanilla wafers.
- A fantastic make-ahead dessert that impresses guests with minimal last-minute effort.
- Offers a satisfying blend of moist cake, creamy frosting, and crisp chocolate coating.
Ingredients
- 1 box (432 grams / 15.25 oz) vanilla or white cake mix, plus ingredients listed on box (usually eggs, oil, water) OR one homemade vanilla cake
- 250 grams (1 cup) strawberry frosting (store-bought or homemade)
- 60 grams (1/2 cup) crushed vanilla wafer cookies or graham crackers (optional, for texture)
- 15 grams (1/4 cup) freeze-dried strawberries, finely crushed (optional, for extra strawberry flavor)
- 450 grams (16 oz) pink candy melts or pink chocolate coating
- 30 mL (2 tbsp) coconut oil or shortening
- 115-170 grams (4-6 oz) white chocolate or white candy melts
- Additional crushed freeze-dried strawberries (for sprinkling)
- Pink sanding sugar or sprinkles
- Optional: edible gold leaf, gold stars, or pearl dust for decoration
Instructions
- Bake the Cake. Preheat your oven according to the cake mix package directions, typically to 175°C (350°F). Prepare and bake the cake as instructed on the package in a 23×33 cm (9×13 inch) pan. Once baked, allow the cake to cool COMPLETELY in the pan. This step is critical; a warm cake will lead to a messy, unworkable truffle mixture. After the cake has fully cooled, use your hands or a fork to crumble the entire cake into very fine crumbs in a large mixing bowl. The goal is a texture resembling breadcrumbs, which is surprisingly satisfying to achieve.
- Make the Truffle Mixture. Add the strawberry frosting to the cake crumbs. Begin with 180 grams (3/4 cup) of frosting and gradually add more if needed. Mix thoroughly with your hands, which is truly the most effective tool for this job, until the mixture resembles play-dough. It should be easily moldable and hold its shape firmly when squeezed. If you are incorporating crushed vanilla wafers or freeze-dried strawberries, fold them in at this stage to enhance texture and deepen the strawberry flavor. The consistency should be moist enough to bind together but not overly sticky. If the mixture feels too dry, add more frosting, one tablespoon at a time. If it becomes too wet, incorporate a small amount of extra cake crumbs or crushed cookies until the desired consistency is reached. Taste the mixture to ensure it has achieved the perfect balance of sweetness and strawberry flavor.
- Roll the Truffles. Line a baking sheet with parchment paper or wax paper. Using a small cookie scoop or a spoon, portion out approximately 15-30 mL (1-2 tablespoons) of the mixture for each truffle. Roll the portions between your palms to form smooth, uniform balls. If the mixture begins to stick to your hands, lightly dampen them. Place each rolled truffle onto the prepared baking sheet, ensuring there is some space between them. This process should yield about 24 to 30 truffles, depending on their size. Refrigerate the truffles for at least 30 minutes, or freeze them for 15 minutes, until they are firm. This firming step is crucial to prevent them from falling apart during the dipping process.
- Melt the Pink Coating. In a microwave-safe bowl, combine the pink candy melts and 30 mL (2 tbsp) of coconut oil or shortening. Microwave the mixture in 30-second intervals, stirring well after each burst, until the coating is completely smooth and melted. Be careful not to overheat the chocolate, as this can cause it to seize and become unusable. The melted coating should have a thin enough consistency to easily coat the truffles. If it appears too thick, add a bit more coconut oil, a teaspoon at a time, until the desired fluidity is achieved. Transfer the melted coating to a deep, narrow bowl or cup, which makes the dipping process much more manageable than a shallow bowl.
- Dip and Coat. Remove the chilled truffles from the refrigerator or freezer. Work with batches of 6-8 truffles at a time, keeping the remainder cold to maintain their firmness. Using a dipping fork or a standard fork, carefully place one truffle into the melted pink chocolate. Spoon additional chocolate over the top to ensure it is completely covered. Lift the truffle with the fork, allowing any excess chocolate to drip back into the bowl. Gently tap the fork on the edge of the bowl to encourage further dripping and achieve a thinner, even coating. Carefully slide the coated truffle off the fork onto the parchment-lined baking sheet, using a toothpick or another fork to assist if needed. Repeat this process with the remaining truffles, reheating the chocolate as necessary if it starts to thicken. Work quickly, as the chocolate sets relatively fast. If the truffles begin to warm up, return them to the fridge and proceed with the next batch once they are firm again.
- Decorate. While the pink coating is still slightly wet, ideally within 1-2 minutes of dipping, sprinkle the truffles with crushed freeze-dried strawberries, pink sanding sugar, or your chosen sprinkles. Gently press the decorations to ensure they adhere. Allow the pink coating to set completely, which typically takes about 10-15 minutes at room temperature or 5 minutes in the refrigerator. Melt the white chocolate or white candy melts in the microwave using the same method as the pink chocolate. Transfer the melted white chocolate to a piping bag or a zip-top bag with a tiny corner snipped off. Drizzle the white chocolate artistically over the set truffles in a back-and-forth or circular pattern, customizing the design to your preference. Immediately add any final toppings, such as more crushed strawberries, edible gold dust, or other decorative elements, while the white chocolate is still wet. Allow all coatings and decorations to set completely before packaging or serving.
- Admire Your Work. Take a moment to appreciate the beautiful, professional appearance of your homemade Strawberry Shortcake Truffles. Capture their splendor with numerous photos for social media – you've earned the bragging rights! While it will be tempting, try not to consume them all in one sitting; they are truly irresistible.
Tools You’ll Need
- 9×13 inch (23×33 cm) baking pan
- Large mixing bowl
- Rubber spatula or sturdy spoon
- Baking sheets
- Parchment paper or wax paper
- Cookie scoop or two spoons
- Microwave-safe bowls
- Dipping fork or standard fork
- Piping bag or zip-top bag with a snipped corner
Essential Success Tips
- Ensure the cake is COMPLETELY cooled before crumbling; any warmth will make the truffle mixture too sticky and difficult to work with.
- Achieve the perfect truffle mixture consistency: it should be firm enough to roll without crumbling, but not so wet that it's excessively sticky. Adjust with more frosting or cake crumbs as needed.
- Thoroughly chill the rolled truffles before dipping. This is paramount for preventing them from falling apart in the warm chocolate coating.
- Work in small batches when dipping to keep truffles cold and prevent the melted chocolate from thickening too quickly. Reheat chocolate as needed.
- Decorate immediately after dipping with wet toppings like sprinkles, or after the main coating sets for drizzles, to ensure everything adheres properly.
Professional Cooking Secrets
- For an even richer flavor, consider browning a small portion of butter and adding it to your homemade vanilla cake batter. The nutty notes will complement the strawberry beautifully.
- When melting candy melts, use a double boiler method for more precise temperature control than a microwave. This significantly reduces the risk of overheating and seizing, ensuring a perfectly smooth, dippable consistency.
- To achieve a truly professional sheen and snap on your chocolate coating (if using real chocolate instead of candy melts), temper your chocolate properly. This involves carefully heating and cooling the chocolate to specific temperatures, resulting in a stable, glossy finish that resists melting at room temperature.
Notes
- Storage: Store Strawberry Shortcake Truffles in an airtight container in the refrigerator for up to 1 week, or in the freezer for up to 1 month. Allow to come to room temperature for 10-15 minutes before serving for optimal texture.
- Flavor Variations: Experiment with different cake and frosting flavors! Try a lemon cake with raspberry frosting, or a chocolate cake with cream cheese frosting for a completely different profile. You can also add a teaspoon of strawberry extract to the cake mix or frosting for an intensified strawberry flavor.
- Adult Version: For an adult-friendly treat, add a tablespoon of strawberry liqueur or white rum to the truffle mixture along with the frosting.
Frequently Asked Questions
Can I use homemade cake and frosting for these truffles?
Absolutely! While the recipe suggests cake mix and canned frosting for convenience and consistent texture, a homemade vanilla cake and strawberry buttercream will yield an even more gourmet truffle. Just ensure the homemade cake is thoroughly cooled and finely crumbled.
My chocolate coating is too thick, what should I do?
If your candy melts or chocolate coating becomes too thick, add a small amount (1/2 to 1 teaspoon) of coconut oil or shortening at a time, stirring well after each addition, until it reaches a smooth, dippable consistency. Avoid adding water, as this will cause chocolate to seize.
How can I prevent my truffles from cracking after coating?
Cracking usually occurs if there's a significant temperature difference between the truffle and the melted chocolate, or if the chocolate is applied too thickly. Ensure your truffles are firm but not rock-solid frozen, and apply a thin, even layer of chocolate. Also, avoid shocking them with extreme cold immediately after dipping (e.g., placing directly into a very cold freezer).
Nutrition Facts (Per Serving)
Calories: Approximately 280-320 per truffle, Protein: 2-3g, Fat: 18-22g, Carbs: 28-35g (Estimates based on average ingredients and truffle size. Actual values may vary.)
Allergy Information
Contains wheat, dairy, and eggs. May contain soy depending on the brand of candy melts/frosting. For a gluten-free version, use a certified gluten-free vanilla cake mix.

No comment