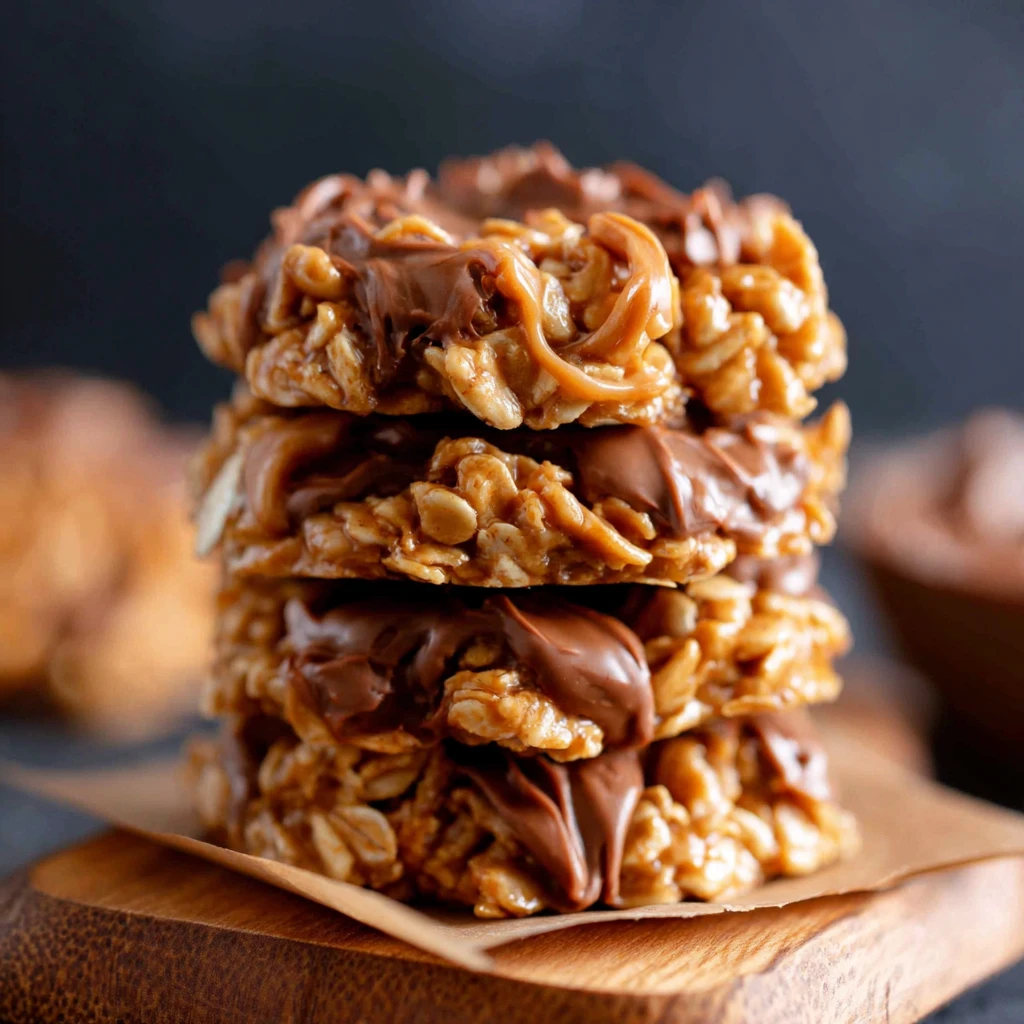
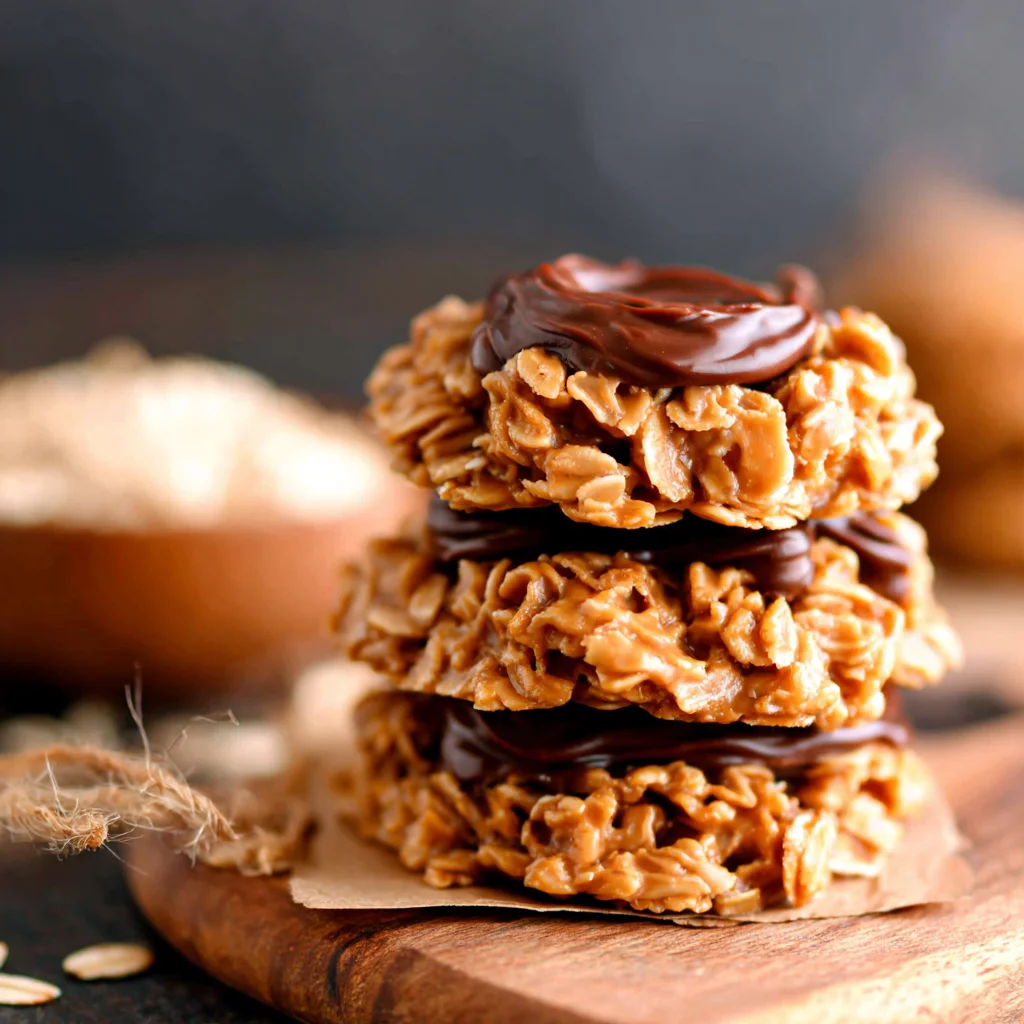
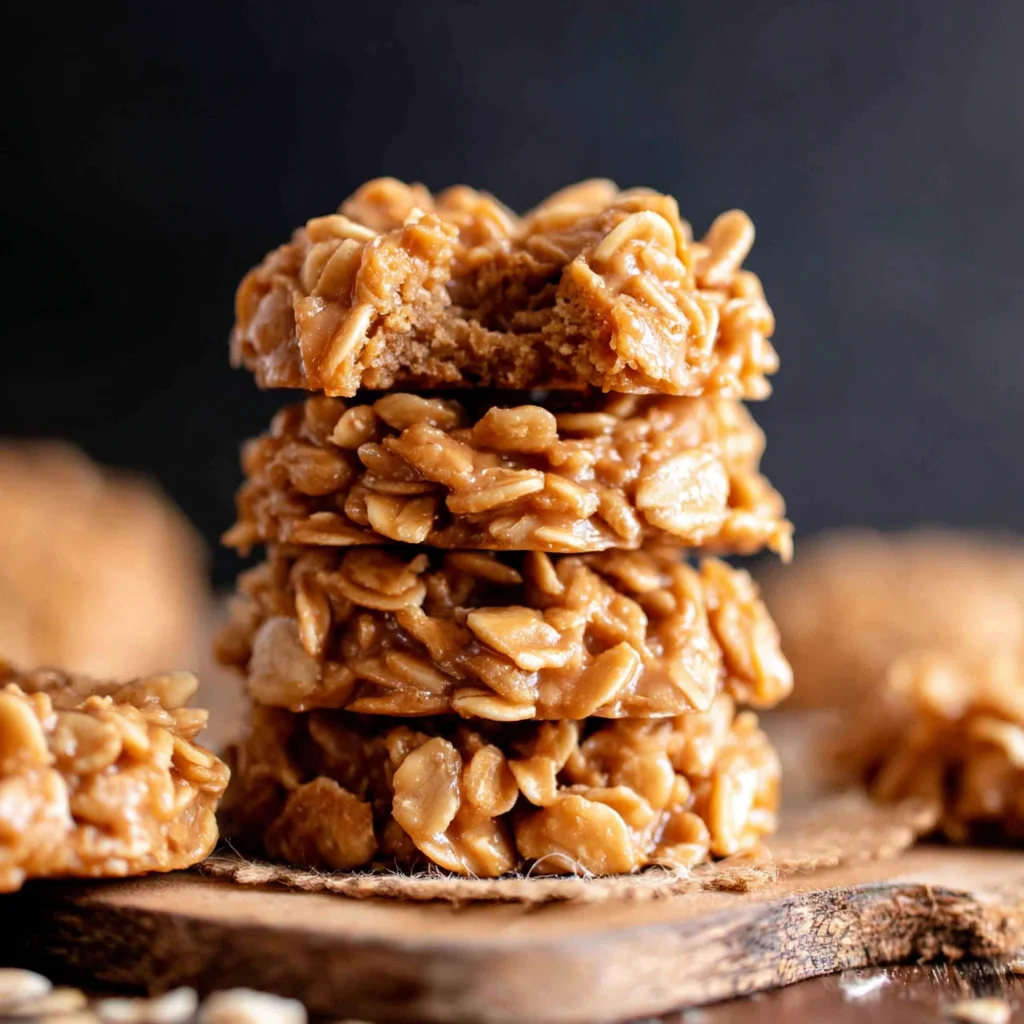
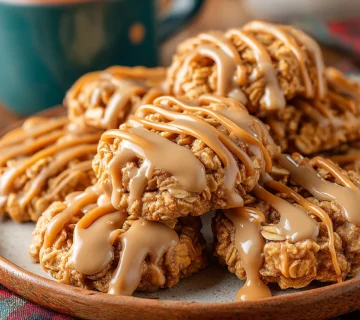
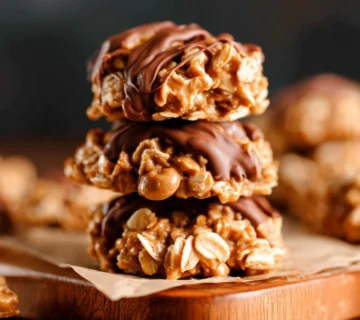
Irresistible Peanut Butter No-Bake Cookies
Dive into the comforting world of classic no-bake cookies with this incredibly simple yet satisfying recipe. These treats feature a rich, fudgy peanut butter base combined with chewy oats, all coming together without ever needing an oven. Perfect for a quick dessert fix or a delightful snack that everyone will adore, they offer nostalgic flavor in every bite.
Prep Time
15 minutes
Cook Time
1 minute
Total Time
Approximately 1 hour and 15 minutes (includes setting time)
Servings
Makes about 18-20 cookies
Keywords

Why This Recipe Delivers
- Effortlessly delicious with no oven required, making it perfect for any time of year.
- Ready in minutes of active preparation, ideal for busy schedules.
- Rich, comforting peanut butter flavor perfectly balanced with chewy oats.
- A nostalgic treat that appeals to all ages.
- Simple enough for beginner cooks and bakers.
Ingredients
- 200 grams (about 1 cup) granulated sugar
- 28 grams (1/4 stick or 2 tablespoons) unsalted butter
- 59 milliliters (1/4 cup) whole milk
- 177 grams (3/4 cup) smooth or creamy peanut butter
- 180 grams (2 cups) quick-cooking oats or old-fashioned oats
Instructions
- Prepare your workstation by lining a large baking sheet with parchment paper. This will prevent the cookies from sticking and make cleanup a breeze. Set it aside for later use.
- In a medium-sized, heavy-bottomed saucepan, combine the granulated sugar, butter, and whole milk. Place the saucepan over medium heat, bringing the mixture to a rolling boil. Ensure you whisk continuously to prevent scorching the sugar and to help the butter melt evenly.
- Once the mixture reaches a vigorous rolling boil, allow it to continue boiling for exactly one minute, whisking all the while. This precise boiling time is crucial for achieving the perfect texture. After one minute, immediately remove the saucepan from the heat to prevent overcooking the sugar syrup.
- Quickly stir in the peanut butter to the hot sugar mixture. Mix vigorously until the peanut butter is completely melted and smoothly incorporated, creating a rich, uniform base.
- Immediately add the oats to the peanut butter mixture. Stir quickly and thoroughly. The mixture will begin to thicken and firm up quite rapidly, so work swiftly to ensure the oats are evenly coated before it becomes too stiff to mix effectively.
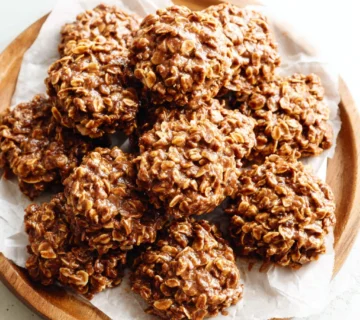
- Using a 3-tablespoon (or 45 ml) cookie scoop, portion the warm cookie mixture onto your prepared baking sheet. For a classic cookie shape, lightly flatten the tops of each scoop with the back of a spoon or your fingertips.
- Allow the formed cookies to set undisturbed at room temperature for at least one hour. For faster setting or in a warm environment, you can place the baking sheet in the refrigerator for about 30 minutes. Once firm, they are ready to enjoy!
Tools You’ll Need
- Medium-sized heavy-bottomed saucepan
- Whisk
- Heat-resistant spatula or wooden spoon
- Measuring cups and spoons (or kitchen scale for metric)
- Baking sheet
- Parchment paper
- 3-tablespoon (45 ml) cookie scoop
Essential Success Tips
- Ensure the sugar mixture reaches a full, rolling boil for the entire minute; under-boiling can result in runny cookies, while over-boiling makes them crumbly.
- Have all your ingredients measured and ready to go before you start, as the process moves quickly once the sugar syrup is made.
- Mix in the oats as quickly and evenly as possible to prevent the mixture from seizing up before all oats are incorporated.
- For best results, use fresh quick-cooking oats; old-fashioned oats can be used but may result in a slightly chewier texture.
- Resist the urge to skip the setting time; proper cooling allows the cookies to firm up and develop their characteristic texture.
Professional Cooking Secrets
- To achieve an even smoother, fudgier texture, consider using a high-quality, natural smooth peanut butter that is well-stirred before adding to the mixture.
- For an extra layer of flavor and a slight crunch, try toasting the oats lightly in a dry pan for a few minutes before adding them to the mixture. Let them cool completely first.
- If your cookies are too crumbly, it might be due to over-boiling the sugar mixture. Next time, reduce the boiling time slightly. If they are too sticky, try boiling for a full minute or slightly longer.
Notes
- Storage: Store leftover no-bake cookies in an airtight container at room temperature for up to 3-4 days, or in the refrigerator for up to a week.
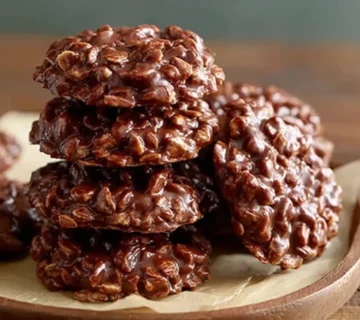
- Variations: For a chocolatey twist, add 30 grams (1/4 cup) unsweetened cocoa powder along with the sugar, butter, and milk. You can also mix in a handful of chocolate chips or chopped nuts with the oats.
- Chilling the scoops: If the mixture becomes too firm to scoop easily, you can gently reheat it over very low heat for a moment, just until it softens enough to work with again.
Frequently Asked Questions
Why are my no-bake cookies not setting up?
The most common reason for runny no-bake cookies is not boiling the sugar mixture for long enough. Ensure it reaches a full, rolling boil for a complete minute to activate the setting process.
Can I use natural peanut butter for this recipe?
While you can, natural peanut butter (the kind that separates) tends to make the cookies a bit greasier and sometimes affects the setting consistency. For best results, a processed, creamy peanut butter is recommended.
How long do these cookies last?
When stored in an airtight container, these cookies will stay fresh at room temperature for 3-4 days or in the refrigerator for up to one week.
Nutrition Facts (Per Serving)
Calories: 180, Protein: 6g, Fat: 9g, Carbs: 20g (per cookie, estimated based on 20 servings)
Allergy Information
Contains dairy (milk, butter) and peanuts. For a dairy-free version, use a plant-based milk alternative and a dairy-free butter substitute. This recipe is naturally gluten-free if certified gluten-free oats are used.

No comment