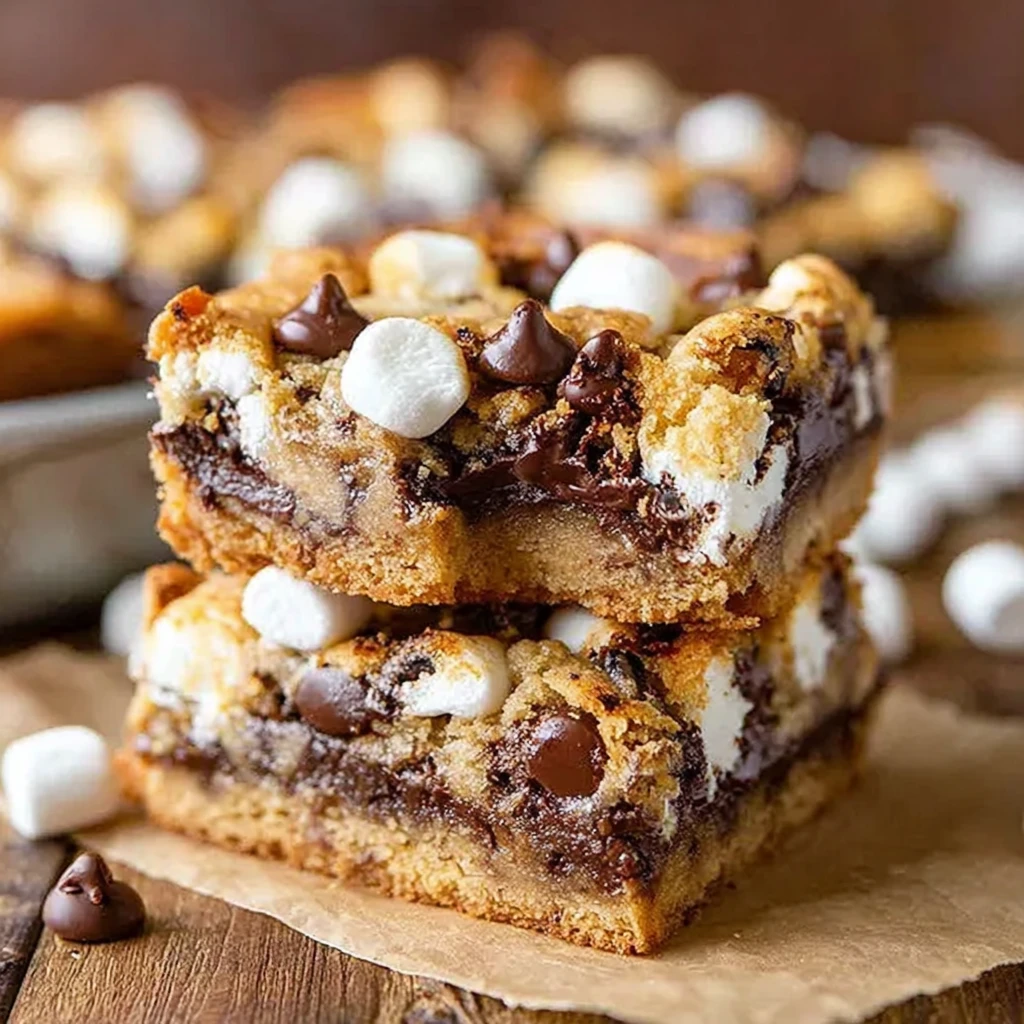
Cozy S’mores Cookie Bars That Will Melt Your Heart
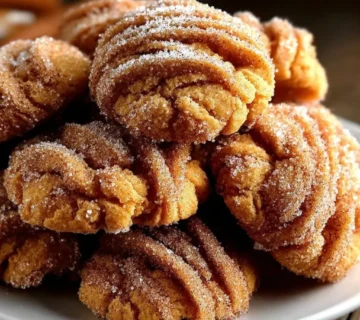
These delightful cookie bars capture the nostalgic essence of classic campfire s'mores in a convenient, bakeable form. Featuring a soft, buttery cookie base infused with graham cracker goodness, a generous layer of melted chocolate, and irresistibly gooey, toasted marshmallows, they are the ultimate comfort treat. Perfect for potlucks, parties, or simply a cozy night in, these bars promise a heartwarming experience with every single bite.
Prep Time
20 minutes
Cook Time
25-30 minutes
Total Time
45-50 minutes (plus cooling time)
Servings
Makes 12-16 generous bars
Keywords
Why This Recipe Delivers
- Captures the classic campfire s'mores flavor and experience without the need for a fire.
- Surprisingly easy to make for any skill level, using readily available pantry ingredients.
- Perfect for feeding a crowd, making them ideal for potlucks, parties, or large family gatherings.
- Offers an irresistible blend of textures: a chewy cookie base, gooey melted marshmallow, and rich chocolate.
- A guaranteed crowd-pleaser that appeals to both children and adults, making everyone smile.
Ingredients
- 226g (1 cup) unsalted butter, softened
- 200g (1 cup) packed light brown sugar
- 100g (1/2 cup) granulated sugar
- 2 large eggs, at room temperature
- 5ml (1 teaspoon) vanilla extract
- 300g (2 1/2 cups) all-purpose flour
- 5g (1 teaspoon) baking soda
- 2.5g (1/2 teaspoon) fine sea salt
- 120g (1 cup) graham cracker crumbs
- 170g (1 cup) semi-sweet chocolate chips, plus extra for topping
- 50g (1 cup) mini marshmallows, plus extra for topping
Instructions
- Prepare your baking pan and oven. Preheat your oven to 175°C (350°F). Line a 23×33 cm (9×13 inch) baking pan with parchment paper, ensuring there is an overhang on the sides. This parchment paper sling will make it much easier to lift the finished bars out of the pan, preventing sticking and simplifying cleanup.
- Cream the wet ingredients. In a large mixing bowl, using an electric mixer set to medium speed, cream together the softened unsalted butter, packed light brown sugar, and granulated sugar. Continue mixing for 2-3 minutes until the mixture becomes light, fluffy, and visibly pale. This aeration process is crucial for creating a tender and airy cookie bar.
- Incorporate eggs and vanilla. Beat in the large eggs one at a time, ensuring each egg is fully incorporated into the butter mixture before adding the next. This step helps create a stable, emulsified base for the dough. Follow by mixing in the vanilla extract until just combined, being careful not to overmix.
- Combine dry ingredients. In a separate, medium-sized bowl, whisk together the all-purpose flour, baking soda, and fine sea salt until they are thoroughly combined. Whisking ensures that the leavening agents are evenly distributed throughout the dry mixture, leading to a consistent rise in your bars.
- Gradually add dry to wet and fold in mix-ins. Gradually add the dry ingredient mixture to the wet ingredients, mixing on low speed until just combined. It is vital not to overmix at this stage, as excessive mixing can develop the gluten in the flour, resulting in tough, dense bars. Gently fold in the graham cracker crumbs and the 170g (1 cup) of semi-sweet chocolate chips using a rubber spatula until they are evenly distributed throughout the dough.
- Assemble the layers. Press half of the cookie dough mixture evenly into the bottom of the prepared baking pan. Spread it as smoothly as possible, understanding that it will be sticky. Sprinkle half of the mini marshmallows (approximately 25g or 1/2 cup) over this base layer, followed by a generous scattering of the extra chocolate chips. Then, dollop the remaining cookie dough mixture over the top. It doesn't need to be perfectly spread; an uneven topping creates delicious pockets of gooiness. Finish with the remaining extra marshmallows and chocolate chips.
- Bake the bars. Place the baking pan in the preheated oven and bake for 25-30 minutes, or until the edges are beautifully golden brown and the center appears mostly set but still looks slightly soft and gooey when gently pressed. The marshmallows on top should be lightly toasted and melted, creating that iconic s'mores aesthetic.
- Cool before serving. Remove the pan from the oven and transfer it to a wire rack to cool completely for at least 30 minutes, or ideally longer. Resist the strong urge to cut into them immediately; proper cooling allows the melted chocolate and gooey marshmallows to set, making the bars easier to slice cleanly and ensuring they hold their shape. Once cooled, use the parchment paper overhang to lift the entire slab of bars out of the pan and cut into desired squares.
Tools You’ll Need
- 23×33 cm (9×13 inch) baking pan
- Parchment paper
- Large mixing bowls (2)
- Electric mixer (stand or hand-held)
- Rubber spatula
- Measuring cups and spoons
- Whisk
- Wire cooling rack
- Sharp knife for cutting
Essential Success Tips
- Ensure your unsalted butter and large eggs are at room temperature. This is crucial for creating a smoother, more emulsified dough, which ultimately leads to a more tender and perfectly textured cookie bar.
- When adding the all-purpose flour, mix the dough just until no streaks of flour remain. Overmixing the dough once the flour is incorporated can develop gluten too much, resulting in tough and chewy bars rather than soft and tender ones.
- Embrace the 'underbaked' look! For truly gooey s'mores bars, pull them from the oven when the center still appears slightly soft. They will continue to set as they cool, achieving that perfect molten interior.
- Patience is a virtue, especially with these bars. Allow them to cool completely, or at least significantly, before attempting to cut them. Warm bars will be extremely messy and prone to falling apart due to the still-liquid chocolate and marshmallows.
- For an extra layer of flavor and texture, consider lightly toasting the graham cracker crumbs in a dry pan over medium heat for a few minutes before adding them to the dough. This deepens their nutty flavor.
Professional Cooking Secrets
- Elevate the chocolate experience by using a mix of high-quality semi-sweet and milk chocolate chips, or even chopped chocolate bars, for a more complex flavor profile and larger, more decadent pools of melted chocolate throughout the bars.
- To prevent the marshmallows on top from becoming overly browned or burnt while ensuring the cookie base bakes through, you can bake the bars for the first 15-20 minutes, then add the remaining marshmallows and extra chocolate chips for the final 10 minutes of baking. This allows them to melt and toast perfectly.
- A small sprinkle of flaky sea salt over the warm s'mores bars immediately after they come out of the oven can beautifully cut through the sweetness, enhance the chocolate flavor, and add a gourmet touch to each bite.
Notes
- Storage: Store any leftover s'mores cookie bars in an airtight container at room temperature for up to 3-4 days. While they are always delicious, they are best enjoyed within the first two days for optimal freshness and texture.
- Reheating: To recapture that fresh-from-the-oven gooeyness, warm individual bars in the microwave for 10-15 seconds, or until the marshmallows and chocolate are slightly melted.
- Variations: Feel free to experiment with different types of chocolate chips, such as dark chocolate, peanut butter chips, or white chocolate. For an added textural element, a sprinkle of chopped toasted pecans or walnuts can be folded into the dough.
Frequently Asked Questions
Can I make these s'mores cookie bars ahead of time?
Absolutely! These bars are an excellent make-ahead dessert. You can prepare the cookie dough and store it, well-wrapped, in the refrigerator for up to 2 days before baking, or bake the bars completely and store them in an airtight container at room temperature for up to 4 days.
Why are my s'mores bars falling apart when I try to cut them?
The most common reason for bars falling apart is not allowing them to cool sufficiently before cutting. The melted chocolate and marshmallows need adequate time to set and firm up. Also, ensuring you don't overbake them helps keep them moist and cohesive.
Can I use different types of crackers instead of graham crackers?
While graham crackers are essential for the traditional s'mores flavor, you could experiment with other crushed biscuits like digestive biscuits or shortbread for a similar texture. However, be aware that the flavor profile will differ from the classic s'mores experience.
Nutrition Facts (Per Serving)
Estimated per bar (serving 16): Calories: ~375, Protein: ~4g, Fat: ~20g, Carbs: ~48g (Please note: Nutritional values are approximate and may vary based on specific brands and ingredient quantities used.)
Allergy Information
This dish contains common allergens including dairy (from butter, chocolate chips, and marshmallows), eggs, and gluten (from all-purpose flour and graham crackers). For a gluten-free version, use a certified gluten-free all-purpose flour blend and gluten-free graham crackers. Always carefully check the labels of all ingredients for hidden allergens.


No comment