
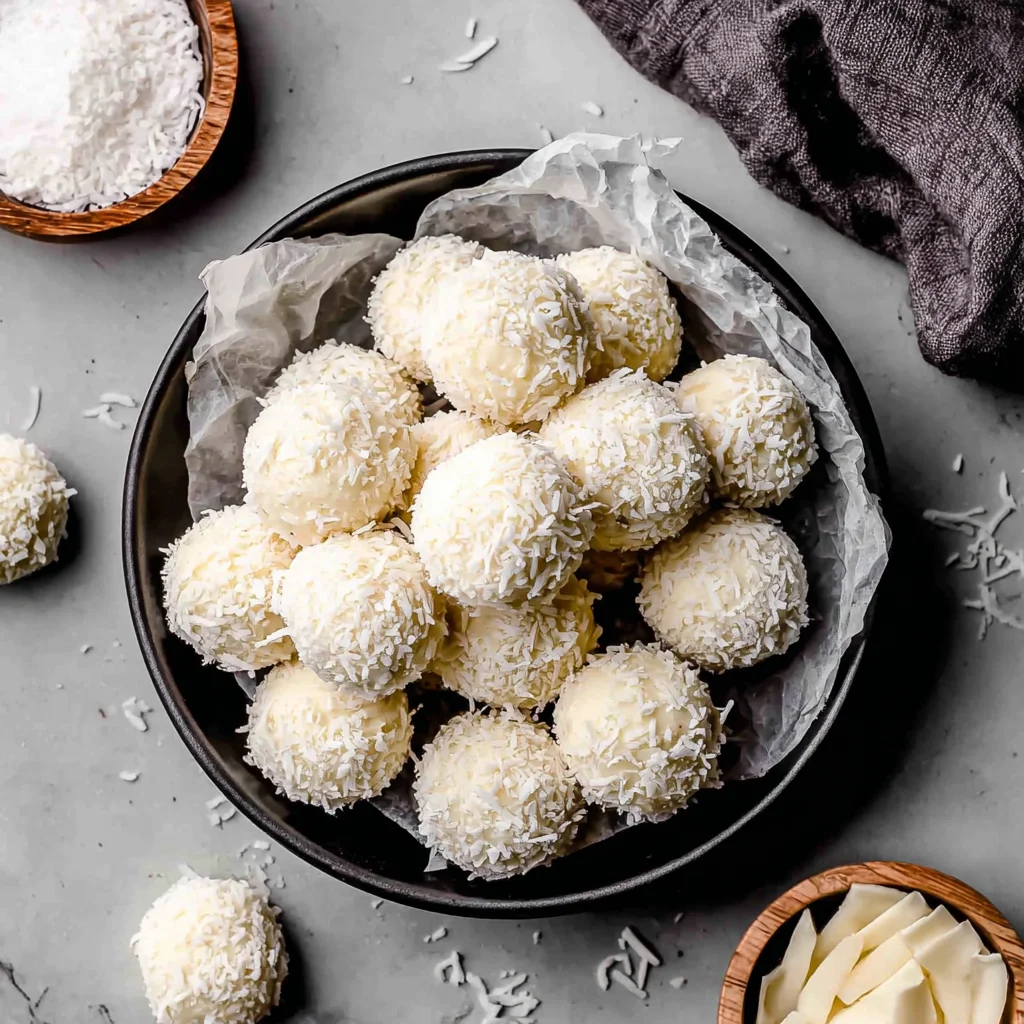
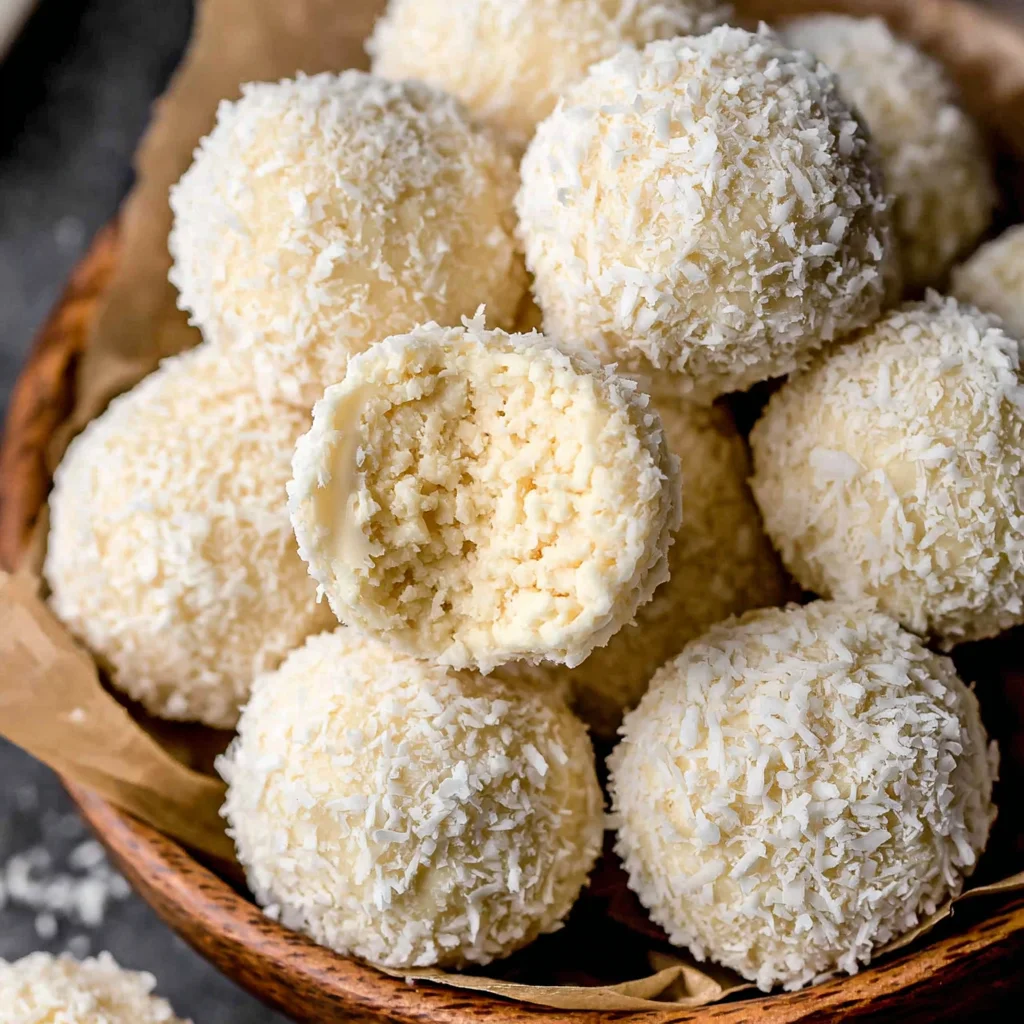
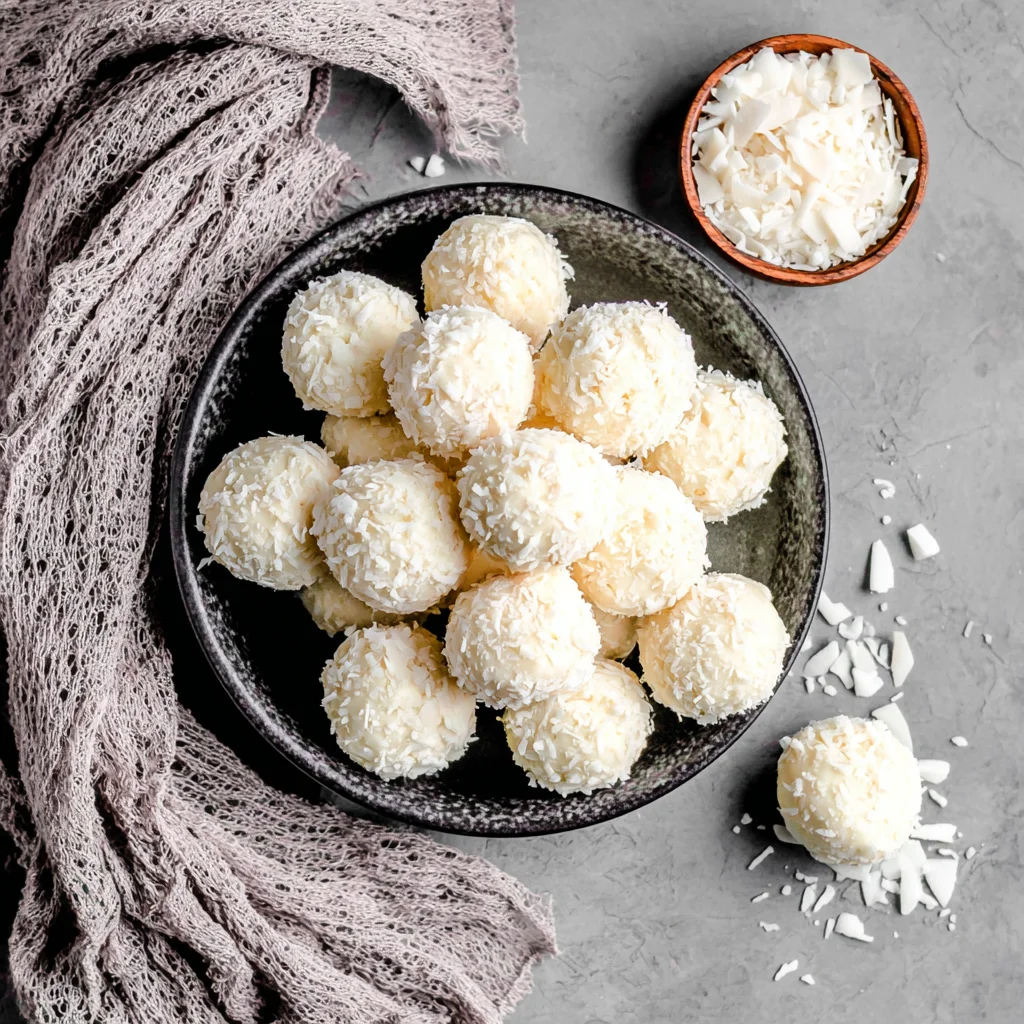
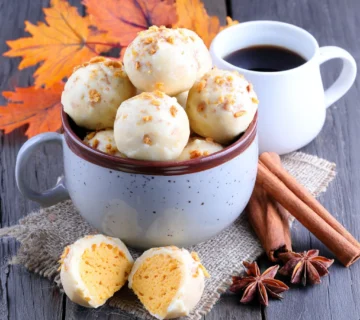
Coconut Truffles
Indulge in these exquisitely creamy and tropical sugar-free coconut truffles, a perfect guilt-free treat for any occasion. Each bite offers a harmonious blend of rich white chocolate, velvety cream cheese, and fragrant coconut, all enrobed in a delicate coconut flake crust. These truffles are surprisingly easy to make and ideal for satisfying sweet cravings without the added sugar.
Prep Time
30 minutes active, 5-6 hours chilling
Cook Time
10-15 minutes
Total Time
Approximately 6-7 hours (including chilling)
Servings
Makes approximately 24-28 truffles
Keywords
Why This Recipe Delivers
- Irresistibly creamy texture with a delightful tropical flavor.
- Perfectly portioned and satisfying, ideal for a sweet craving.
- Sugar-free and low-carb, making it a healthier indulgence.
- Relatively simple to prepare with no baking required.
- Visually appealing and great for entertaining or gifting.
Ingredients
- 113 grams (4 ounces) full-fat cream cheese, cubed and softened
- 120 milliliters (1/2 cup) full-fat coconut milk or heavy whipping cream
- 198 grams (7 ounces) sugar-free white chocolate chips
- 100 grams (1 cup) fine ground almond flour
- 15 milliliters (1 tablespoon) coconut extract
- For the Coating:
- 85 grams (1/2 cup) sugar-free white chocolate chips
- 15 milliliters (1 tablespoon) coconut oil
- 60 grams (3/4 cup) shredded unsweetened coconut
Instructions
- In a medium-sized saucepan, combine the cubed cream cheese and coconut milk (or heavy whipping cream). Whisk continuously over medium heat until the cream cheese is fully melted and smoothly integrated with the coconut milk, creating a uniform, creamy base.
- Reduce the heat slightly to medium-low. Add the 198 grams (7 ounces) of sugar-free white chocolate chips, almond flour, and coconut extract to the saucepan. Stir constantly with a spatula or wooden spoon, ensuring the mixture does not stick to the bottom. Continue stirring until the white chocolate has completely melted and the entire mixture transforms into a thick, smooth, and saucy consistency, free of lumps.
- Carefully transfer the truffle mixture from the saucepan into a clean, heatproof bowl. Press a piece of plastic wrap directly onto the surface of the mixture to prevent a skin from forming. Place the covered bowl into the refrigerator for a minimum of 5-6 hours, or ideally, overnight. This chilling period is crucial for the mixture to firm up sufficiently, making it easy to scoop and shape.
- Once the mixture is thoroughly chilled and firm, line a large baking sheet with parchment paper. Using a small scoop or your hands, shape the cooled mixture into uniform 1 to 1.5 tablespoon-sized balls. Arrange them in a single layer on the prepared baking sheet, leaving a small space between each truffle. Place the baking sheet with the shaped truffles into the freezer for about 15-20 minutes while you prepare the coating. Freezing them briefly helps them hold their shape better when dipped.
- Prepare the white chocolate coating. In a double boiler or a heatproof bowl set over a saucepan of simmering water (ensure the bowl does not touch the water), add the 85 grams (1/2 cup) of sugar-free white chocolate chips and coconut oil. Heat over medium-low heat, stirring occasionally, until the chocolate is completely melted and smooth. Once melted, remove from heat and allow the chocolate coating to cool for 2-3 minutes. This prevents the chocolate from being too hot and melting the truffles upon dipping.
- Retrieve the frozen truffles from the freezer. One by one, carefully dip each truffle into the slightly cooled white chocolate coating, ensuring it is fully coated on all sides. Use a fork or a slotted spoon to gently lift the truffle out, allowing any excess chocolate to drip off.
- Immediately after dipping, carefully transfer the coated truffle to a bowl containing the shredded unsweetened coconut. Roll or sprinkle the shredded coconut over the truffle until it is evenly coated on all sides. Place the finished truffle back onto the parchment-lined baking sheet.
- Repeat the dipping and coating process for all remaining truffles. Once all truffles have been coated with the white chocolate and coconut, return the entire baking sheet to the refrigerator for approximately 15-20 minutes. This final chilling step allows the white chocolate coating to set completely, ensuring a firm and stable truffle.
- Store the finished coconut truffles in an airtight container in the refrigerator until you are ready to serve them. They are best enjoyed chilled.
Tools You’ll Need
- Medium saucepan
- Whisk
- Spatula or wooden spoon
- Heatproof bowl
- Plastic wrap
- Large baking sheet
- Parchment paper
- Small scoop or tablespoon
- Double boiler setup (or another saucepan for simmering water)
- Fork or slotted spoon
Essential Success Tips
- Ensure your cream cheese is at room temperature before starting; this helps it melt smoothly and combine evenly with the coconut milk.
- Do not rush the chilling process for the truffle mixture. A firm, well-chilled mixture is key to easily shaping the truffles without them becoming too sticky.
- When melting the coating chocolate, use medium-low heat and stir constantly to prevent scorching. Allowing it to cool slightly before dipping helps avoid melting the truffle base.
- Work quickly when dipping and coating the truffles, especially if your kitchen is warm, to maintain their chilled state.
- For an extra smooth coating, ensure the shredded coconut used for the outer layer is finely ground or processed slightly if your store-bought version is too coarse.
Professional Cooking Secrets
- For an intensified coconut flavor, gently toast a portion of the shredded coconut before using it for the coating. This brings out a deeper, nuttier aroma and texture.
- To achieve a truly glossy and professional chocolate coating, temper the white chocolate. While not strictly necessary for this recipe, it will give a firmer snap and prevent blooming, especially if storing at room temperature for short periods.
- A touch of vanilla bean paste alongside the coconut extract can add complexity and depth to the overall flavor profile, elevating the richness of the white chocolate.
Notes
- Storage: Store these truffles in an airtight container in the refrigerator for up to 1 week. They can also be frozen for up to 1 month; thaw slightly before serving.
- Variations: For a hint of citrus, add 2.5 ml (1/2 teaspoon) of fresh lime zest to the truffle mixture. You could also experiment with different sugar-free chocolate coatings, like dark chocolate, for a contrasting flavor.
- Dairy-Free Option: Use dairy-free cream cheese and ensure your white chocolate chips are dairy-free to make this recipe suitable for those avoiding dairy.
Frequently Asked Questions
Can I use regular white chocolate instead of sugar-free?
Yes, you can absolutely use regular white chocolate chips if you don't need the truffles to be sugar-free. The quantity and method will remain the same, but the nutritional profile will change.
Why did my truffle mixture not firm up properly?
The most common reason for a soft mixture is insufficient chilling time. Ensure it's refrigerated for at least 5-6 hours, or preferably overnight. If your coconut milk was not full-fat, that could also contribute to a softer consistency.
How can I prevent the white chocolate coating from cracking?
Cracking often occurs if the truffles are too cold when dipped into warm chocolate. Allow the melted coating chocolate to cool for a few minutes before dipping, and ensure the truffles are frozen just enough to be firm, not rock solid. Tempering the chocolate can also help create a more stable coating.
Nutrition Facts (Per Serving)
Calories: Approximately 150-170 per truffle, Protein: 2g, Fat: 15g, Carbs: 5g (net carbs: 2g) – Estimates based on sugar-free ingredients; actual values may vary.
Allergy Information
Contains dairy (cream cheese), tree nuts (almond flour, coconut). For a dairy-free version, use dairy-free cream cheese and white chocolate. Always check ingredient labels for hidden allergens.


No comment