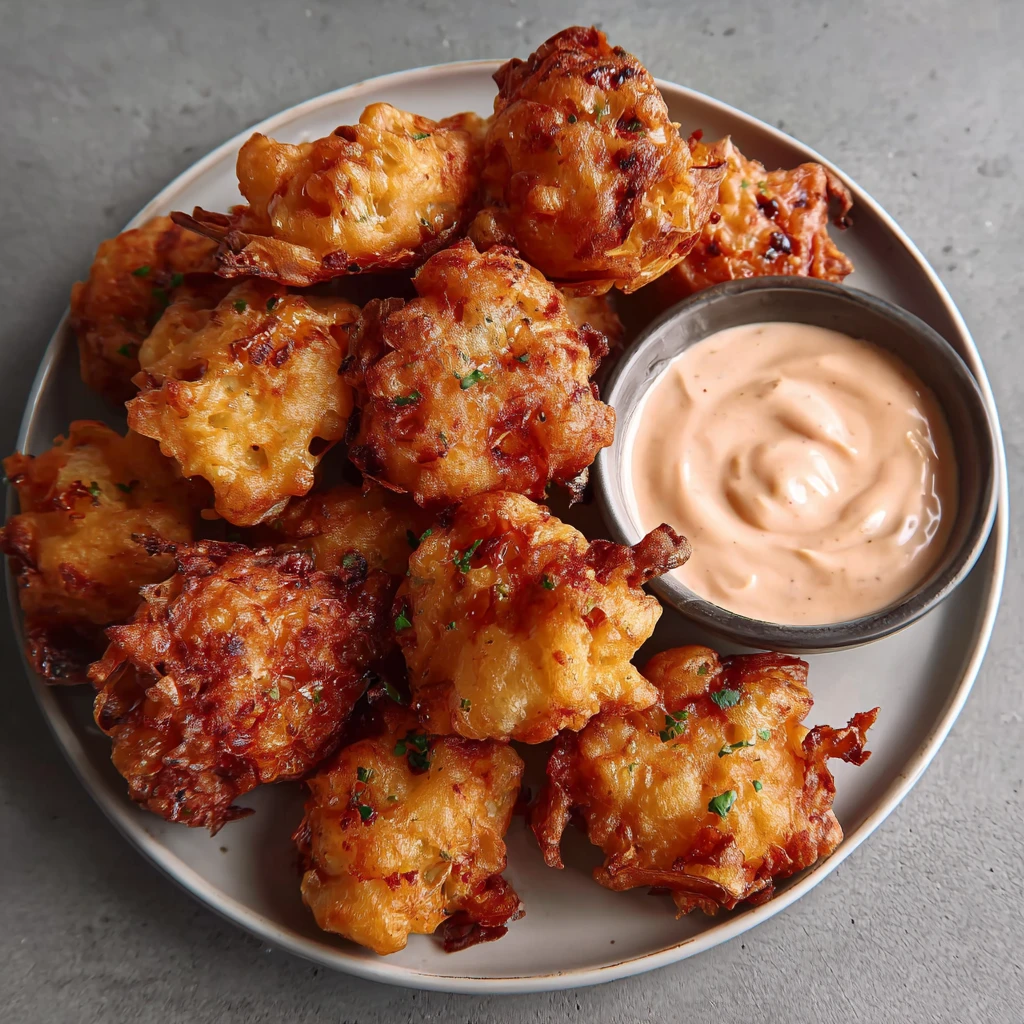
Awesome Blossom Onion Bites
Indulge in these incredibly crispy Awesome Blossom Onion Bites, a delightful twist on a classic fried onion appetizer. Each golden-brown bite features tender diced onions encased in a perfectly seasoned, crunchy batter, making for an irresistible snack or party starter. Served with a creamy, zesty dipping sauce, these bites are guaranteed to be a crowd-pleaser.
Prep Time
25 minutes
Cook Time
20 minutes
Total Time
45 minutes
Servings
4-6 servings (as an appetizer)
Keywords

Why This Recipe Delivers
- Unforgettable crispness with tender, flavorful onions inside.
- Paired with an irresistible, zesty homemade dipping sauce.
- A fun and unique appetizer that elevates any gathering.
- Simple ingredients transform into an impressive dish.
- Perfect for game day, parties, or a delightful snack.
Ingredients
- Dipping Sauce:
- 80 ml (1/3 cup) sour cream
- 30 ml (2 tablespoons) mayonnaise
- 15 ml (1 tablespoon) ketchup
- 10 ml (2 teaspoons) prepared horseradish
- 1 pinch cayenne pepper, or to taste
- Onion Bites:
- 300 g (2 cups) diced onions
- 8.75 g (1 3/4 teaspoons) kosher salt, divided
- 1.25 ml (1/4 teaspoon) freshly ground black pepper
- 1 pinch cayenne pepper
- 1.25 ml (1/4 teaspoon) garlic powder
- 15 g (1 tablespoon) cornmeal
- 60 g (1/2 cup) all-purpose flour
- 2.5 ml (1/2 teaspoon) baking powder
- 120 ml (1/2 cup) milk
- 480 ml (2 cups) vegetable oil, or as needed for frying
Instructions
- Begin by preparing the tangy dipping sauce. In a small bowl, combine the 80 ml (1/3 cup) sour cream, 30 ml (2 tablespoons) mayonnaise, 15 ml (1 tablespoon) ketchup, and 10 ml (2 teaspoons) prepared horseradish. Stir these ingredients together until they are smooth and well-incorporated. Taste the sauce and add a pinch of cayenne pepper, or more to your preference, for a subtle kick and warmth. Cover the bowl and refrigerate the sauce to allow the flavors to meld while you prepare the onion bites.
- (Optional, but highly recommended for crispier results) To draw out excess moisture from the onions, place the diced onions in a bowl and stir in 7.5 g (1 1/2 teaspoons) of the kosher salt. Cover the bowl and let it stand at room temperature for 15 minutes. This process helps prevent a soggy batter. After 15 minutes, transfer the onions to a fine-mesh strainer and rinse them thoroughly under cold running water to remove the salt. Let the onions drain for about 5 minutes, then transfer them to a dry bowl.
- To the bowl containing the diced onions (whether pre-salted and rinsed or simply diced), add the remaining 1.25 g (1/4 teaspoon) kosher salt, 1.25 ml (1/4 teaspoon) black pepper, 1 pinch cayenne pepper, 1.25 ml (1/4 teaspoon) garlic powder, 15 g (1 tablespoon) cornmeal, 60 g (1/2 cup) all-purpose flour, and 2.5 ml (1/2 teaspoon) baking powder. Stir all these dry ingredients together thoroughly to coat the onions evenly.
- Pour in the 120 ml (1/2 cup) milk into the onion mixture. Stir until a very thick, cohesive batter forms around the onions. The batter should be just thick enough to cling to the onions. Let the batter sit for 5 to 10 minutes; this resting period allows the flour to fully hydrate, resulting in a more tender bite and better adherence.
- Prepare for frying. Heat about 1.25 cm (1/2-inch) deep vegetable oil in a heavy-duty skillet or Dutch oven over medium-high heat. Use a kitchen thermometer to monitor the oil temperature, aiming for 180 degrees C (350 degrees F). While the oil heats, line a large plate with several layers of paper towels to absorb excess oil from the cooked bites.
- Once the oil reaches the desired temperature, carefully drop rounded tablespoons of the onion batter into the hot oil. Do not overcrowd the pan; fry in batches to maintain consistent oil temperature and ensure even browning. Overcrowding can lower the oil temperature and lead to greasy bites.
- Fry the onion bites until they are beautifully golden brown and crispy on all sides, which typically takes about 3 minutes per side. Use a slotted spoon or spider to carefully remove the cooked bites from the oil and transfer them to the prepared plate lined with paper towels to drain for a minute. This draining step is crucial for ultimate crispness.
- Continue frying the remaining onion batter in batches until all the mixture is used. As you fry subsequent batches, the cooked onion bites can be kept warm in a preheated oven at a low temperature (around 90 degrees C or 200 degrees F) to ensure they are hot when served. Serve the hot, crispy Awesome Blossom Onion Bites immediately with the chilled, tangy dipping sauce.

Tools You’ll Need
- Small mixing bowl
- Large mixing bowl
- Whisk or spoon
- Fine-mesh strainer
- Heavy-duty skillet or Dutch oven
- Slotted spoon or spider
- Kitchen thermometer (for oil)
- Paper towels
- Plate
Essential Success Tips
- Do not overcrowd the frying pan; cook in batches to maintain oil temperature and ensure even crisping.
- Maintain the oil temperature consistently around 180 degrees C (350 degrees F) for best results. Too cool, and the bites become greasy; too hot, and they burn.
- If opting for the pre-salting step, ensure the onions are thoroughly rinsed and patted dry to avoid overly salty or watery bites.
- Serve the onion bites immediately after frying for maximum crispness and enjoyment.
- Adjust the amount of cayenne pepper in both the sauce and the batter to suit your preferred level of spice.
Professional Cooking Secrets
- For an even crispier bite, consider a double-fry method: fry the bites initially until light golden, remove, rest for a few minutes, then fry again at 190 degrees C (375 degrees F) until deep golden brown.
- Always use a neutral-flavored oil with a high smoke point, such as vegetable, canola, or peanut oil, to prevent off-flavors and ensure safe frying.
- Achieving perfectly dry onions, especially after the optional rinsing step, is paramount. Excess moisture can cause the oil to splatter and prevent the batter from adhering properly.

Notes
- Storage: These onion bites are best enjoyed fresh. Leftovers can be stored in an airtight container in the refrigerator for up to 2 days. Reheat them in an air fryer or oven at 180 degrees C (350 degrees F) until crispy again, avoiding the microwave to prevent sogginess.
- Variations: Feel free to add finely minced chives, a touch of smoked paprika, or a pinch of dried oregano to the onion batter for additional flavor complexity. For an extra kick, finely dice a small jalapeño and mix it into the batter.
Frequently Asked Questions
Can I bake these Awesome Blossom Onion Bites instead of frying?
While frying yields the signature crispness and flavor, you can attempt to bake them. Arrange the battered onions on a greased baking sheet in a single layer and bake at 200 degrees C (400 degrees F) for 15-20 minutes, flipping halfway, until golden brown. Be aware the texture will be softer and less crispy than fried.
How can I make this recipe gluten-free?
To make the Awesome Blossom Onion Bites gluten-free, simply substitute the all-purpose flour with a 1:1 gluten-free all-purpose flour blend. Ensure that your cornmeal is also certified gluten-free if you have severe sensitivities.
What is the best way to handle leftover frying oil?
After the oil has completely cooled, strain it through a fine-mesh sieve or cheesecloth to remove any food particles. Store the filtered oil in a clean, airtight container in a cool, dark place. It can typically be reused 1-2 more times for frying, depending on what was fried previously.
Nutrition Facts (Per Serving)
Calories: Approximately 380-420 per serving, Protein: 6g, Fat: 30-35g, Carbs: 25-30g.
Allergy Information
Contains dairy (sour cream, milk) and gluten (all-purpose flour). Individuals with allergies should consult ingredient labels carefully. For a gluten-free option, use a gluten-free flour blend.


No comment