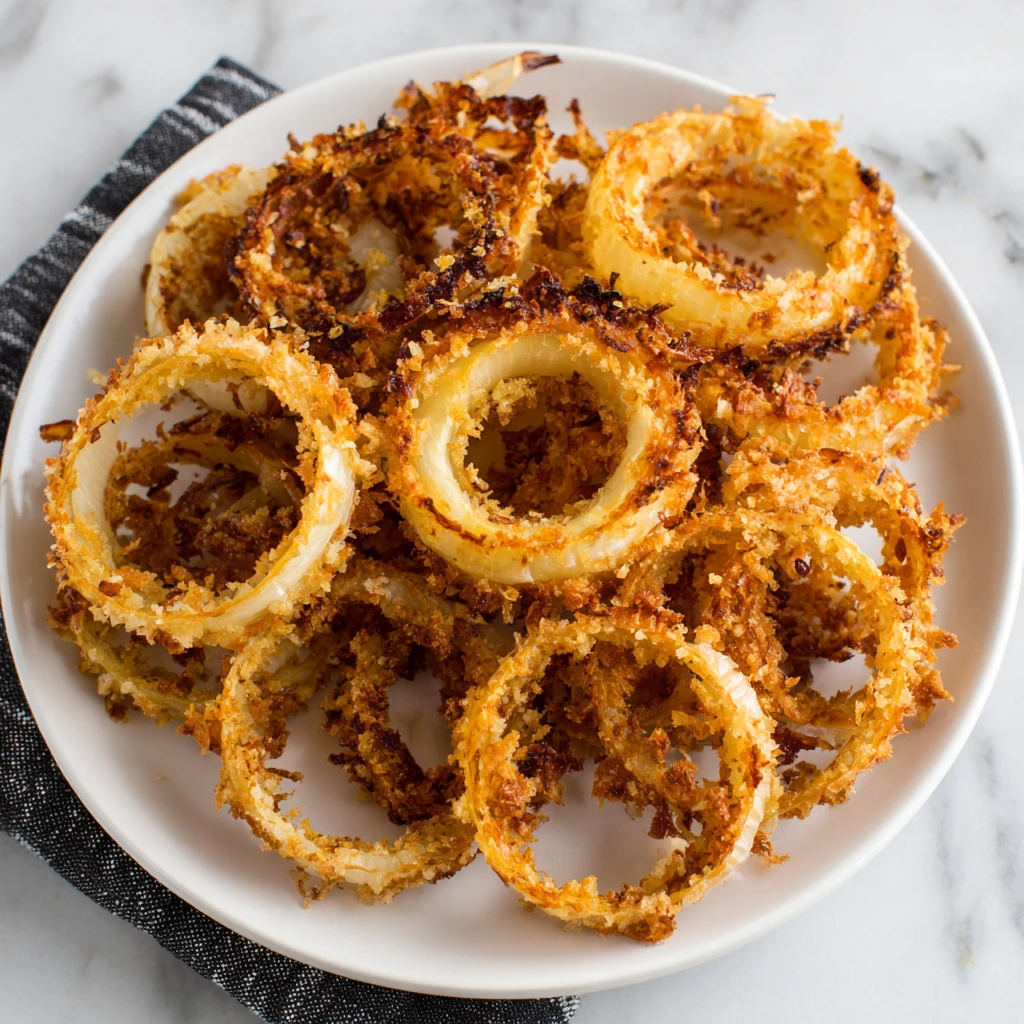
Air Fryer Crispy Onions
Unlock the secret to perfectly golden, unbelievably crunchy crispy onions, all made effortlessly in your air fryer. This recipe delivers a healthier alternative to deep-fried versions, transforming humble yellow onions into a versatile topping that enhances everything from green bean casseroles to juicy burgers and savory soups. Prepare to elevate your everyday meals with this simple yet satisfying addition.
Prep Time
10 minutes
Cook Time
28 minutes
Total Time
38 minutes
Servings
4-6 servings
Keywords
Why This Recipe Delivers
- Achieves an incredibly crispy texture without deep frying.
- Requires minimal oil, making it a lighter, healthier option.
- Super easy to prepare with just two ingredients.
- Versatile as a topping for numerous dishes.
- Ready in under 40 minutes, perfect for busy weeknights.
Ingredients
- 2 medium to large yellow onions (approximately 450-500 g / 1 lb)
- 1 tablespoon cooking oil (e.g., canola, vegetable, or light olive oil) (15 ml)
Instructions
- Begin by peeling the yellow onions. Using a sharp knife, carefully cut them into thin, even round slices, aiming for a consistent thickness of about 3-5 mm. Consistency in thickness is crucial for ensuring the onions cook and crisp up evenly in the air fryer.
- Place the sliced onions into a large mixing bowl. Drizzle the 1 tablespoon (15 ml) of cooking oil over the slices. Gently toss the onions, using your hands, to ensure each ring is lightly and uniformly coated with the oil. As you toss, carefully separate the individual onion rings. This coating is vital for achieving that desirable golden-brown color and crispy texture.
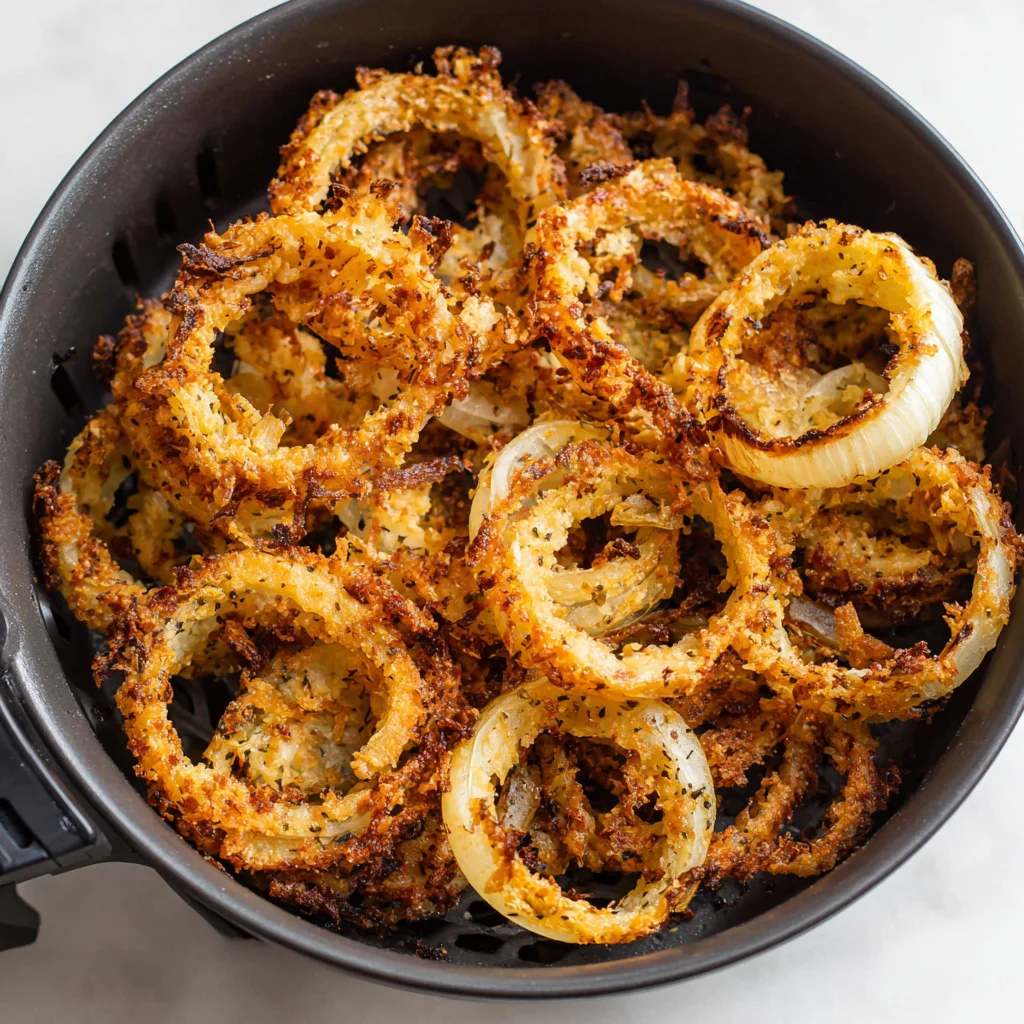
- Arrange the oil-coated onion rings in a single layer within your air fryer basket, making sure not to overcrowd it. Overcrowding can lead to steaming instead of crisping, so you may need to work in two or more batches depending on the size of your air fryer. Fry them initially at 150°C (300°F) for 10 minutes. During this initial cooking phase, gently mix or shake the basket every 5 minutes to redistribute the onions and promote even cooking.
- After the first 10 minutes, reduce the air fryer temperature down to 115°C (240°F). Continue air frying the rings for an additional 15-18 minutes. It is imperative to gently mix or shake the basket every 5 minutes during this stage as well. This lower temperature allows the onions to slowly dehydrate and crisp without burning. Keep a close eye on them during the final minutes, as they can quickly go from perfectly golden and crispy to overcooked. The onions are ready when they achieve a deep golden-brown color and a satisfyingly crunchy texture.
Tools You’ll Need
- Air fryer
- Large mixing bowl
- Sharp knife
- Cutting board
Essential Success Tips
- Even Slicing is Key: Aim for uniformly thin onion slices (3-5 mm) to ensure consistent cooking and crisping. Uneven slices will cook at different rates.
- Don't Overcrowd the Basket: Cook in batches if necessary. Air needs to circulate freely around each onion ring for optimal crisping. Overfilling leads to steaming.
- Lightly Oil Every Ring: Ensure each onion ring is coated with a thin layer of oil. This helps with browning and crispness. Use just enough to coat, not drench.
- Shake and Mix Frequently: Regularly shaking or mixing the onion rings prevents them from sticking together and promotes even browning on all sides.
- Monitor Closely at the End: The onions can go from perfectly golden to burnt in a matter of seconds during the final stages. Stay near your air fryer and check often during the last 5-7 minutes.
Professional Cooking Secrets
- Flavor Infusion: For an extra layer of flavor, toss the onions with a pinch of garlic powder, onion powder, or a dash of smoked paprika along with the oil before air frying.
- Temperature Control Mastery: Starting at a slightly higher temperature then dropping it allows for initial softening and moisture reduction, followed by slow crisping without burning. This two-stage approach yields superior results.
- Texture Boost: For ultimate crispness, spread the cooled crispy onions on a paper towel-lined baking sheet for 10-15 minutes before storing. This helps absorb any residual oil and allows them to dry out slightly, enhancing their crunch.
Notes
- Storage: Store cooled crispy onions in an airtight container at room temperature for up to 3-4 days. They tend to lose some crispness over time.
- Re-crisping: If the onions lose their crispness, you can revive them by air frying at 150°C (300°F) for 3-5 minutes, shaking occasionally, until crisp again.
- Variations: Experiment with different types of onions like red onions for a slightly sweeter, milder flavor, or shallots for a more delicate crisp.
Frequently Asked Questions
Can I use different types of oil?
Yes, you can use various cooking oils such as avocado oil, grapeseed oil, or even a light olive oil. The key is to use an oil with a high smoke point that will not impart a strong flavor.
Why did my crispy onions turn out chewy instead of crispy?
Chewy onions often result from overcrowding the air fryer basket, which causes them to steam rather than fry. Ensure you cook them in batches, allowing adequate air circulation. Also, consistent thin slicing and thorough oil coating are important for optimal crispness.
How can I prevent my onions from burning?
The two-stage temperature approach in this recipe helps prevent burning. Always ensure you're shaking the basket frequently for even cooking. If you notice them browning too quickly, you can slightly lower the temperature or reduce the cooking time.
Nutrition Facts (Per Serving)
Calories: Approximately 220-250 kcal, Protein: 2g, Fat: 15g, Carbs: 20g (per 1/4 of recipe, approximate values based on ingredients used).
Allergy Information
This recipe is naturally dairy-free, gluten-free, and nut-free. Always check labels of cooking oils for any specific allergen warnings if allergies are a concern.


No comment